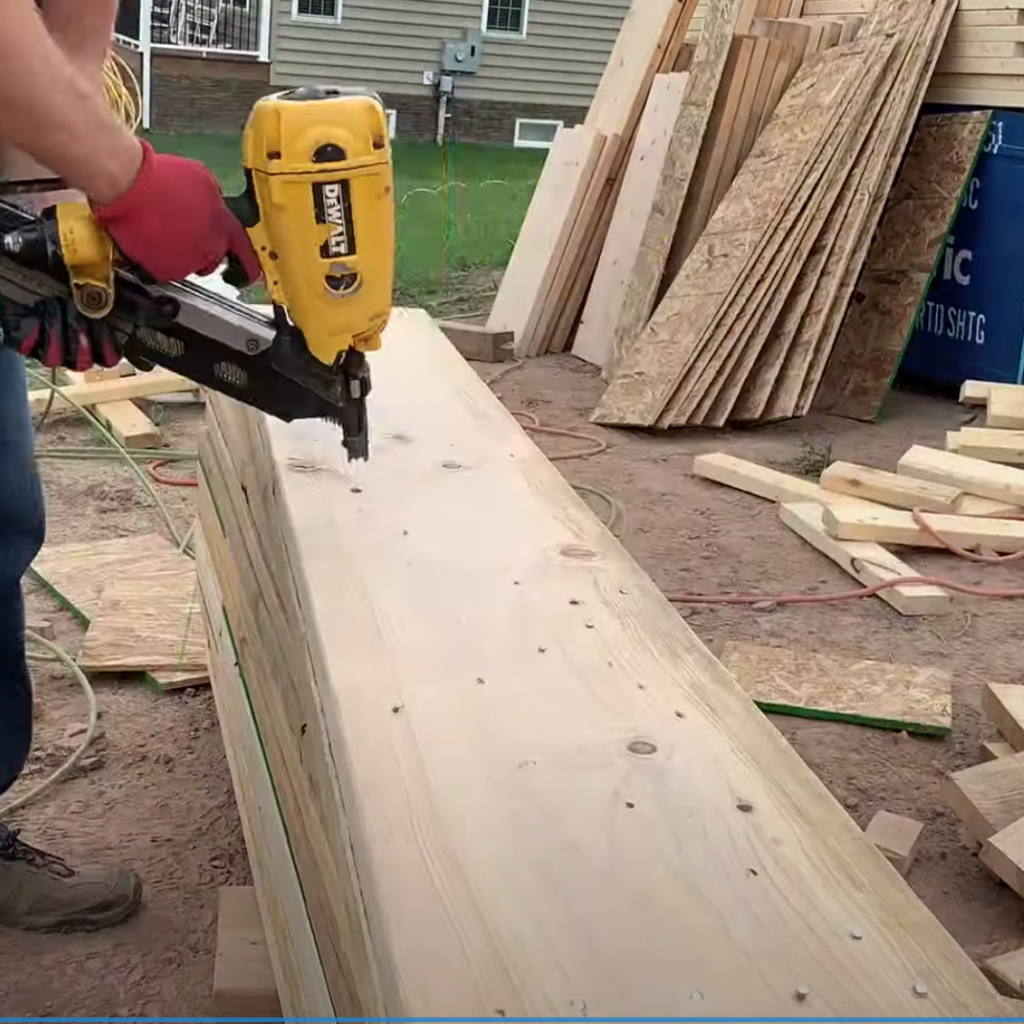
In this tutorial, I will explain how to build a header! A header is an essential component of a building’s structure that helps to distribute the weight of the building above it across the walls below. In this step-by-step guide, we’ll show you how to build a header for your own home or building project. ALWAYS CHECK YOUR LOCAL BUILDING CODES before you tackle any DIY or home project.
DISCLAIMER – This article does contain affiliate links. I earn a small commission that helps support this website at no extra cost to you, if one of the links is used to make a purchase.
Before you can start, you need to gather up a few tools and supplies first. (By the way, if you want to know the exact brand of each material I use, check out the Excellent Laborer Amazon store.)
To start, you’ll need to gather the following tools and materials:
Tools:
- Measuring tape
- Circular saw
- Hammer
- Framing Nailer
- Chalk line
Materials:
- lumber (reference your building plans for sizing)
- OSB or plywood sheets (for filler strips)
- 3 1/2” 16d framing nails
Step 1: Determine the size of your header.
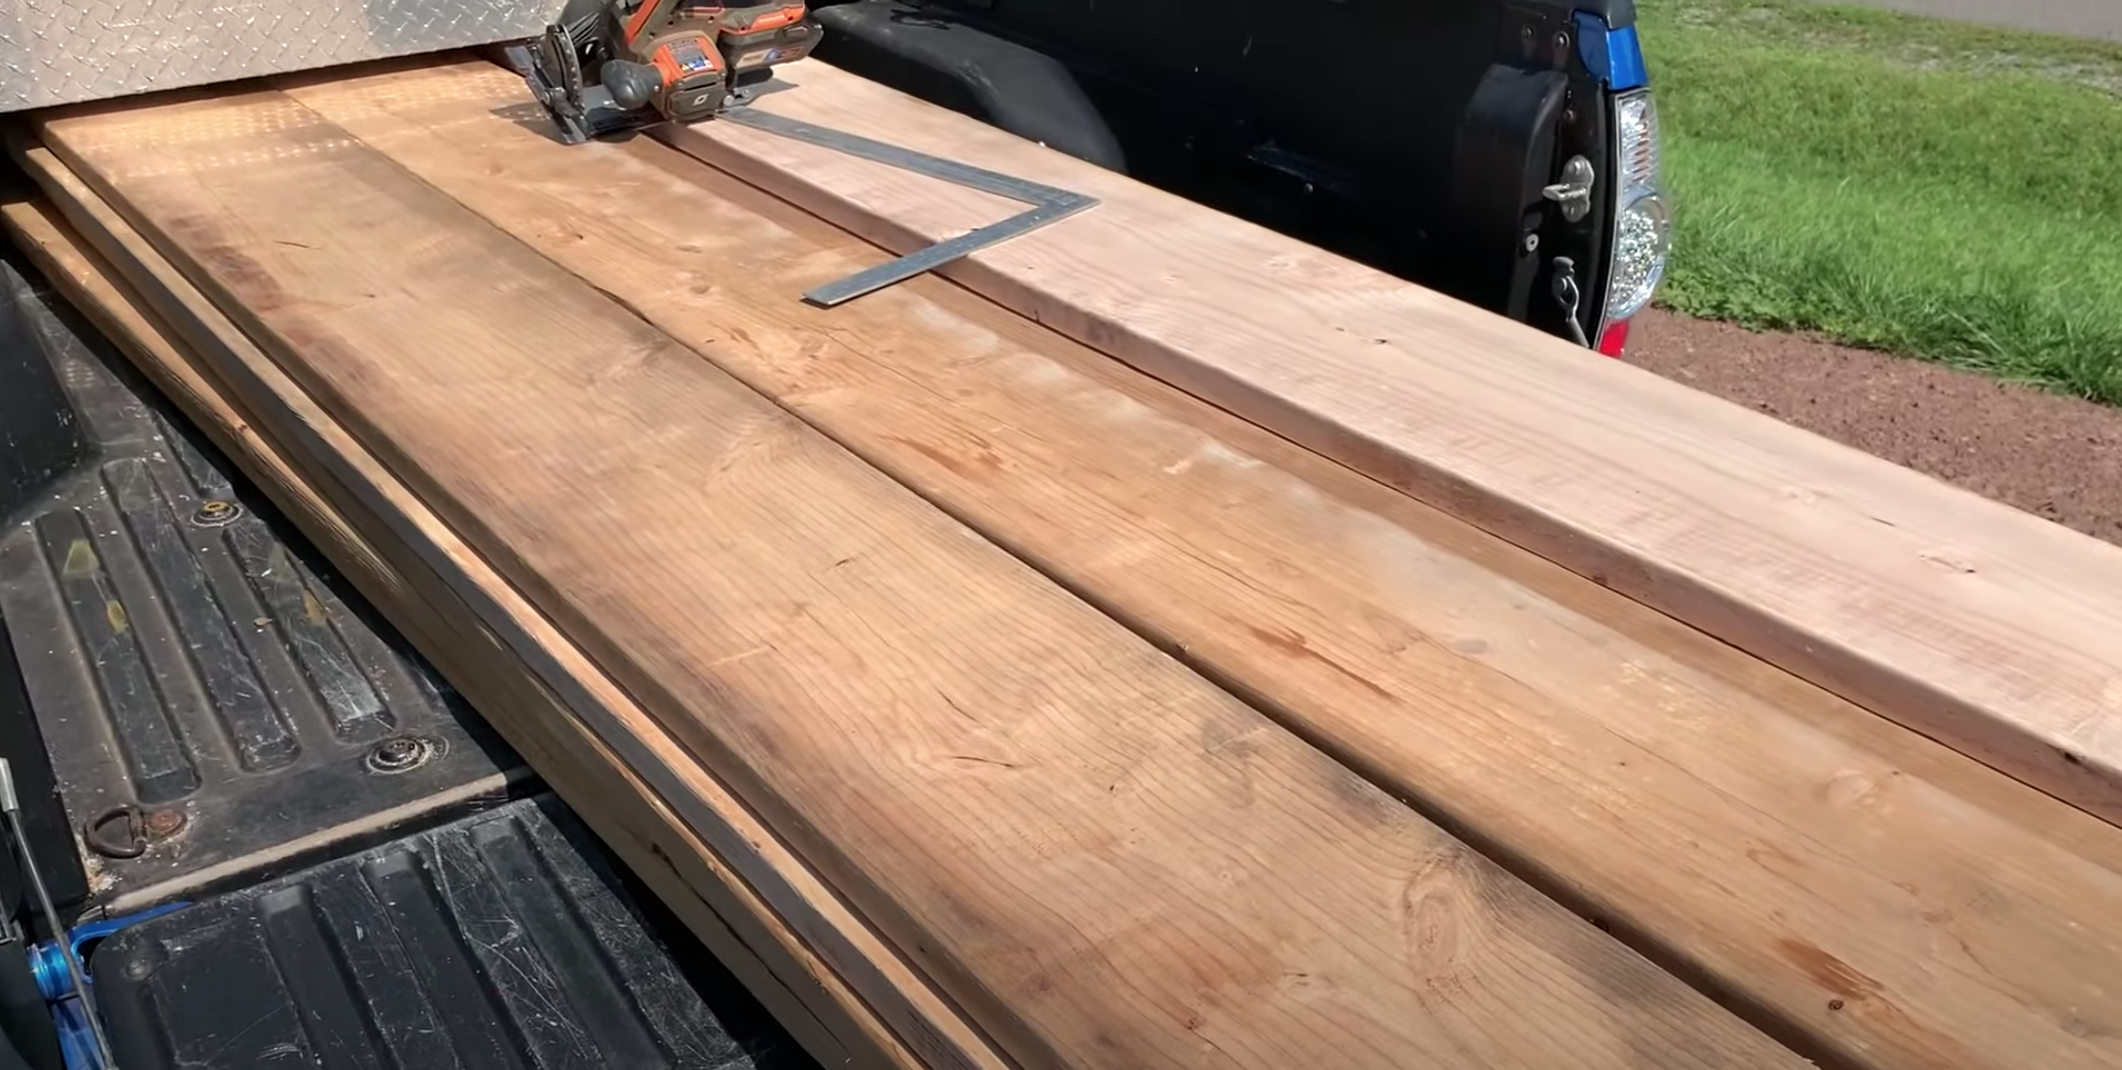
Before you begin building your header, you’ll need to determine its size based on your building plans. Measure the width of the opening where the header will be installed, and add a few inches for the jacks that will support it. For example, if you’re building a header for a 36-inch window opening, you’ll need to make it about 39 inches wide to allow for the jacks. My building plans require me to build a 2 ply header using 2×12 lumber. Be sure to reference your building plans to determine your lumber requirements.
Step 2: Cut the lumber for your header.
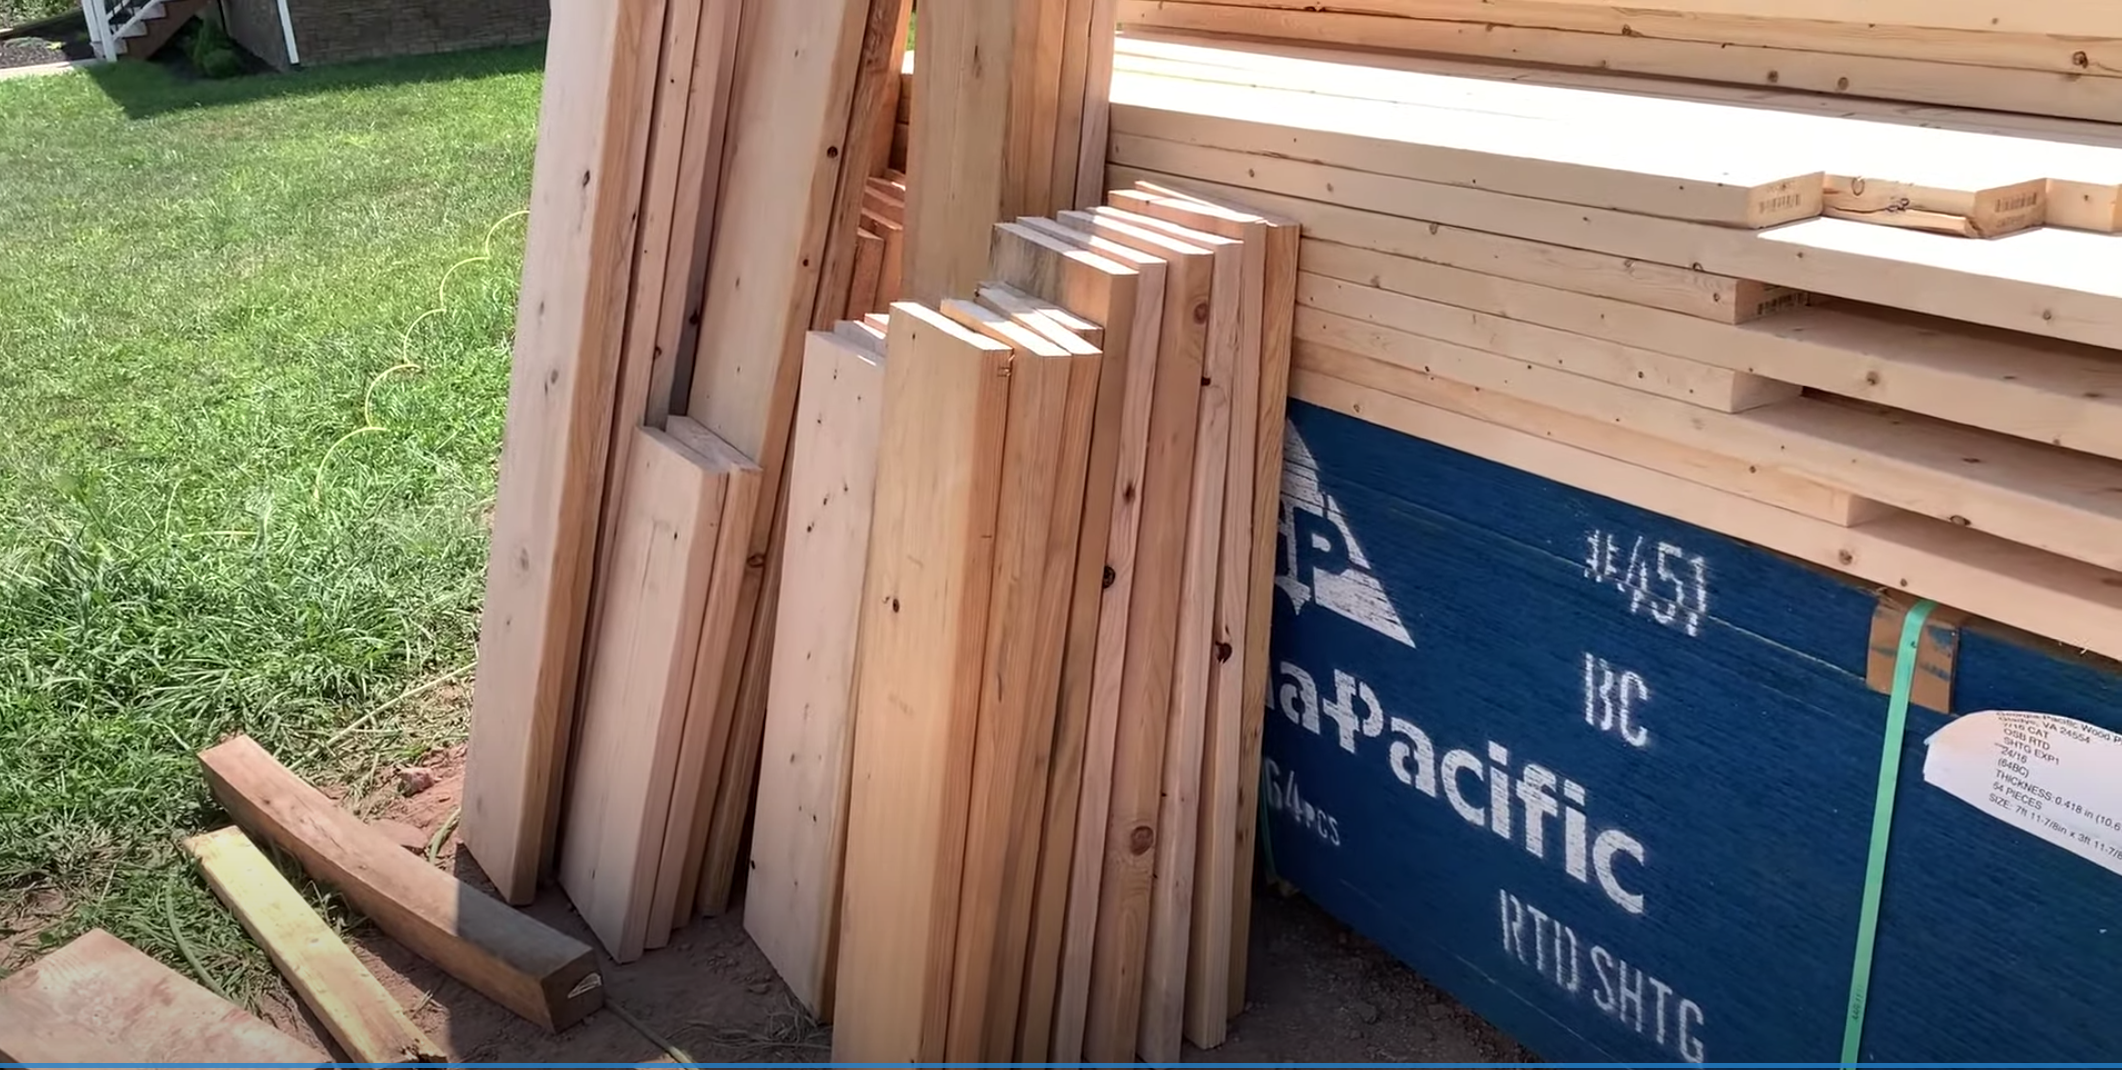
Using your circular saw, cut the lumber into the appropriate lengths for your header. You may need to cut multiple pieces to get the desired length, depending on the size of your opening.
Step 3: Cut the filler strips.
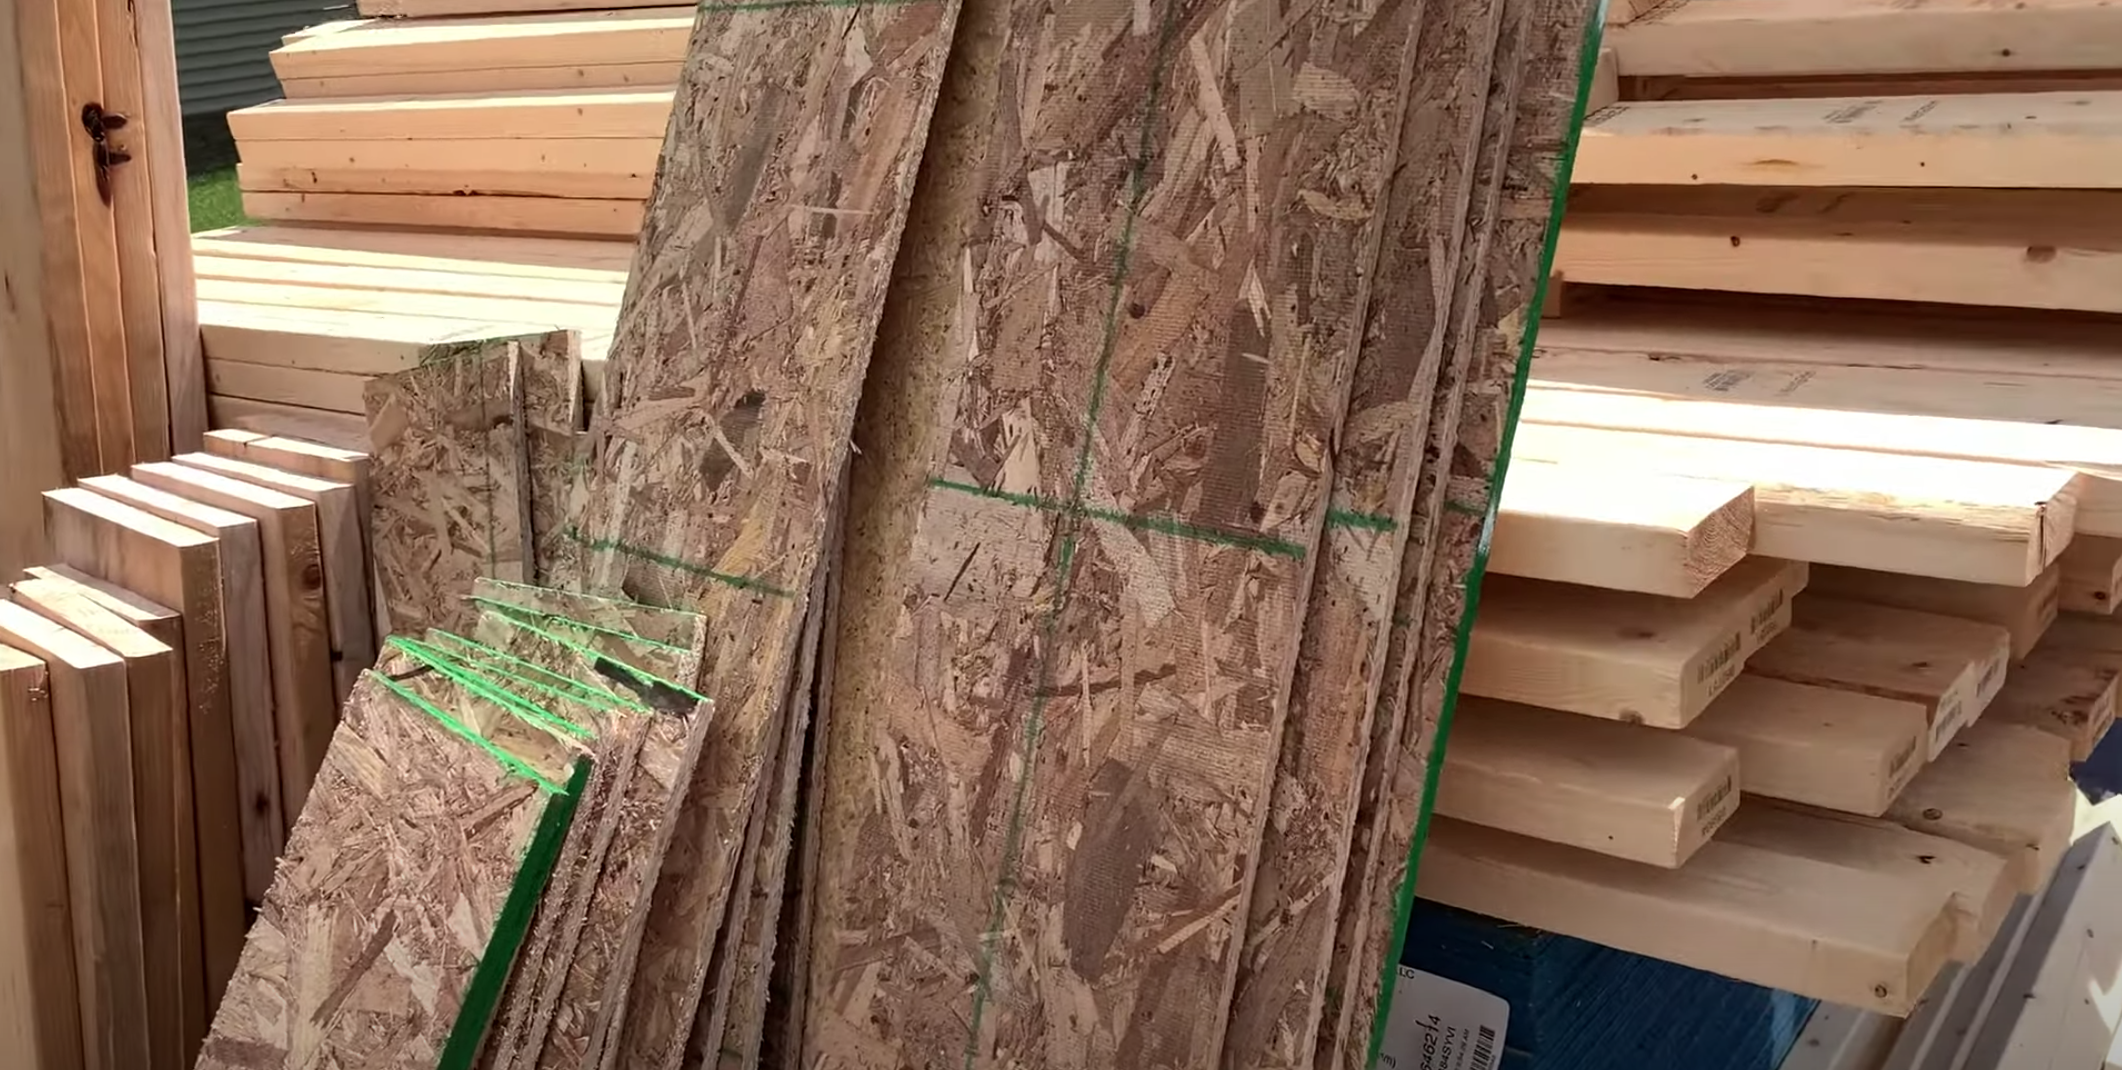
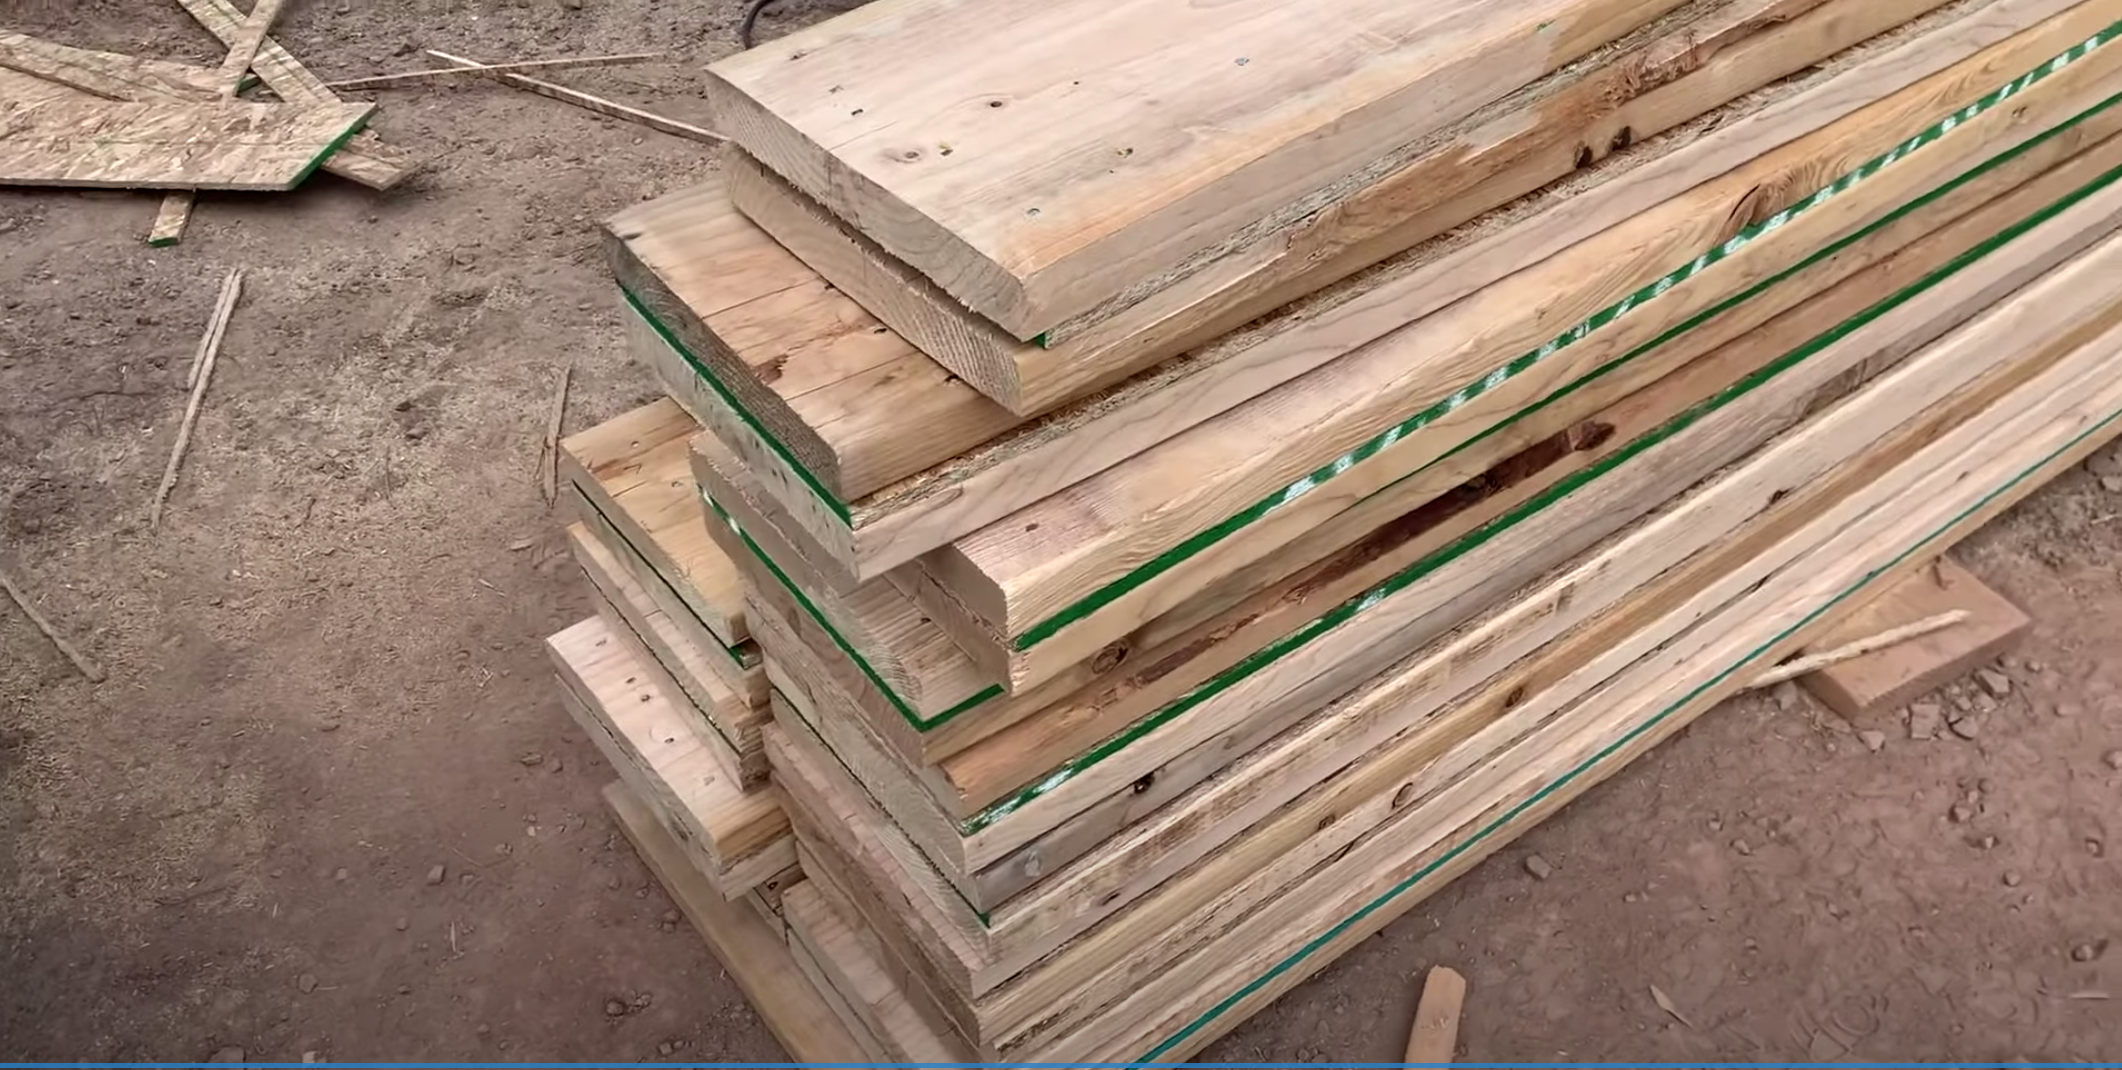
Next, you’ll need to cut some OSB or plywood sheets into strips to fill in the space between the boards. These strips will help give your header the necessary thickness to fit inside the jacks. Cut the strips a little bit shorter and narrower than the 2x12s so they don’t stick out the edges.
Step 4: Assemble the header.

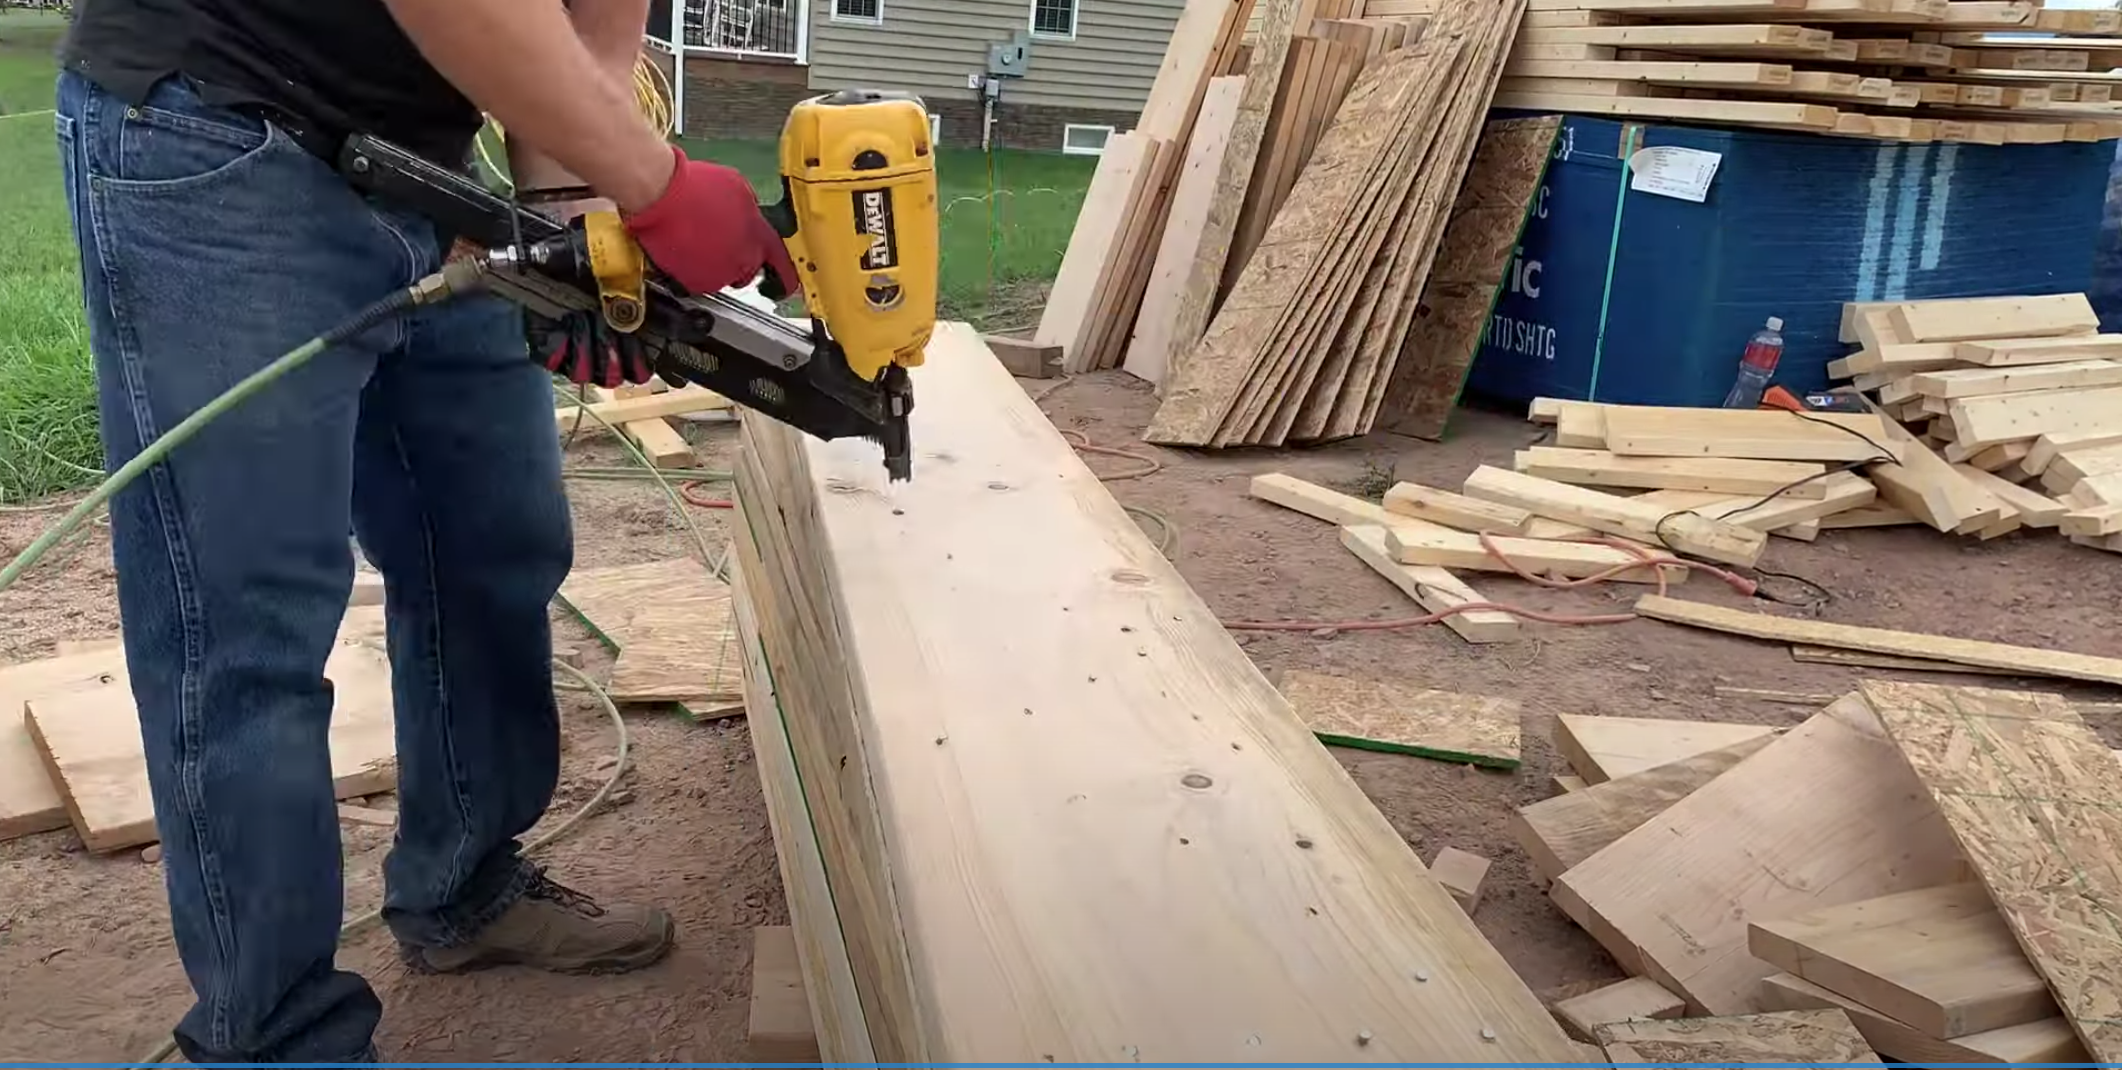
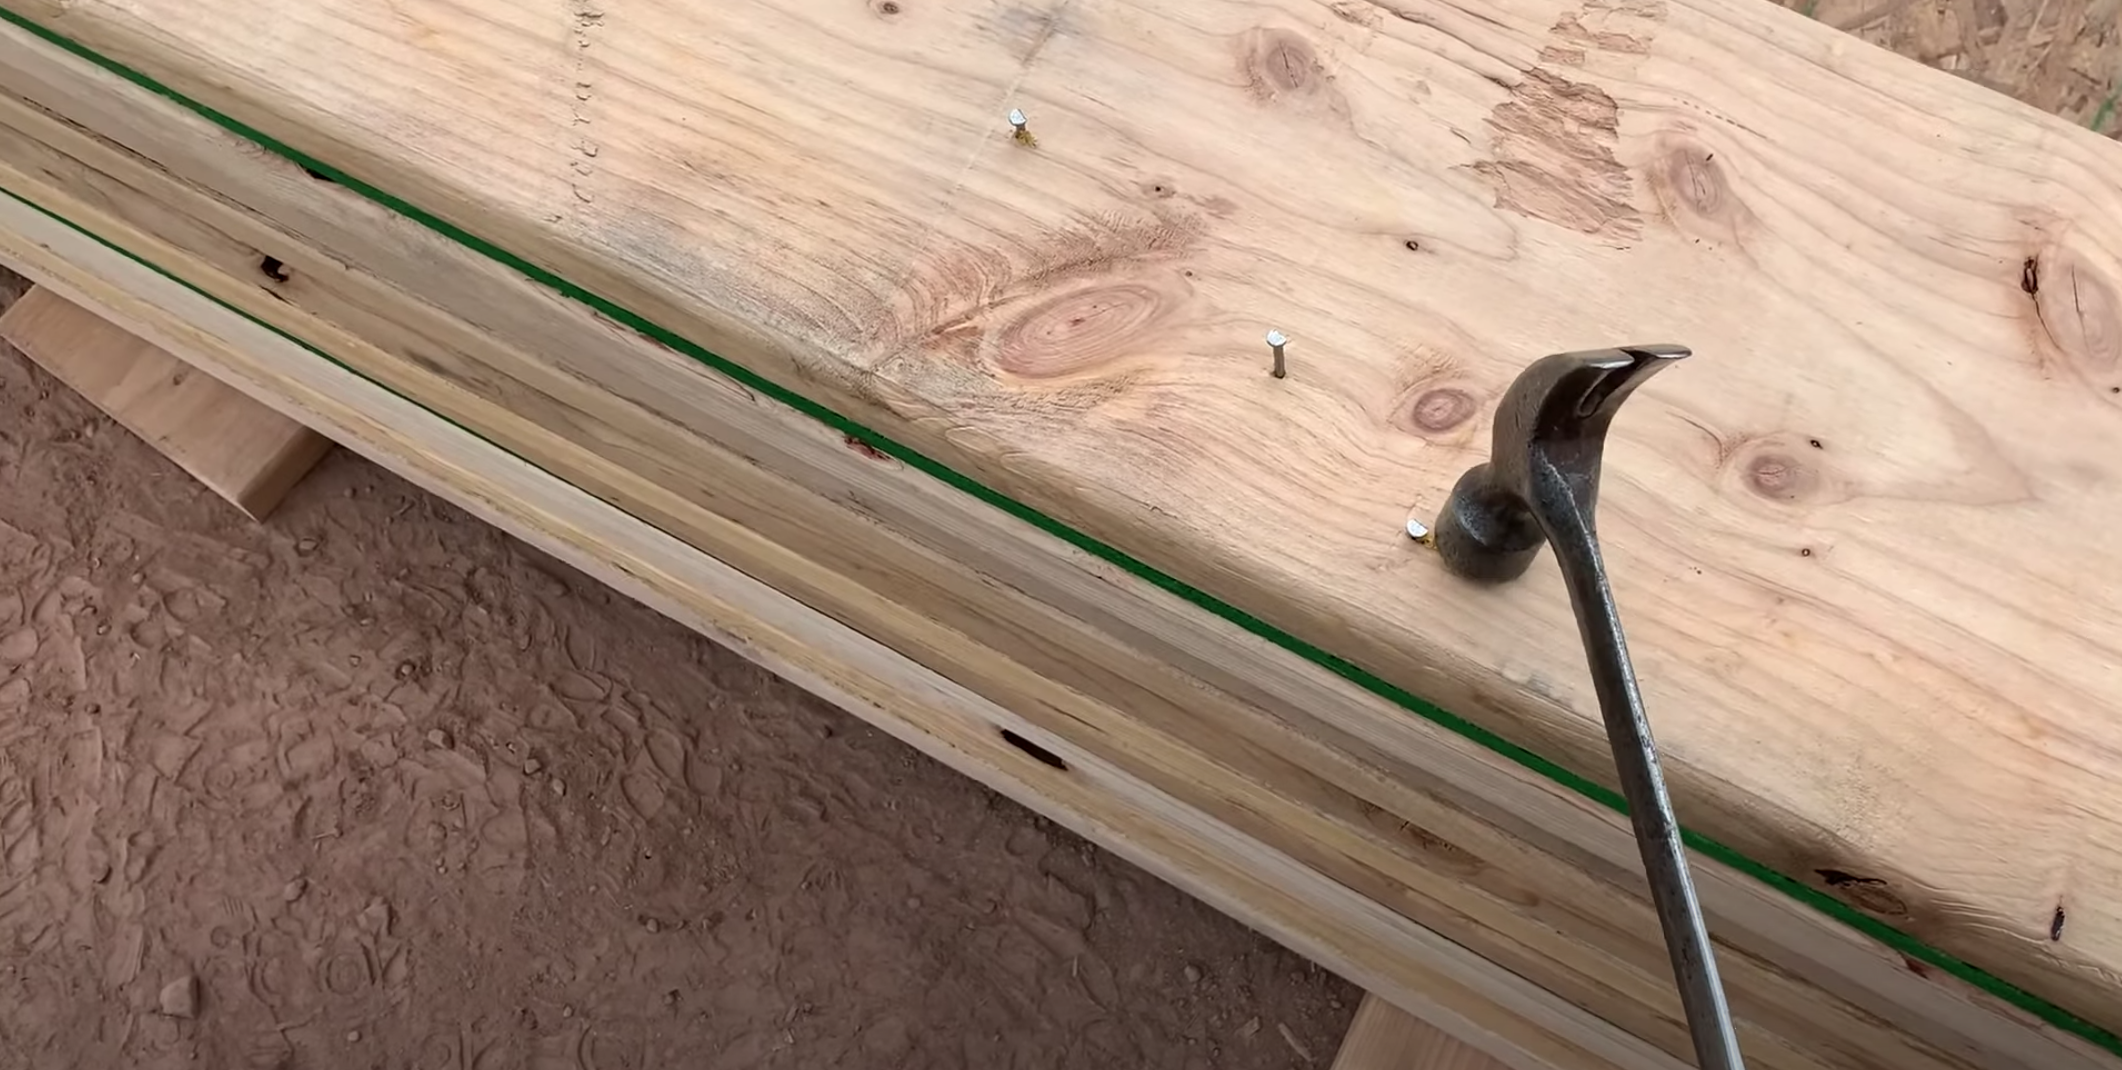
Once you have all of your pieces cut, it’s time to start assembling the header. Lay the first board down on a flat surface, and place the filler strips on top of it. Then, lay the second board on top of the filler strips, making sure everything is flush on the edges. Use your framing nail gun to nail the header together, making sure to use enough nails to hold it securely. Nail from both sides of the header to sandwich the boards together. The nailing pattern will be determined by the engineer. I typically do a “W” pattern every 10-12” apart.
Step 5: Install the header.
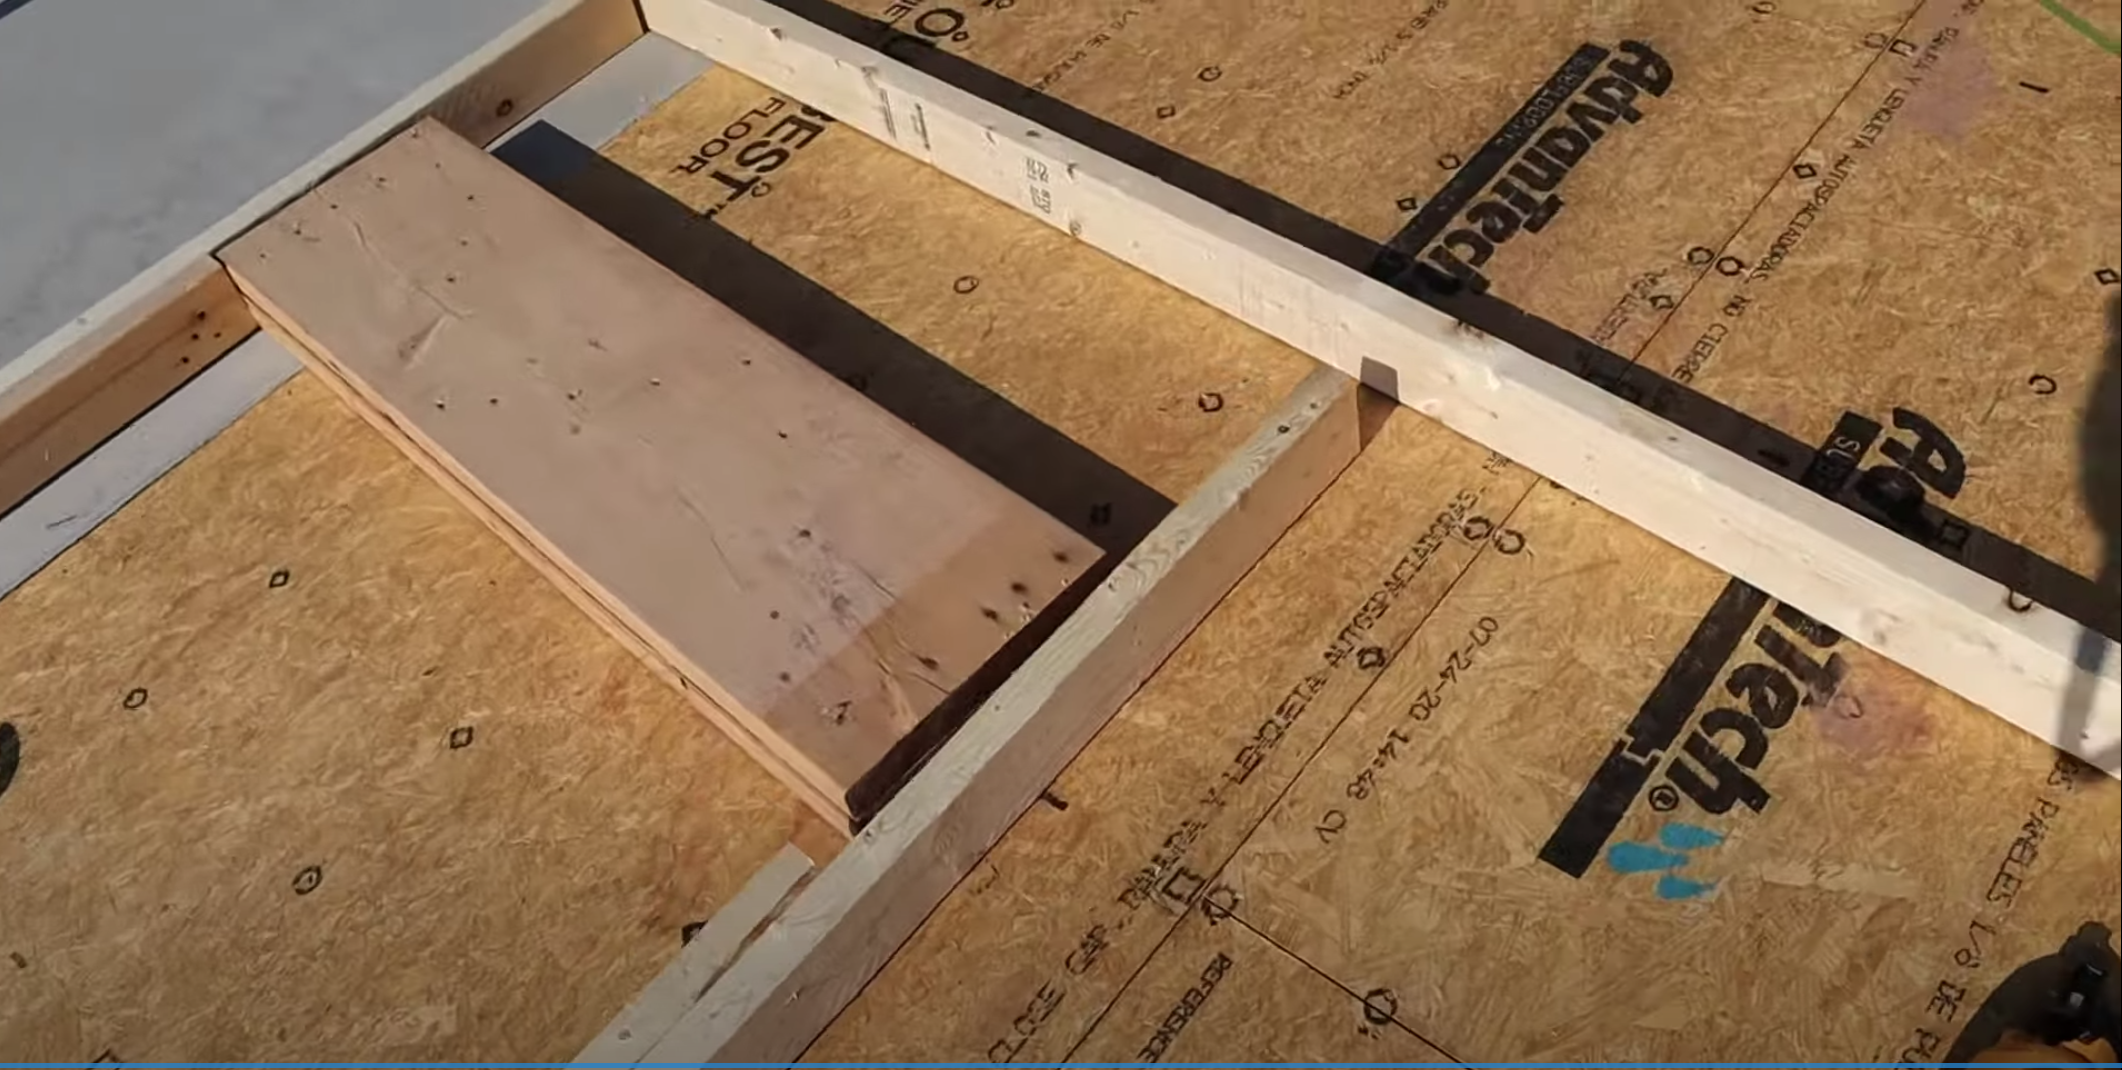
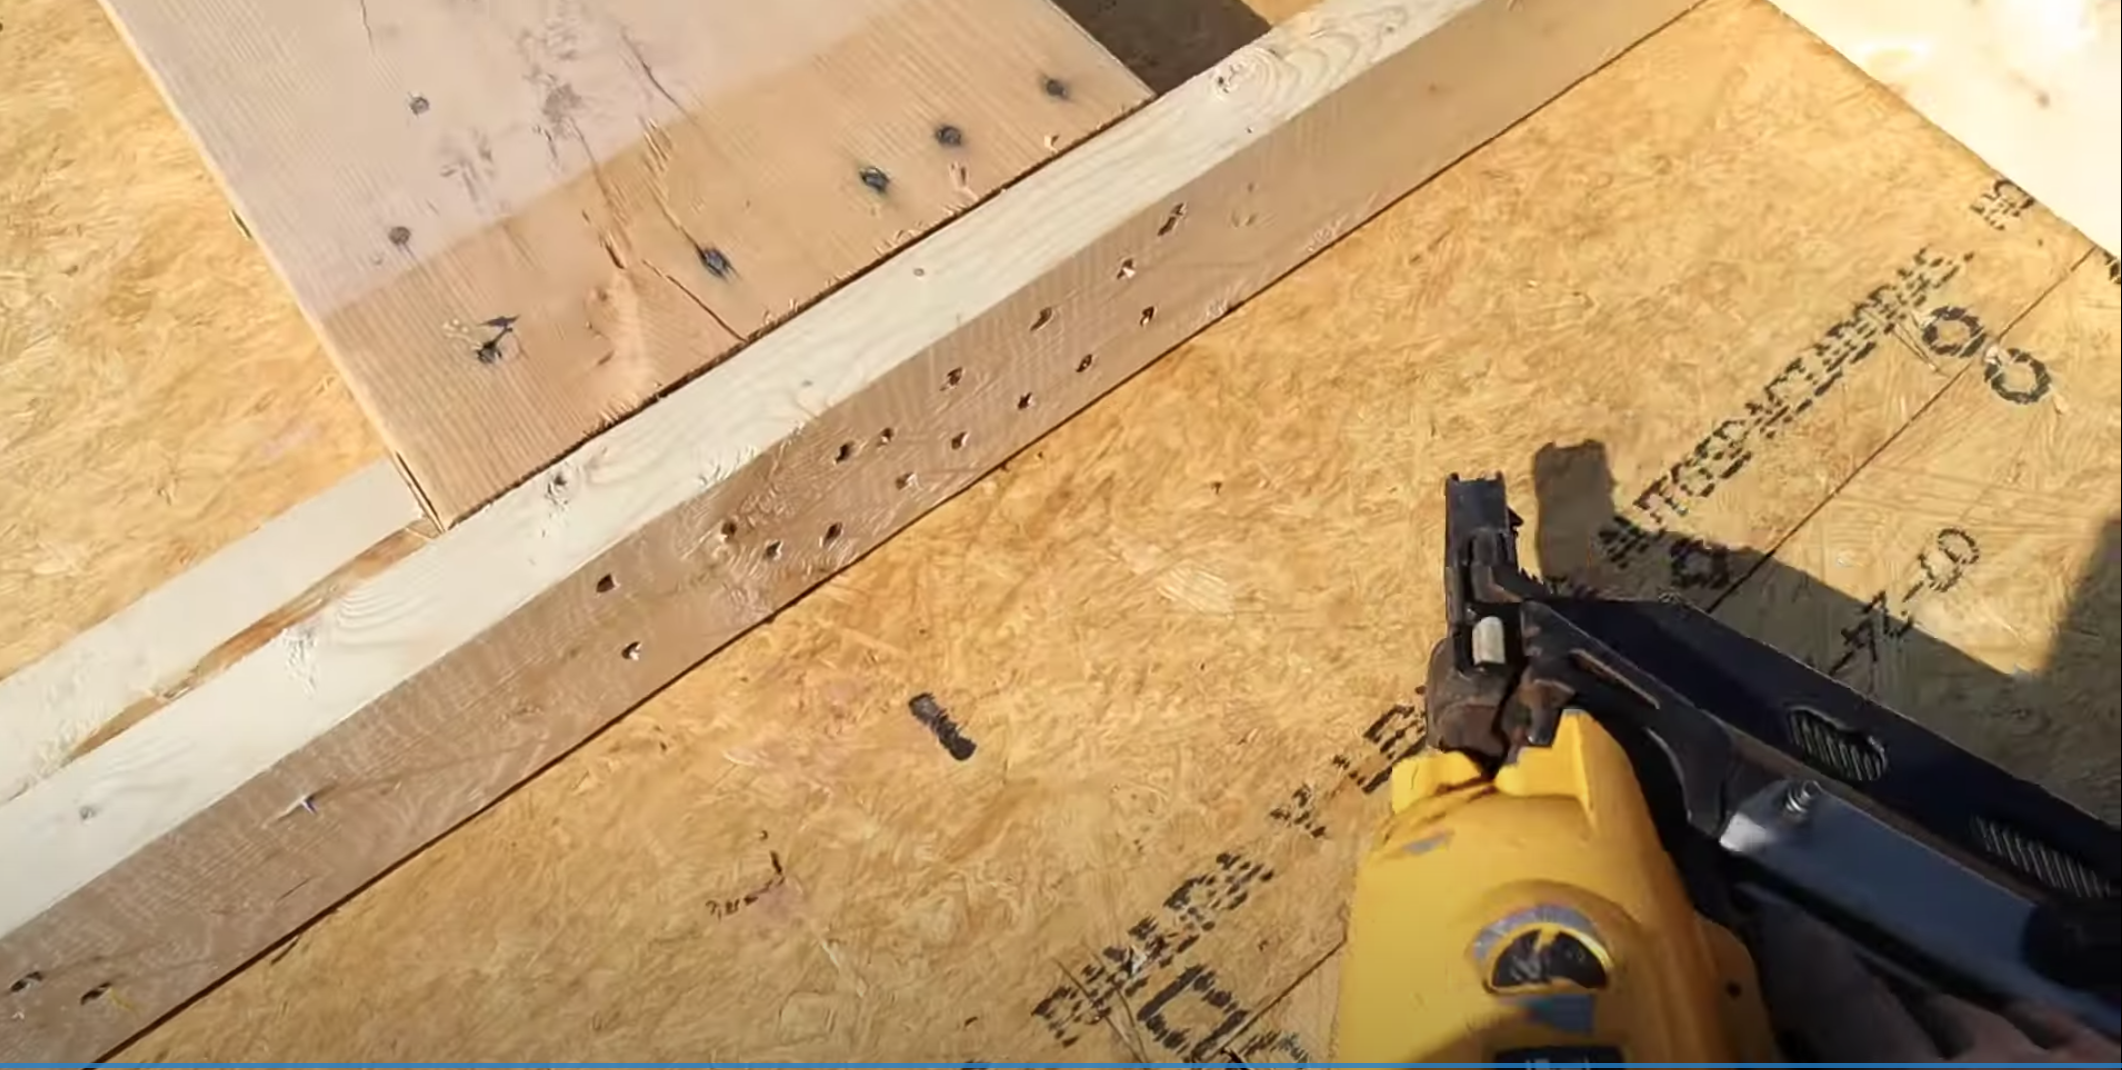
With your header assembled, it’s time to install it in your building. First, install the jacks on either side of the opening where the header will go. Then, lift the header into place and secure it to the jacks using framing nails. Make sure the header is level and properly aligned before moving on to the next step.
Step 6: Consider the load-bearing capacity of your header.
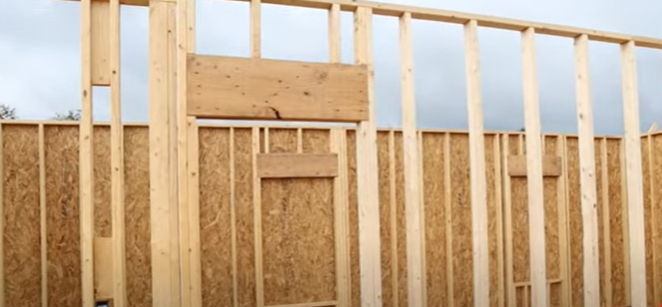
When building a header, it’s important to consider the load-bearing capacity of the header based on the size of the opening and the weight of the structure above it. For larger openings or heavier structures, you may need to use multiple 2x12s or even larger lumber to create a more sturdy header. Consult with a structural engineer or refer to building codes to determine the appropriate size and strength of your header.
Step 7: Use proper techniques when cutting and handling lumber.
Safety is always a top priority when working with power tools and lumber. When cutting the 2x12s for your header, make sure to wear protective eyewear and follow all safety guidelines for your circular saw. When handling the lumber, be careful to lift it with proper technique to avoid strain on your back.
Step 8: Seek professional help if needed.
If you’re new to construction or are unsure about any aspect of building a header, it may be a good idea to seek the help of a professional. A licensed contractor or structural engineer can provide valuable guidance and expertise to ensure your header is built safely and correctly.
In conclusion, building a header is an important task in any construction project. By following these steps and using the right tools and materials, you can successfully build a sturdy and reliable header for your home or building. With a little knowledge and effort, you can save money and add a sense of accomplishment to your building project.
Watch the full video from The Excellent Laborer youtube channel. And there you have it! With these steps, you should now know how to build a header for your building project. Building your own headers can be a rewarding and cost-effective way to complete your building project, and the skills you learn in this process can be applied to other construction projects in the future

