In this article, I’m going to take you step by step through the process of building roof rake ladder overhangs for your DIY house gable trusses on the ground.
This may seem like a daunting build for a beginner DIYer, given the size of the project. But once you understand the process, you’ll get the hang of it (pun intended) in no time!
Be sure to ALWAYS CHECK YOUR LOCAL BUILDING CODES before building any structure. I show how my house plans recommended the overhangs to be built. Check your house plans to see what your house build requires.
What Is A Roof Rake Ladder Overhang?
If you’ve never built a DIY house before, you may be wondering: what is a roof rake ladder overhang?
Basically, it’s a wood structure affixed to the end of your gable truss that sticks out past the edge of the framework of the house. By hanging out past the framework, it protects the windows and doors in your gable from the elements, especially from moisture.
The overhang I’m going to show you how to build today is constructed in a rake ladder style. It consists of 2 by 6 blocks nailed to your gable end, 2 feet on center apart from each other, with fascia boards on top. At the end of the build, the overhang structure looks somewhat like a ladder, hence the name.
Tools For Building A Roof Rake Ladder Overhang
DISCLAIMER – This article does contain affiliate links. I earn a small commission that helps support this website at no extra cost to you, if one of the links is used to make a purchase.
Here are the framing tools and supplies you’ll need to have on hand for this project.
- Framing Nailer
- Pencil
- Measuring Tape
- Speed Square
- Lumber
Step By Step Guide To How To Build Roof Rake Ladder Overhangs On The Ground
Step 1: At the peak of your gable end, make two horizontal marks starting from each edge of the gable with your pencil: one at 3 ¼ inches from the apex of the peak down the right edge, the other 3 ¼ inches from the apex on the left edge. The pencil marks should meet in a V shape.
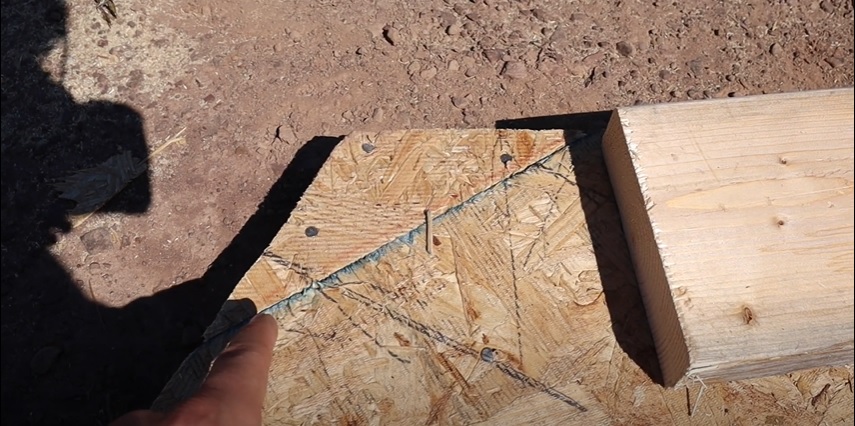
Step 2: Measure from the pencil mark you made down one edge of the gable end and find the 2 ft mark on the tape Then make a line ¾ inches behind it on the gable edge. Keep going down that edge of the gable end, penciling a line at every 2 ft interval. Repeat the same process with the other edge.
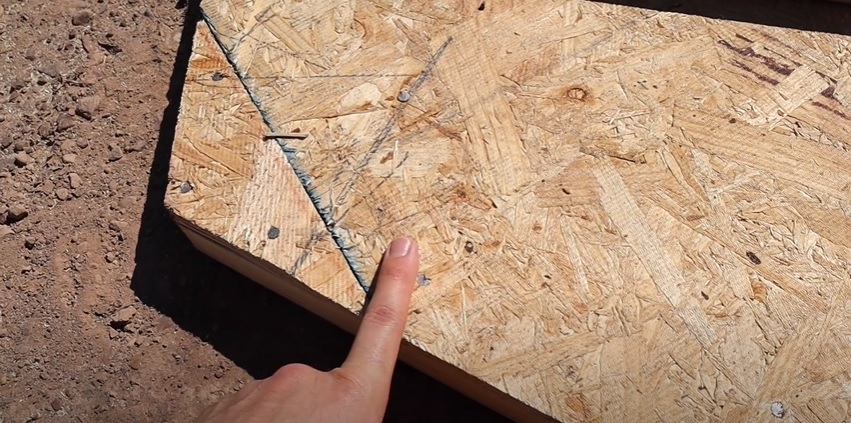
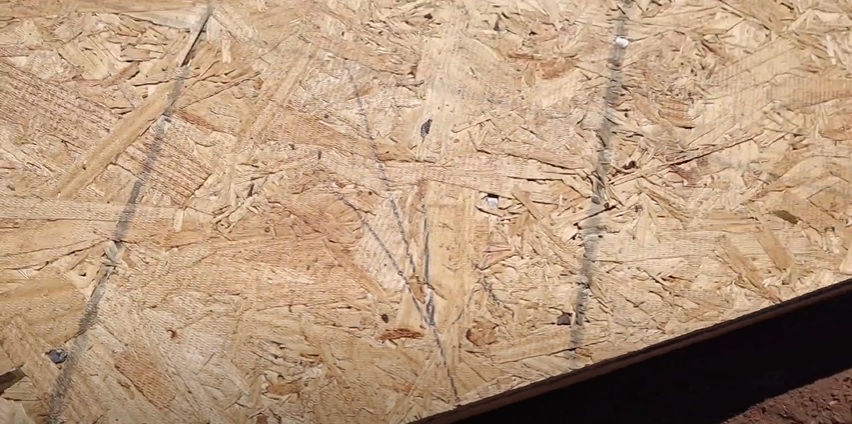
By making your pencil line ¾ inches behind the 2 ft mark on your measuring tape, you will give yourself a place to line up your 2 by 6 rakes so that they sit 2 feet apart on center.
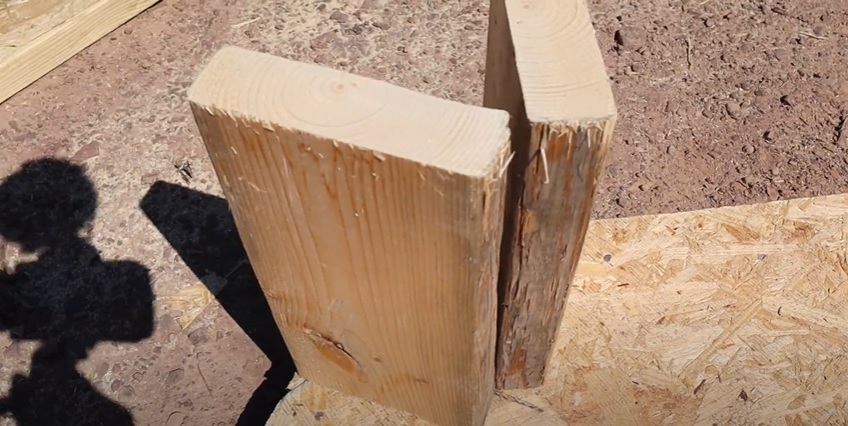
Step 3: Line up two 10 1⁄2 inch-long 2 by 6 blocks with the marks you made near the apex of the gable end to form a V shape. This placement will leave a thin gap between the blocks so that they don’t touch, as well as give you some breathing room at the apex of the gable peak.
Step 4: Nail the blocks into place with your nail gun.
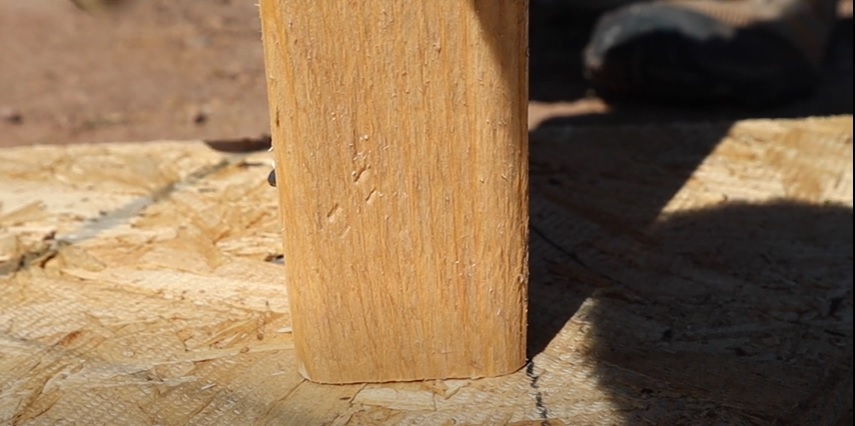
For each block, I typically put in two nails and then adjust the block to make sure it’s still flush with my pencil lines. Then I finish securing it with three nails on each side.
Step 5: Repeat step 4, but with the blocks that will sit 2 ft apart on center along either edge of your gable. Make sure the blocks are flush with your marks as well as the gable edge.
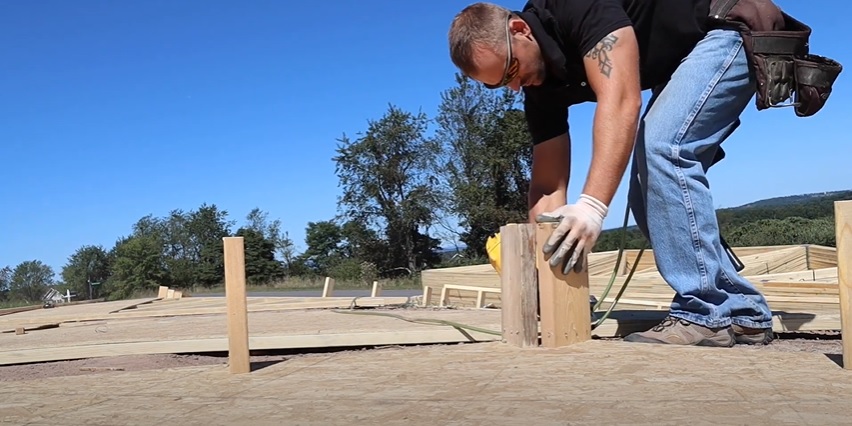
Step 6: Cut out your fascia board. (With the word “fascia,” I’m not referring to the trim piece, but rather to the board that you will wrap with aluminum or the siding of your choice later on in your DIY house build.)
To do this, prop a 2 by 6 up on your blocks, with the crown of the board bowed upward. Then, mark the 7 by 12 pitch on one end of the board.
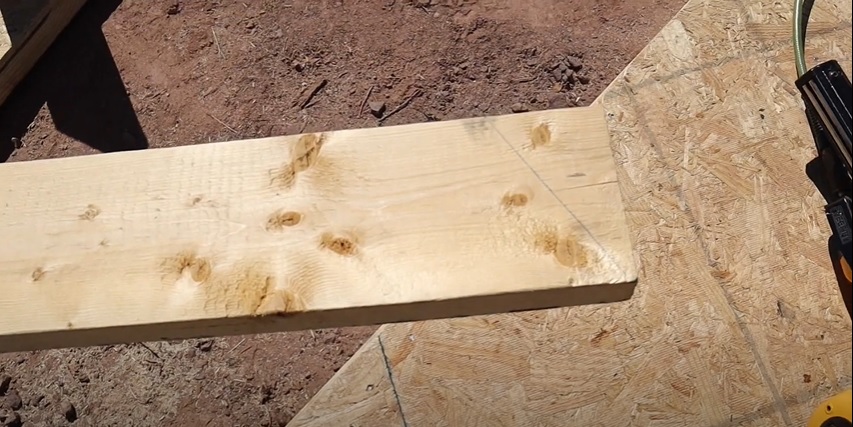
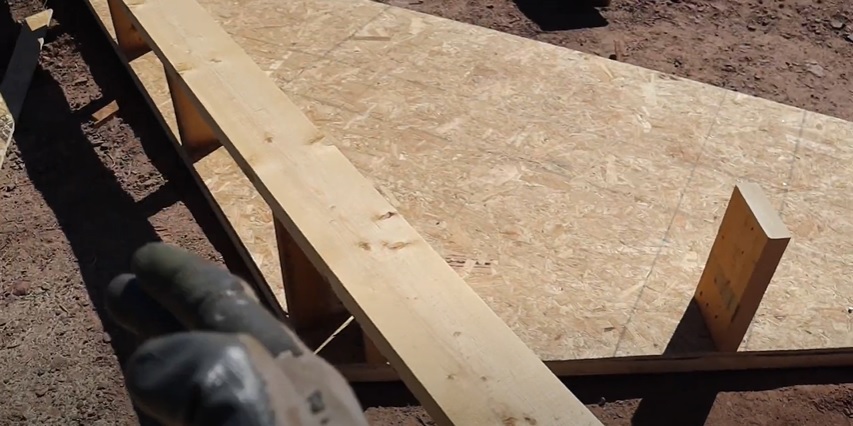
You can easily find the 7 by 12 pitch mark by using your Speed Square. First, line up the Speed Square to the end of the board. Next, find the common number 7. Finally, pivot the end of the Speed Square to line it up, and then trace along the edge. This is where you will make your cut with your saw.
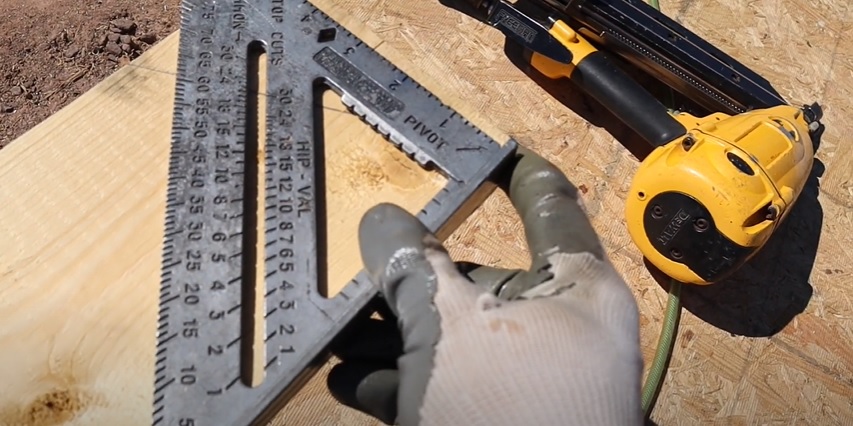
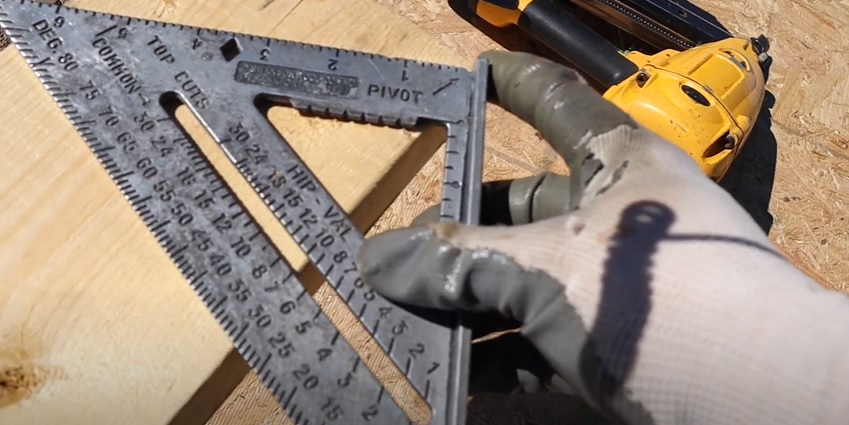
After you’ve cut out the pitch angle, you can move to the other end of the fascia board. Cut it to whatever length it needs to be to line it up with the other truss.
Step 7: Measure 3 ¼ inches from the sawed-off end of your fascia board and make a mark.
Step 8: Line the mark you made on the fascia board up with the edge of one of the blocks you installed in a V at the peak of the gable end.
Remember that you lined those blocks up at marks that were each 3 ¼ inches from the peak. When you lay the pitched 2 by 6 over it, the angled edge will overshadow the blank space you left at the apex of the peak just about perfectly.
Step 9: Nail the end of the fascia board into place over the 2 by 6 block.
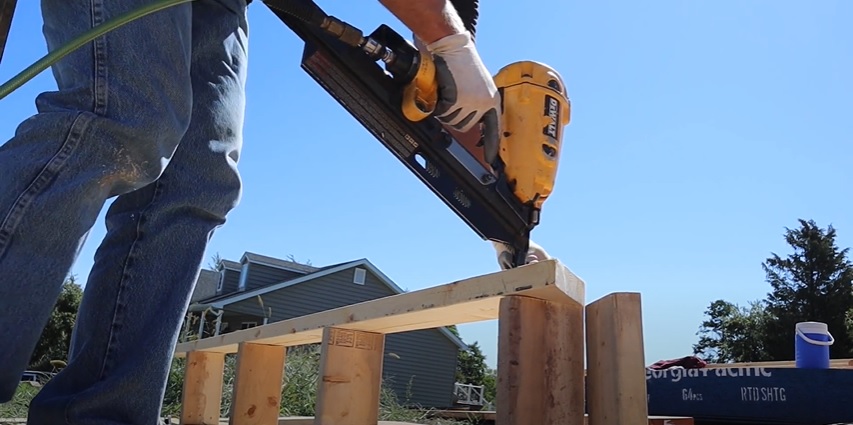
Step 10: Use your tape measure to measure out 2 ft on center from block to block and ensure that your fascia board is lined up with each one.
Step 11: Secure the fascia board to each block using your nailer. I like to use 3 nails per block.
Step 12: Repeat steps 6-11 to install the fascia board on the other edge of the gable.
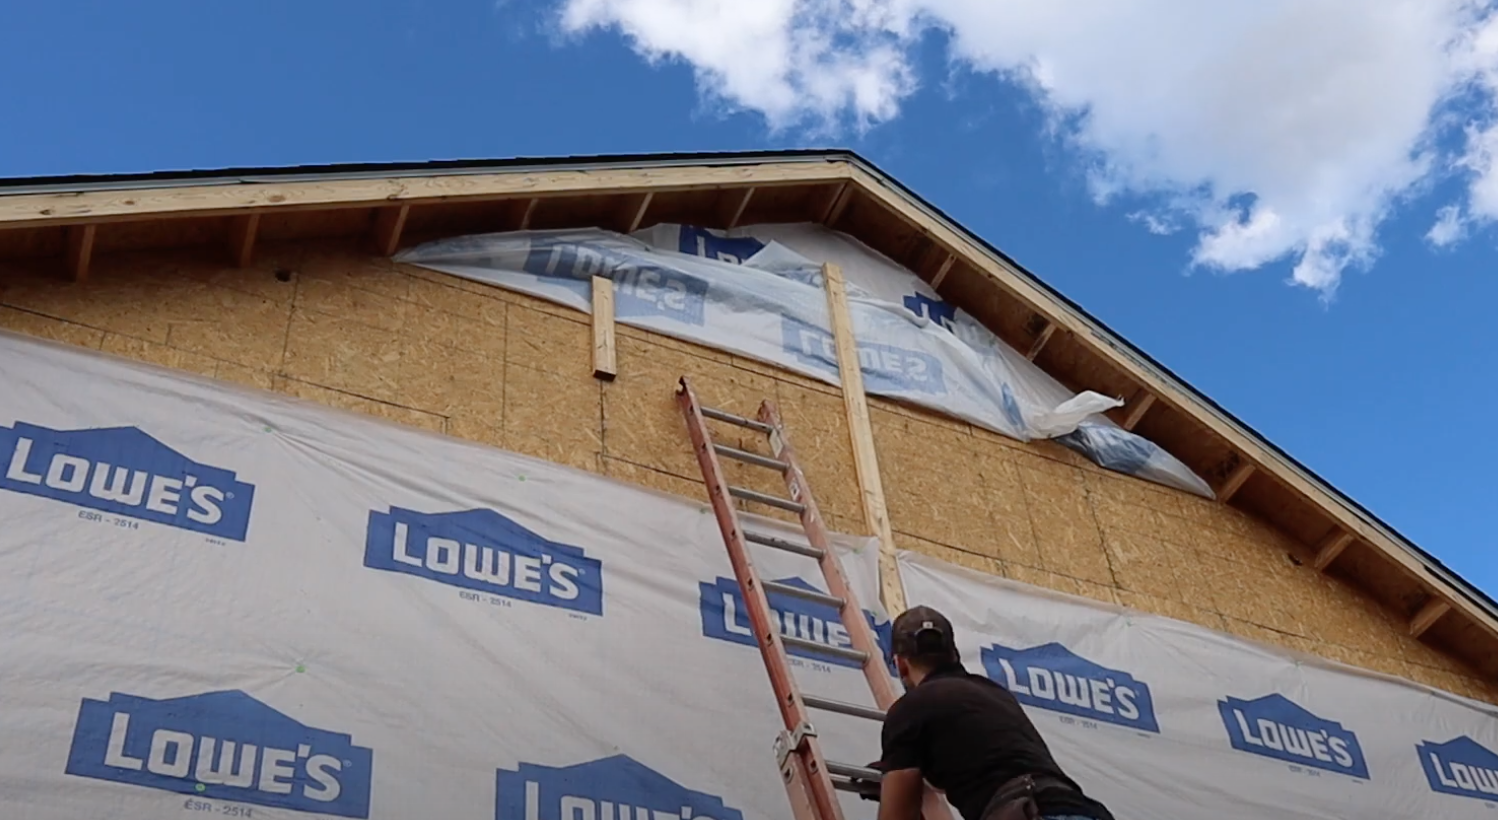
That’s all there is to it! Now you have an overhang for your gable trusses.
If you want to see these steps implemented in real life, be sure to watch my demonstration video. You can also find many helpful DIY videos on my YouTube channel. Good luck with your framing project!
