Building out the valley framing for a small roof on your DIY house is easy, but it does involve a lot of steps. That’s why I’m dedicating this entire article to explaining how to get through this process, step by step, so that you can do it yourself!
As always, be sure to ALWAYS CHECK YOUR LOCAL BUILDING CODES before building any structure. I always build the valley framing out from the gable truss, so this guide assumes that the gable truss is already in place on the house. My plans also have a 7 over 12 pitched roof, so I’ll be making my cuts for the rafters and ridge board based on that angle.
What Is Valley Roof Framing?
But first, what is valley roof framing?
Basically, it’s a framing style for a small roof that intersects with a larger one. The end of it that faces outward is typically capped with a gable truss and an overhang.
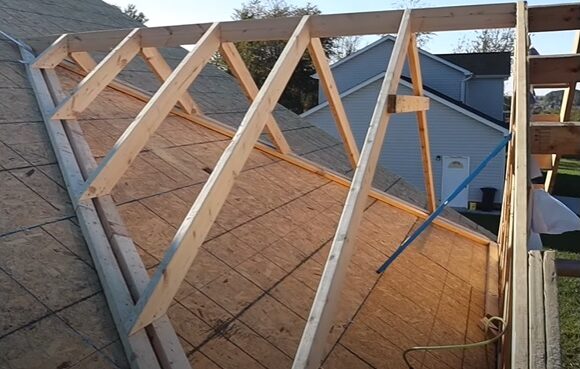
Meanwhile, the rafters – called valley rafters, in this context – extend down from the ridge board to the sleeper boards in line with where the two roofs intersect. This creates two slopes, down which water from rain and melted snow and ice can run from the top of the roof to the ground.
Tools For Building A Small Roof With Valley Roof Framing
DISCLAIMER – This article does contain affiliate links. I earn a small commission that helps support this website at no extra cost to you, if one of the links is used to make a purchase.
Ready to get started? Before you do, make sure you have these framing tools and supplies.
- Framing nailer
- Pencil
- Chalk
- Measuring tape
- Speed Square and framing square
- Level
- Lumber
Step By Step Guide To How To Build A Small Roof With Valley Roof Framing
Step 1: Use your level to plumb up your gable truss and then tack it in place with a 2 by 4. Don’t tack the brace up too high, though, as you still need to install the ridge board up at the peak of the valley roof.
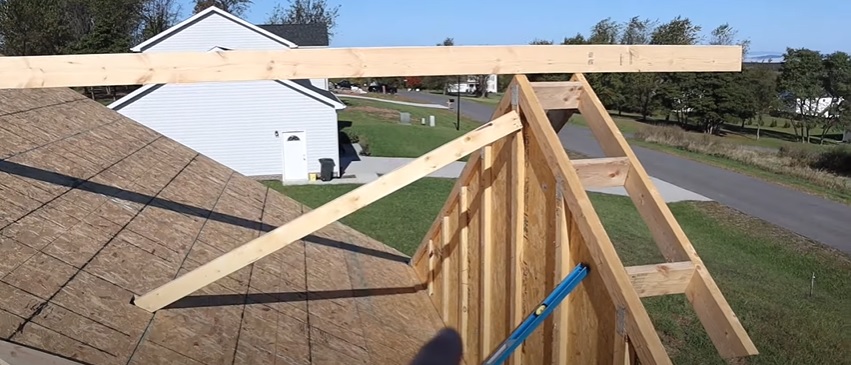
Step 2: Take a long board (I generally find that 16 ft boards work for my valley roofs) and lay one end out on the peak of the gable truss. Set the opposite end on the other roof (the one you’re intersecting the valley roof with).
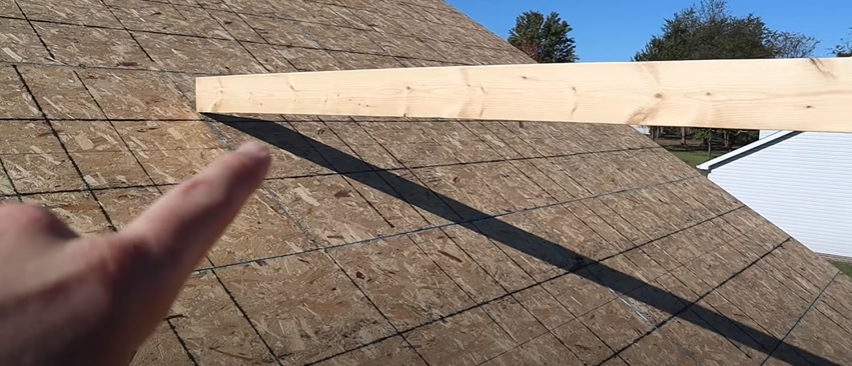
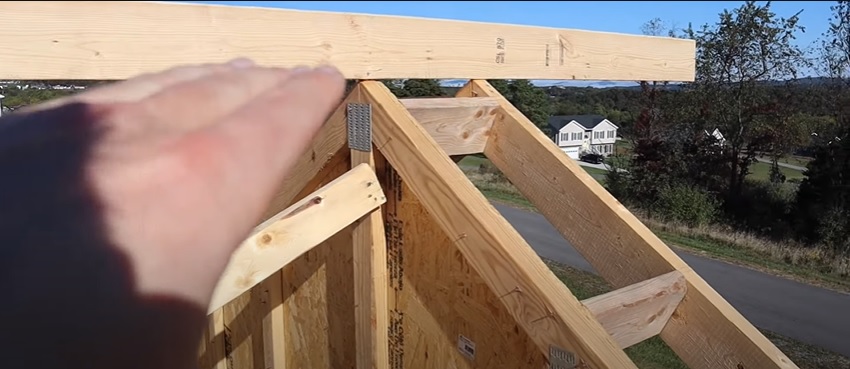
Step 3: Put your level on the board and slide it up and down, adjusting the board until it is completely level end to end.
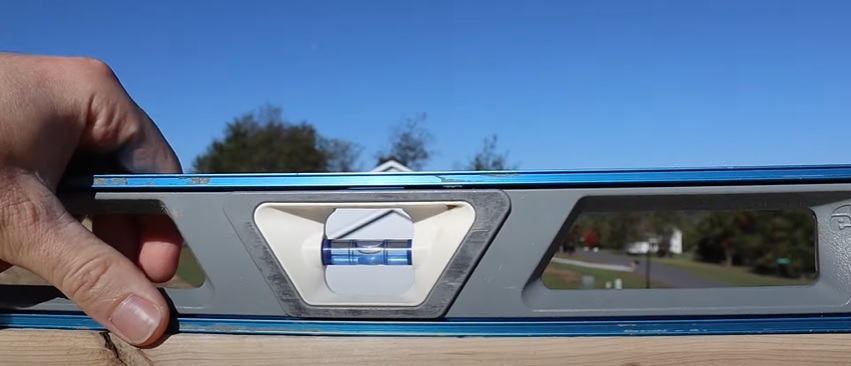
Step 4: Tack the end of the board that is sitting on the gable truss in place with one nail from your nailer. This is just to hold it steady for the next few steps.
Step 5: Make sure the other end of the board is square with your gable truss.
The best method I’ve found to do this is to first measure from the end of the roof horizontally to the center of the gable truss. Then, measure the same distance from the edge of the roof to the end of the board that is sitting on the other roof. Make a mark at that point and line up your board with it.
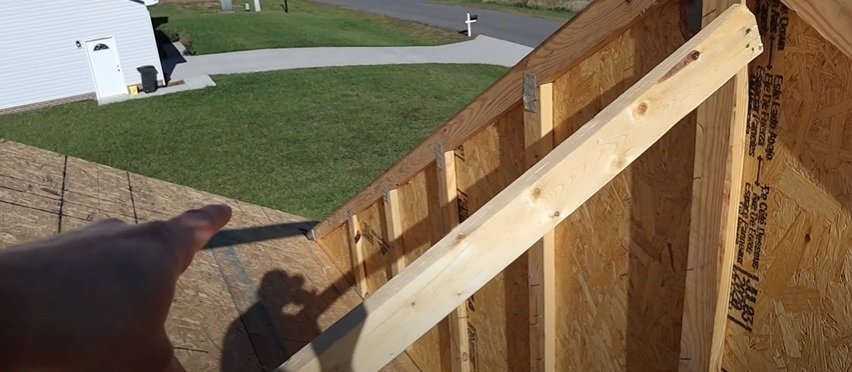
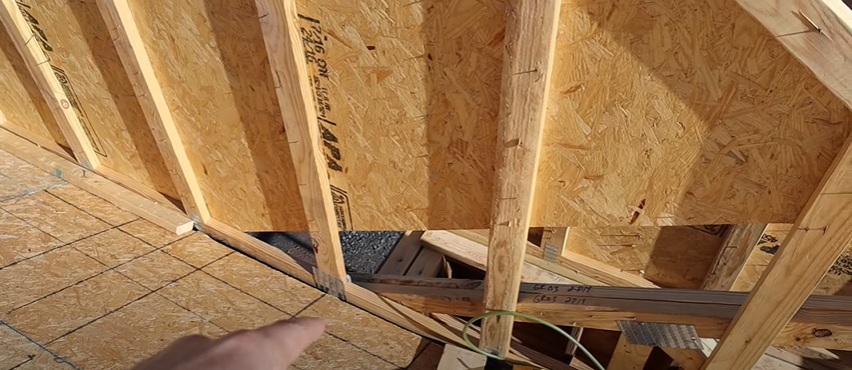
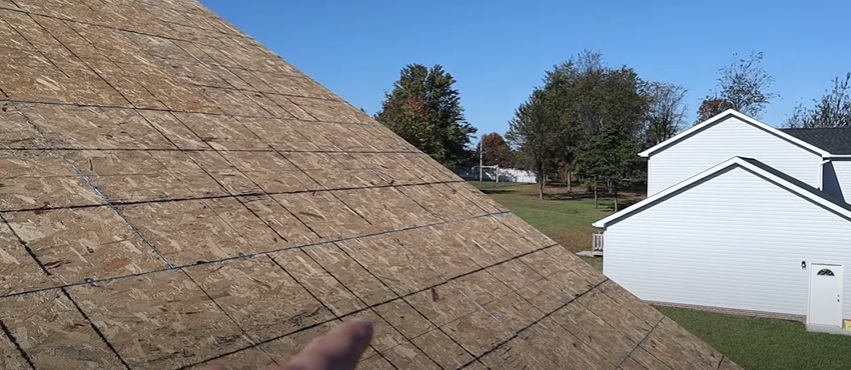
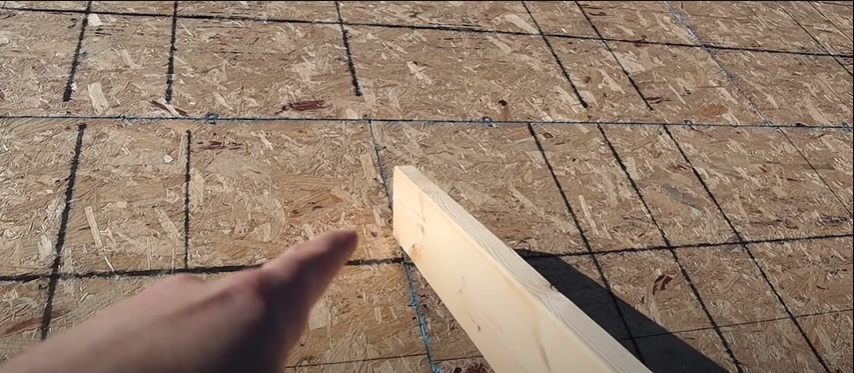
The reason this step is so important is that the end that’s sitting on the other roof indicates where your valley roof peak is going to sit. Thus, it needs to be on the exact center with the gable truss.
Step 6: Measure the length you’ll need to cut your 2 by 6 ridge board, which is the board that extends beneath the long one you set up in the previous steps.
To do this, go over to the gable truss and find the mark that indicates where the top of the ridge board will sit. Measure the width between the top of the truss and that mark (it’s usually around ½ inch), and then go to where the long board hits the other roof.
Hold your tape measure up to the angle between the board and the other roof. Right where the roof and the board would intersect at the measurement you just took on the truss (e.g. ½ inch), make a mark.
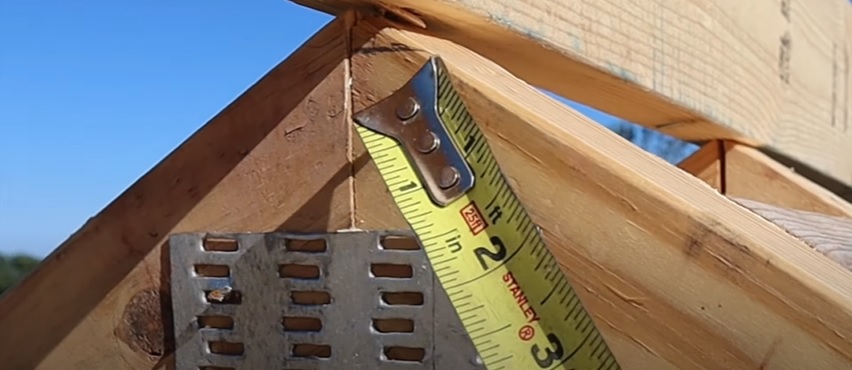
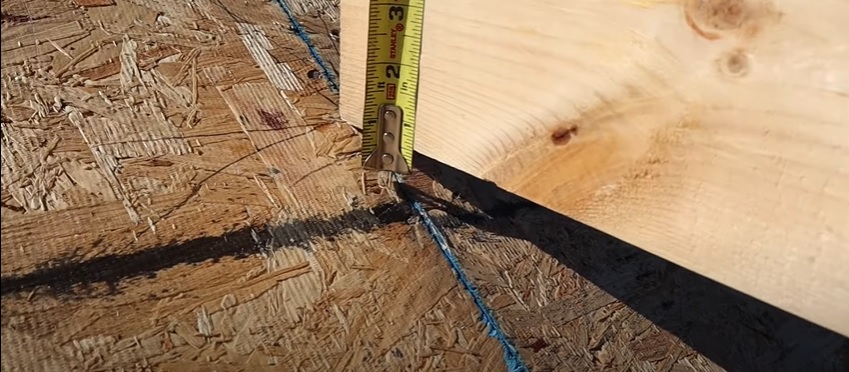
Next, measure from that mark up to where the ridge board would hit the truss. That’s how long the ridge board will need to be.
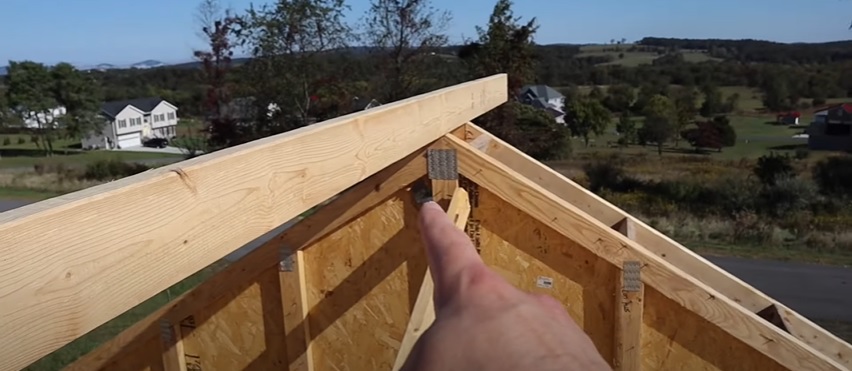
Step 7: Take a 2 by 6 and pull your tape measure from one edge to the measurement you just took for the ridge board. Make a mark at the measurement.
Step 8: Take your framing square and use it to mark out the pitch on your ridge board for cutting.
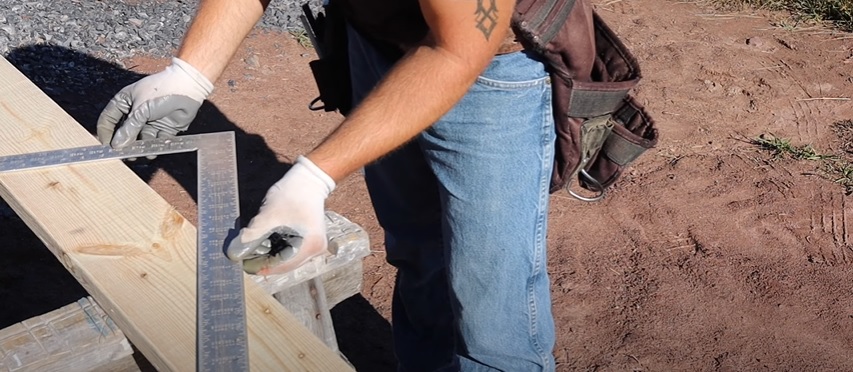
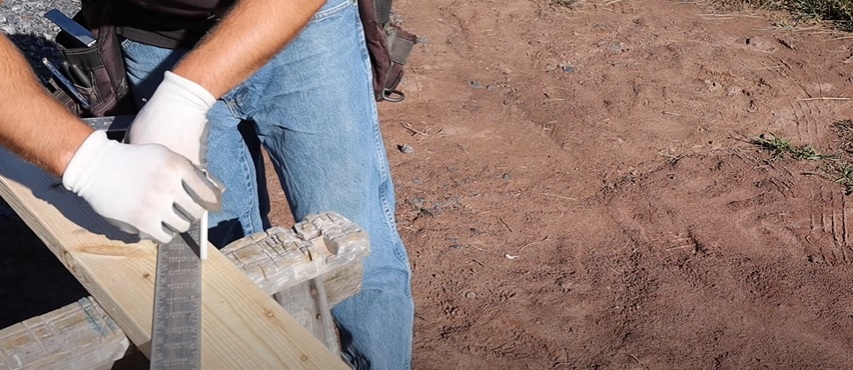
In this example, let’s say the pitch is 7 over 12, which is the standard for house roofs. To get your cutting line, find your 7 mark and lay it on the edge of the board. Then adjust the other end of the framing square until the 12 mark also lies on the board’s edge. Line the 12 up with the mark you made and use outside of the frame to trace a mark indicating where you need to make the cut.
Step 9: Cut the ridge board on the mark you made in the previous step.
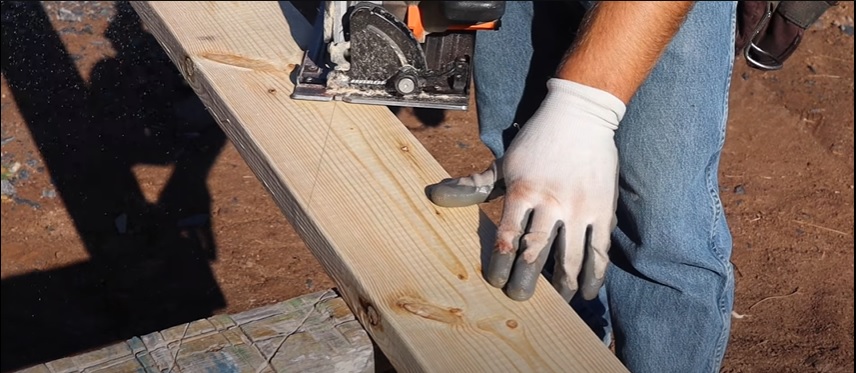
Step 10: Secure both ends of the ridge board in place with your nailer – one end on the side of the gable truss, and the other at the intersection point between the long board and the other roof. Use 3-inch nails, and shoot about four of them into each side of the ridge board.
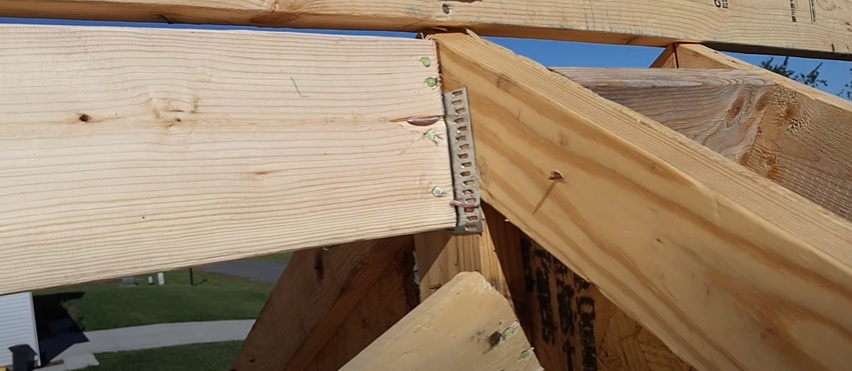
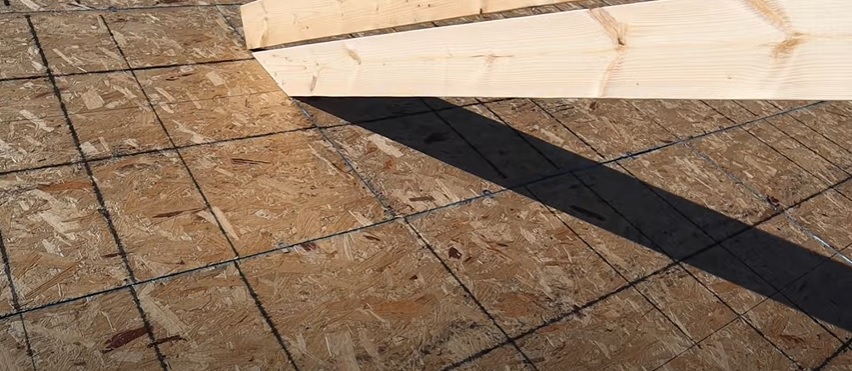
Step 11: Remove the long board that was tacked above the ridge board, as you no longer need it.
Step 12: Mark out a 2 ft layout along the length of the ridge board. To start it, you can either pull your tape measure from the outer edge of the truss or from the inner edge.
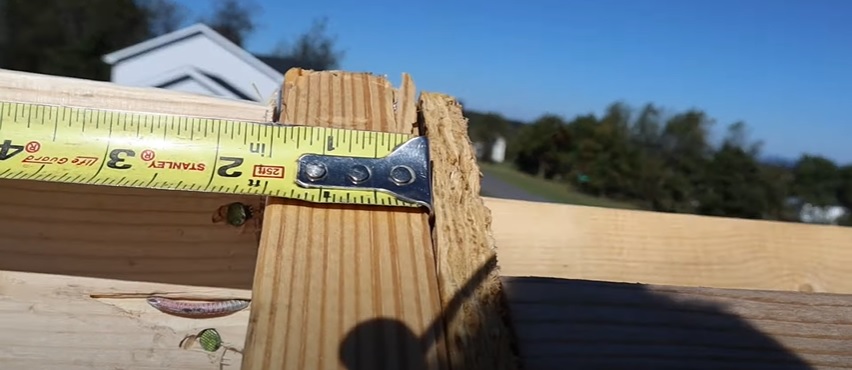
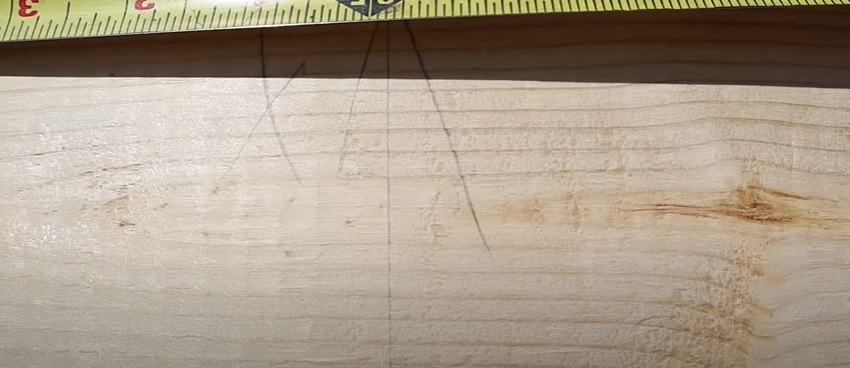
If you’re pulling from the outer edge, after you mark the 2 ft line, mark out an X to the left of that line to help you line up your rafters later. Conversely, if you’re pulling from the inner edge, mark out an X to the right of that line.
Step 13: When you get to the end of the ridge board that intersects with the roof, put a nail in the mark you made earlier in the process where you lined up the end of the long board. Remember that this mark indicates the peak of the roof. You’ll need to measure for your sleeper boards from this point, and putting a nail there now is the easiest way to help you do that in the next step.
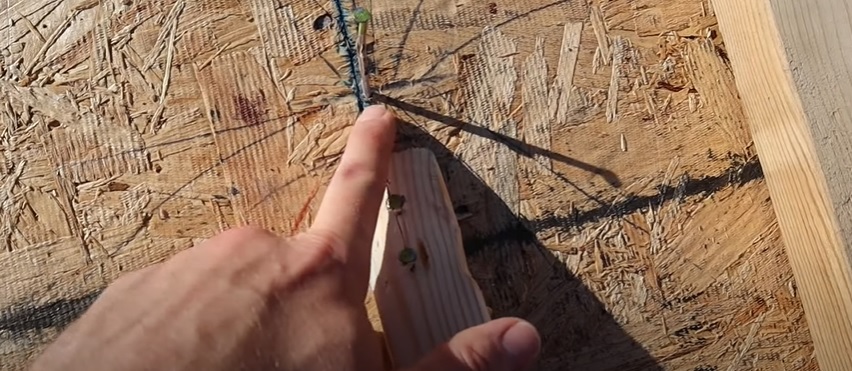
Step 14: Take your chalk and mark a line from the nail you just secured, all the way down to where the gable truss intersects with the edge of the plywood sheathing.
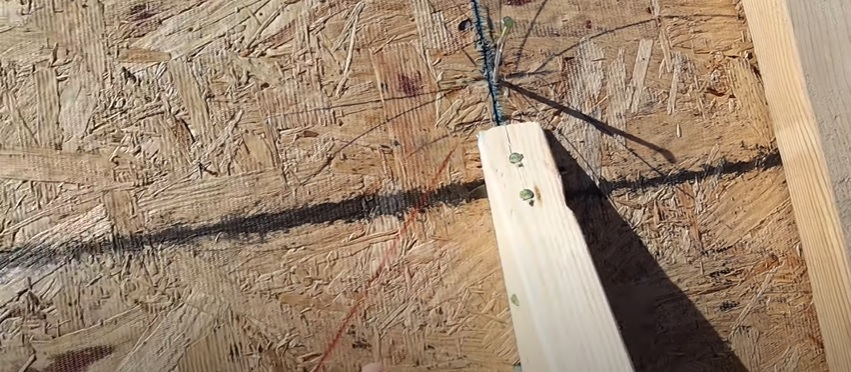
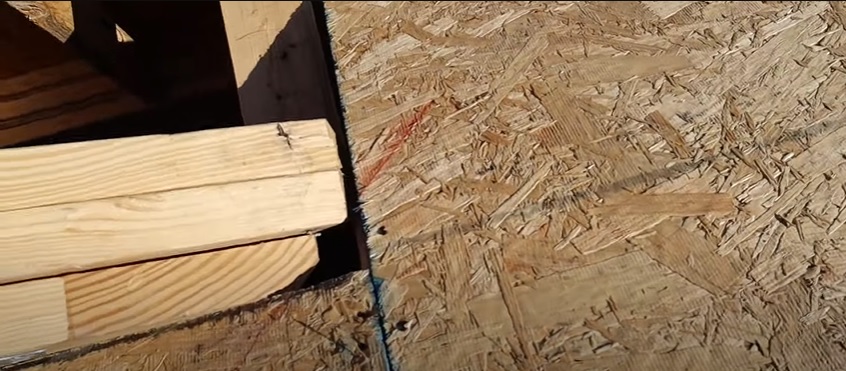
Step 15: Measure 1 ¾ in to the right of your chalk line and make another chalk line. This marks where the left edge of your sleepers will lay.
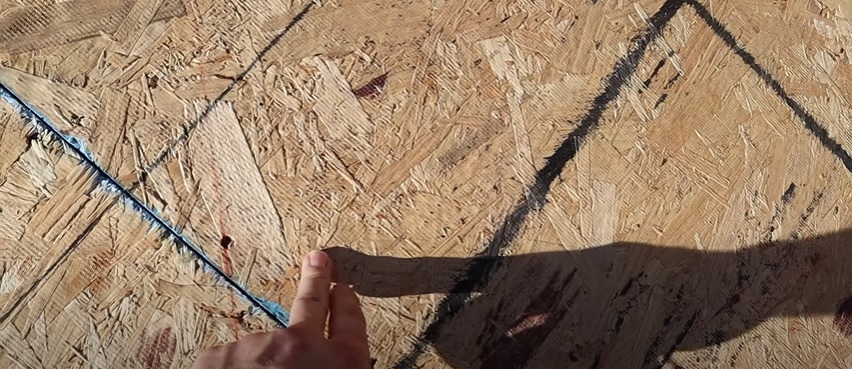
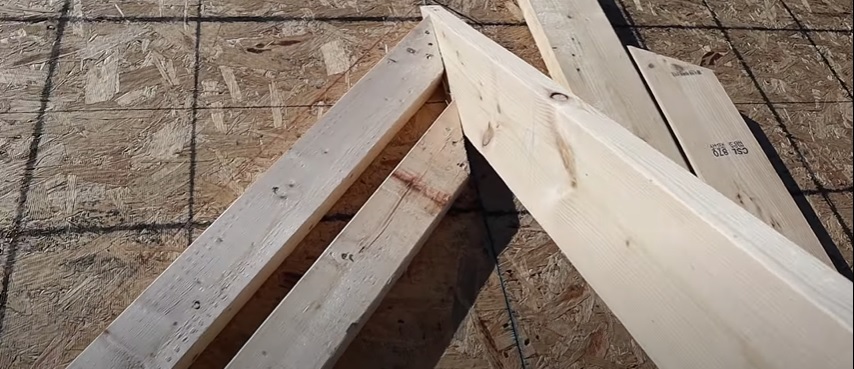
Step 16: Cut angles out of your sleeper boards on one end, so that they fit snugly alongside the intersecting end of the ridge board. Nail them in place, making sure to line the left side of the outermost sleeper with the second chalk line you made.
An easy way to figure out how to cut the angle on each sleeper board so that it fits against the ridge board, is to butt the corner of one end up against the part of the ridge board that it will lay against once cut. Then, take a scrap piece of 2 by 4, lay it flush against the ridge board over the sleeper board, and trace a line along the opposite edge of the 2 by 4 onto your sleeper board. You can measure the angle of this line with your Speed Square, and then you’ll have an accurate picture of where to cut.
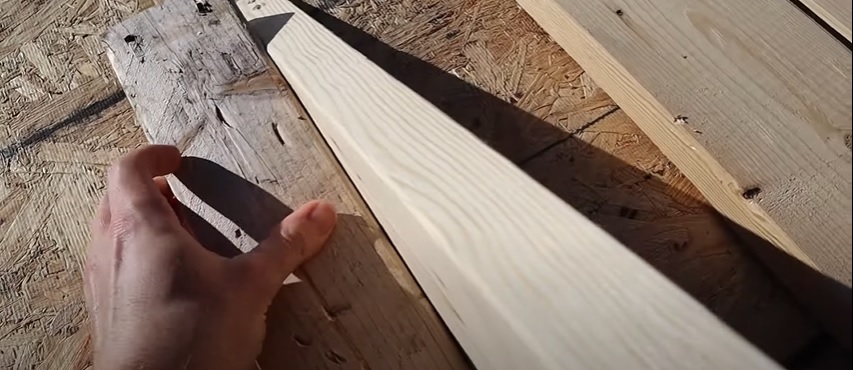
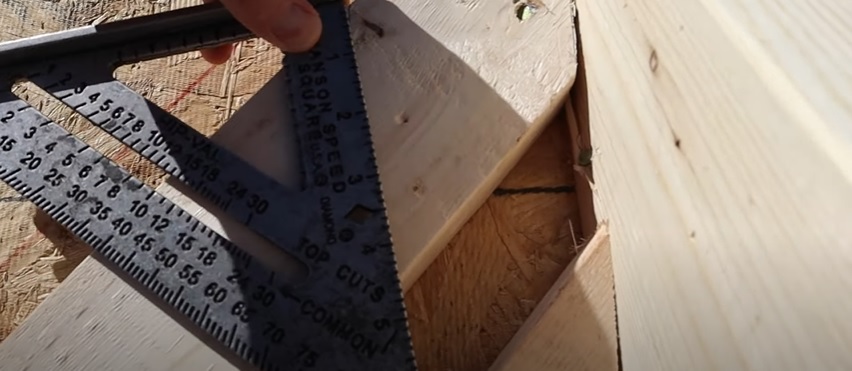
Repeat this measurement process with both sleeper boards.
Step 17: Nail the sleeper boards in place along the plywood sheathing and up against the top of the ridge board.
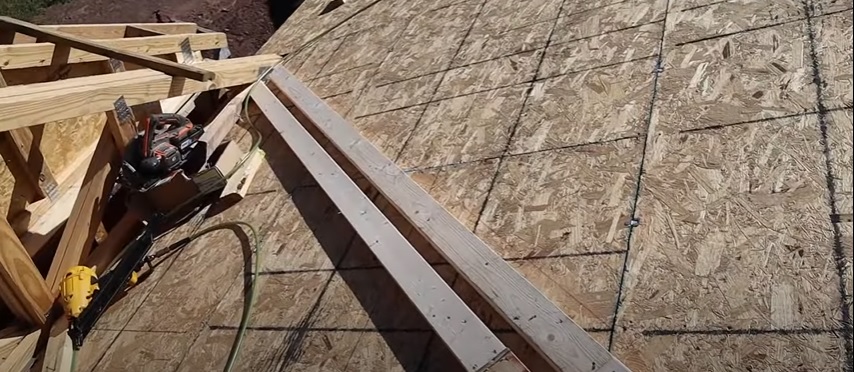
Step 18: Mark your first 2 ft mark on the sleeper boards. It should line up with the layout on the ridge board.
To ensure that it does line up with the layout on the ridge board, take your framing square, which is 2 feet across, and line up one end with the edge of the truss. Then use the other end to scrub an indentation into the sleeper boards. This indentation serves as the marker for the edge of your first rafter.
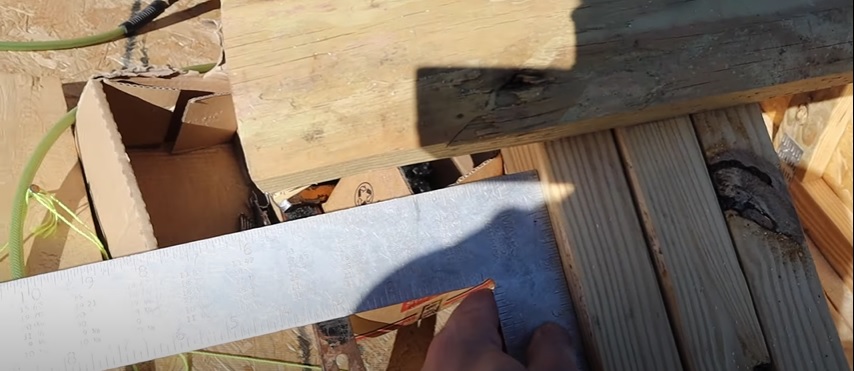
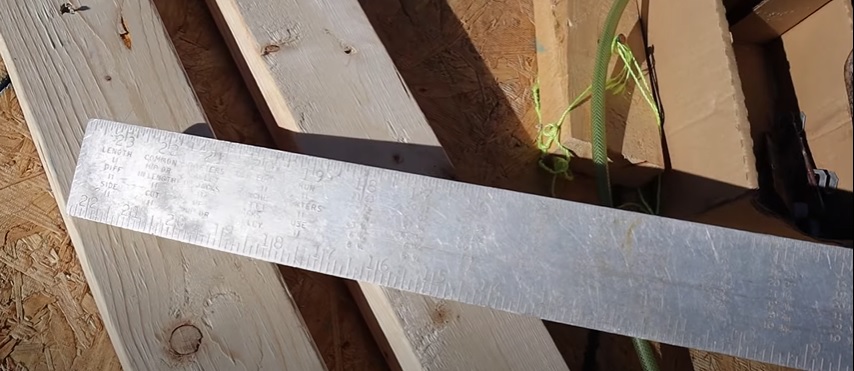
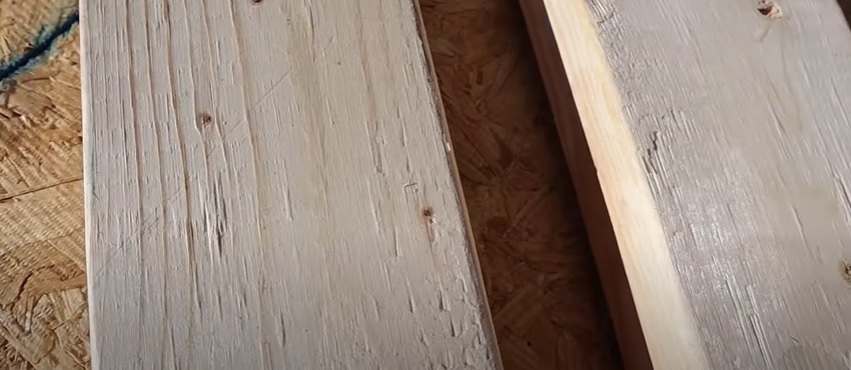
Now, measure 1 ½ in back down the board and make another mark. Put an X in between the marks to indicate where the rafter will sit.
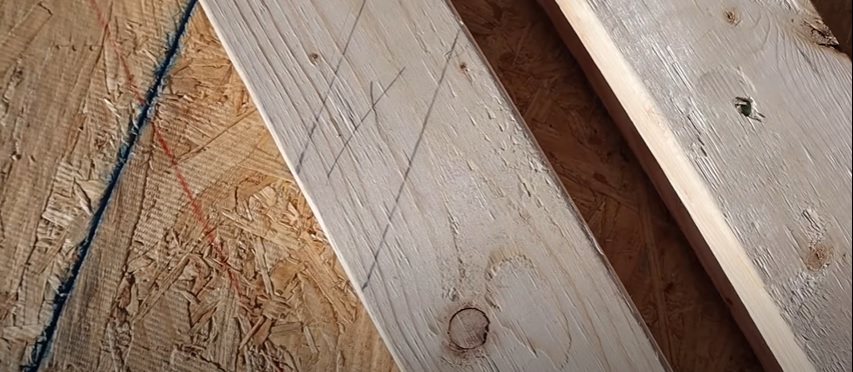
Step 19: Measure the distance between the first 2 ft layout mark on your ridge board and the first mark on your sleeper boards. This measurement will help you cut your first rafter down to size.
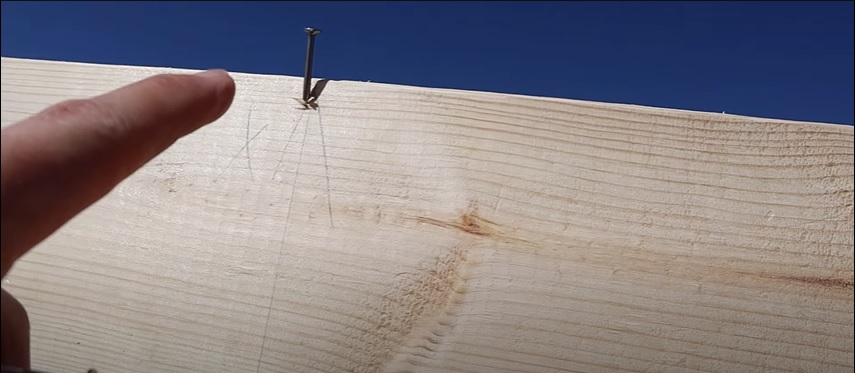
If you made your 2 ft layout on the ridge board by measuring from the outside of the truss, thereby putting your Xs on the left side of each 2 ft mark, then you’ll need to place the other end of your tape on the corresponding mark on the sleeper board to keep the X on the left there, too. The opposite holds true, as well.
In other words, keep your Xs aligned when measuring between the ridge board and the sleeper boards. This way, you’re always measuring the longest distance between the two points to get a measurement for the longest part of the rafter.
Step 20: Cut a 2 by 6 to size according to the distance measurement you just took to get your first rafter.
To do this, you’ll first need to find where the crown is on the board that you’re cutting. You can find which side has the crown by looking down the length of the board and seeing where it bows upward. That side is the one you want to keep facing upward while you make your cuts.
Before you start cutting the rafter, you’ll need to find the 7 over 12 pitch angle on both ends. The difference is that for the end that butts up against the ridge board, you’ll need to use your Speed Square to find the short 7 angle. For the other end that sits on the sleeper boards, you’ll need to use your framing square to find the long 7 angle.
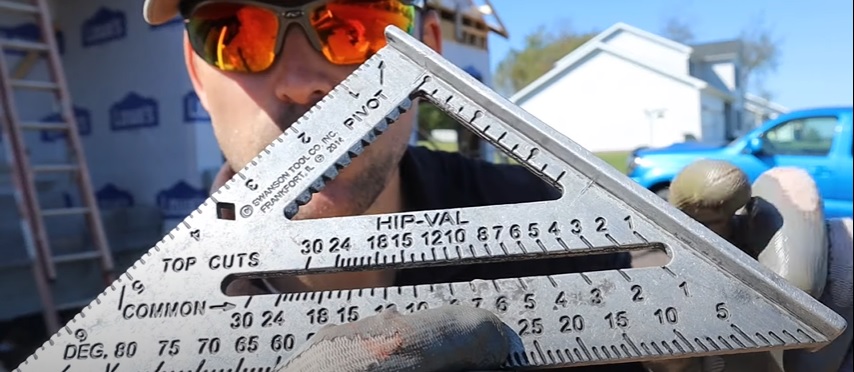
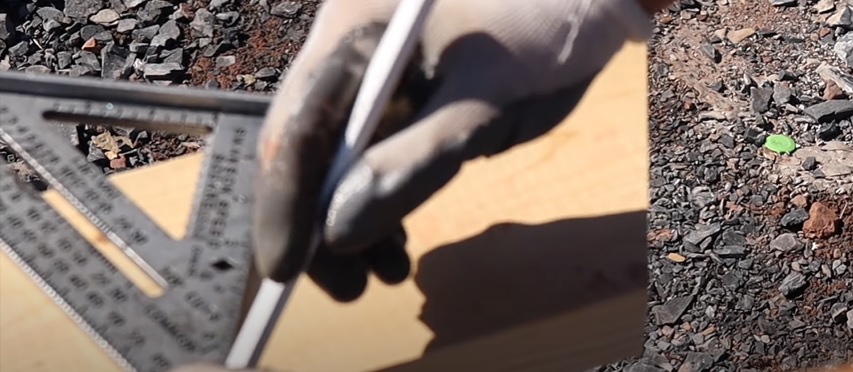
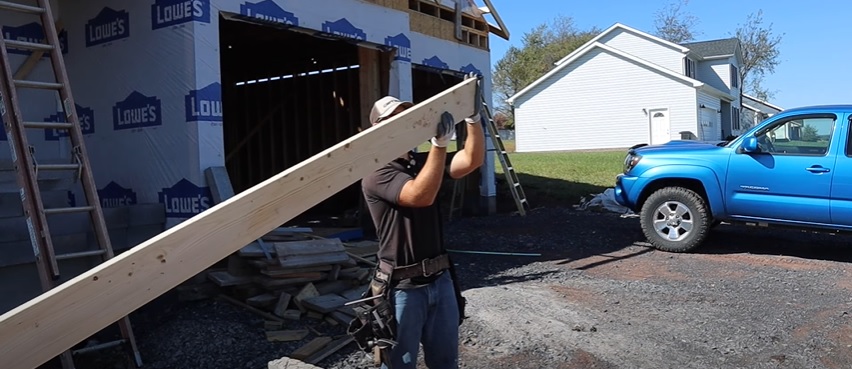
Cut the end that sits against the ridge board first. Then pull your tape measure from the top of that end down to the other end and mark the distance you measured in the previous step. From there, you can use your framing square to measure the long 7 over 12 angle on the sleeper board end of the rafter and make your second cut.
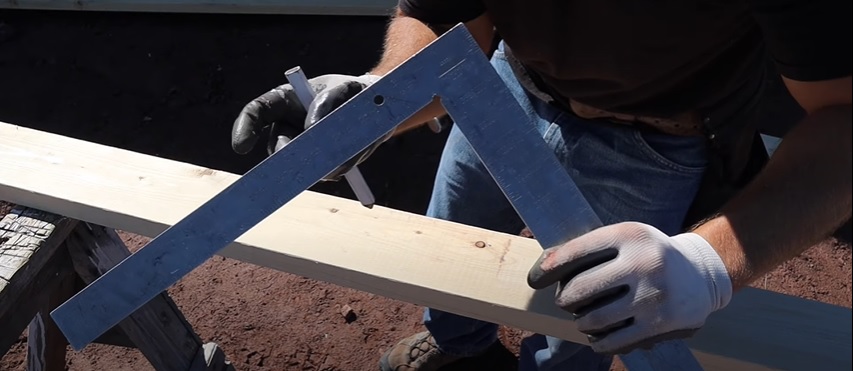
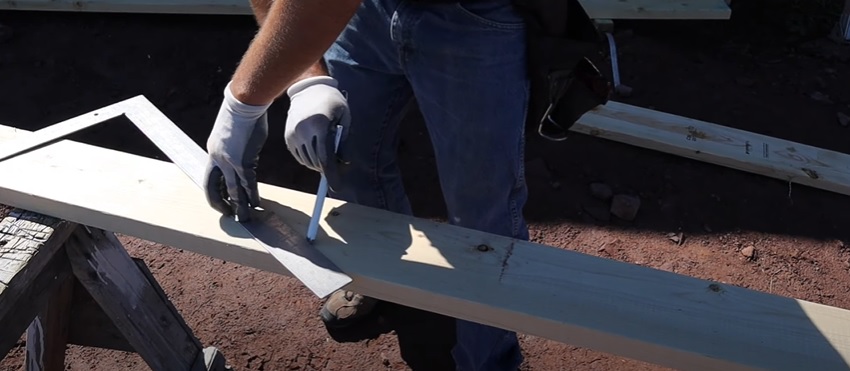
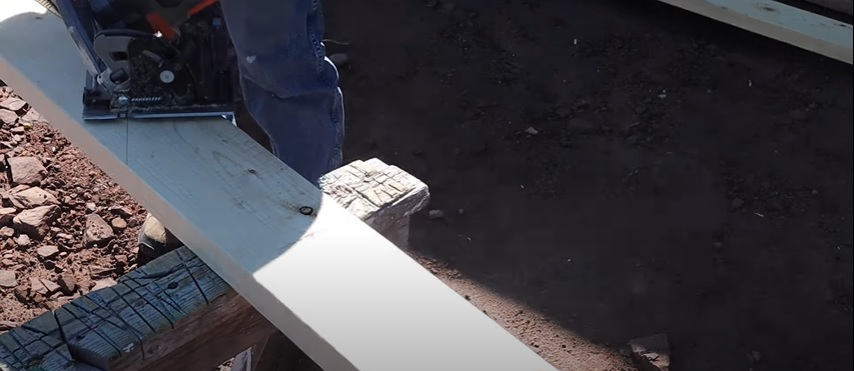
When you’re cutting the end of the rafter that sits on the sleeper boards, be sure to adjust your saw to cut at a 30-degree angle (that’s the angle for a 7 over 12 pitched roof. You can find out the angle of your roof’s pitch with a quick Google search). This extra step will ensure that the rafter is aligned with the slope of the roof.
Step 21: Nail the rafter into place – one end on the ridge board and one end on the sleeper boards. Use a generous number of nails; I usually put in 5 or 6 on the right side of the rafter, 4 on the left side, and 1 on top, all on the sleeper board end.
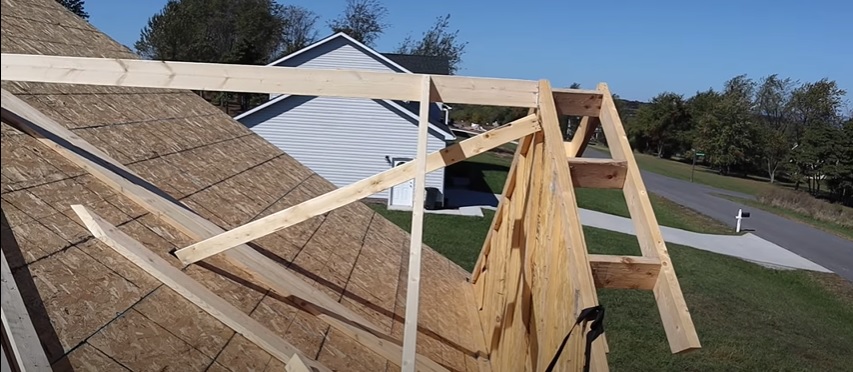
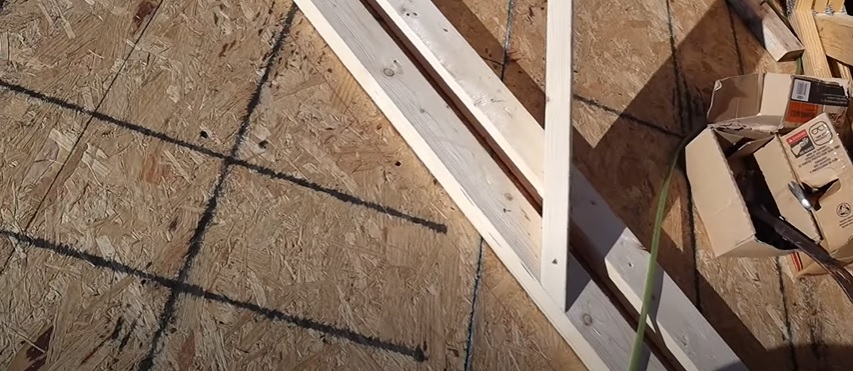
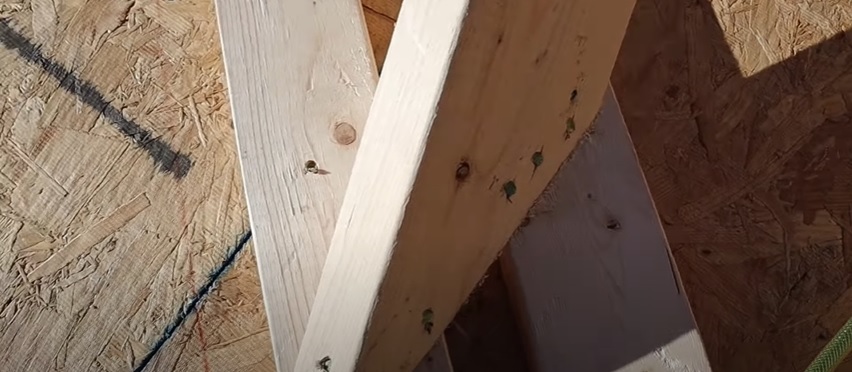
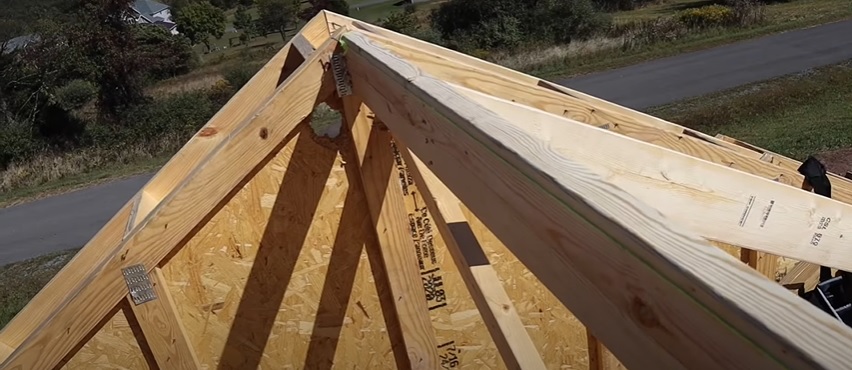
Secure the end of the rafter that butts up against the ridge board in place by shooting the nails (about 4 or 5 of them) into it from the opposite side of the ridge board. This will prevent the ends of the nails from poking through on the other side.
Pro Tip: To make sure your ridge board stays straight and aligned while you’re nailing in your rafters, run a string line from the truss end of the ridge board to the nail you put on the roof in step 13. This way, you can see if your ridge board starts to bow out because it will push on that string.
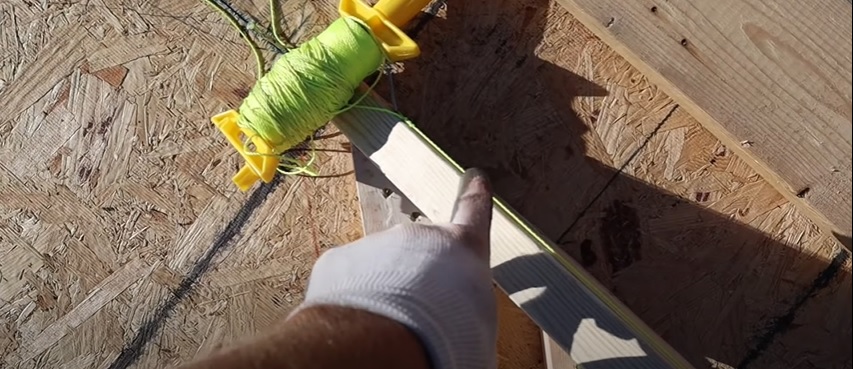
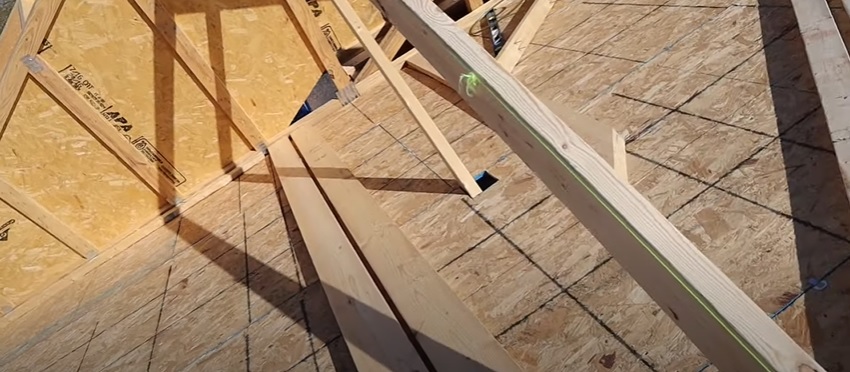
Step 22: Make the next 2 ft mark for your layout on the sleeper boards by measuring from the edge of the first rafter using your framing ruler. Scrub an indentation in the wood like you did in. Then repeat steps 18-21 for each rafter.
Step 23: Repeat steps 12-22 for the other rafters on the other side of the ridge board.
Step 24: Make sure all your rafters line up with one another. You can see that they do by looking at the valley framing from all angles, including from down on the ground.
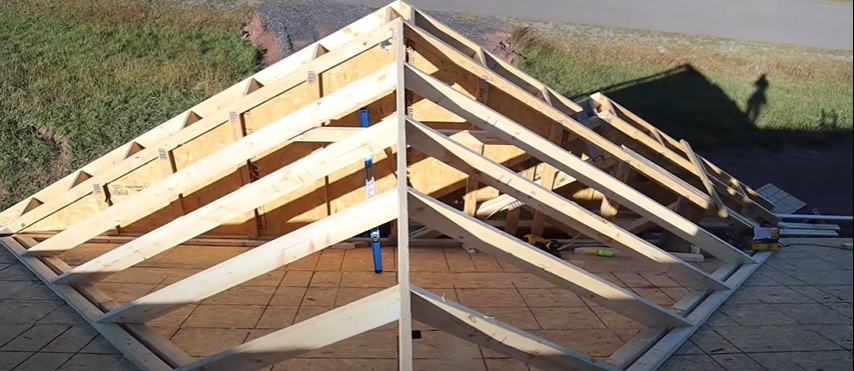
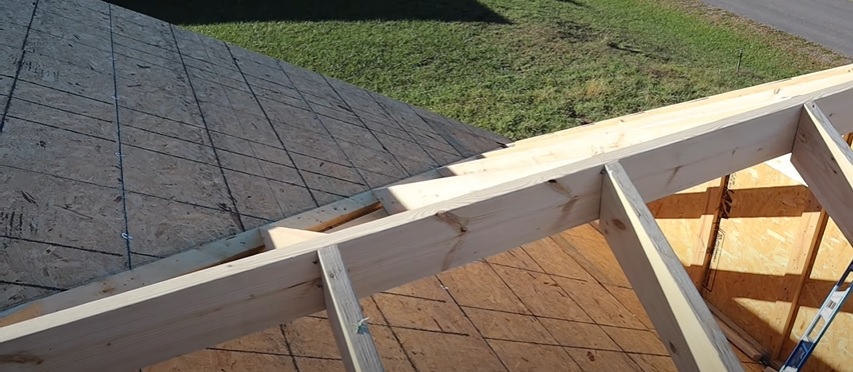
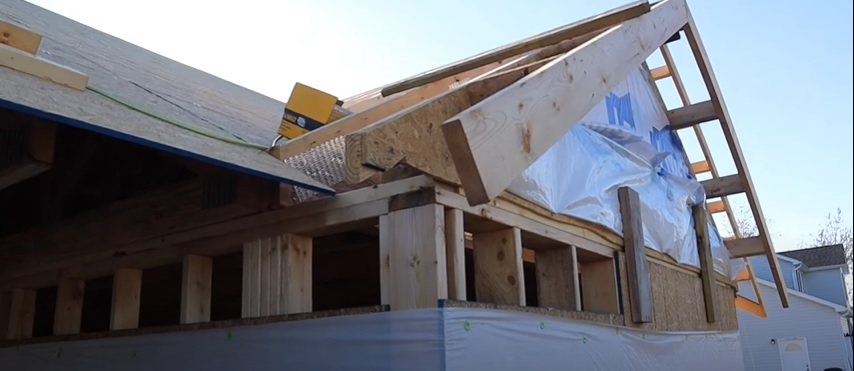
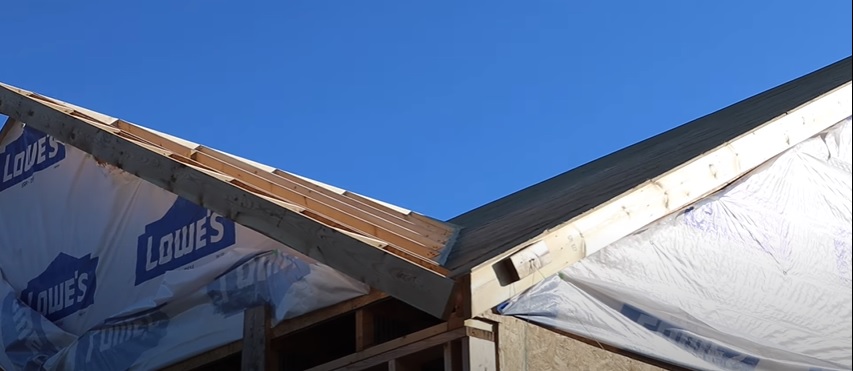
If all your rafters and your ridge board line up, congratulations: you just successfully built out the framing for a small valley roof!
Watch me build a small roof in the video below.
To see a real life demonstration of this entire process, you can always watch my YouTube video here. Be sure to check back on the blog as well as my YouTube channel for more excellent DIY house building tutorials.

Pingback: How To Install OSB Roof Sheathing - Excellent Laborer
Pingback: How To Install Fascia - Excellent Laborer
Pingback: How To Build A Double Bird Box For A Soffit On A House - Excellent Laborer