Installing OSB sheathing on the roof of your DIY house is not hard to do. In this article, I show you how simple it is by guiding you through my sheathing process, step by step. I also go over some important safety tips that you should follow whenever you’re working on a tall structure.
Once again, make sure to CHECK YOUR LOCAL BUILDING CODES before starting a new house or roofing project.
Table of Contents
ToggleWhat Is Roof Sheathing?
Roof sheathing is the layer of OSB board that sits directly on top of your roof trusses. “OSB” stands for oriented strand board, which is a panel consisting of strands of wood that have been compressed together with adhesives.
The OSB panels I use for my DIY roofing projects are only about 7/16″ thick and typically come in 4 by 8 ft sheets. The snow load in this area is not great so 7/16″ OSB works just fine.
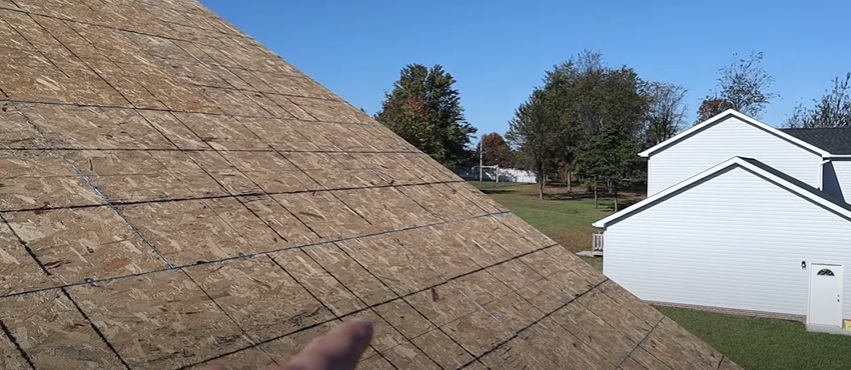
How To Stay Safe While Installing Roof Sheathing
If you’ve never installed roof sheathing before – or even if you’re more experienced, like me – here are some basic safety tips you should learn before you get started.
1) Get A Friend Or Family Member To Help You
Whenever you install roof sheathing, you should always have a friend or family member (or more than one) on hand to help you. Not only can they spot you and make sure you stay safe, but they can also hand you OSB boards up through the trusses, straighten your chalk lines, and make the job go a whole lot faster.
2) Tie Yourself Off While You Work On The Roof
Sometimes it’s easy to forget that the roof of a house is actually a long way from the ground. If you were to fall from that height – a drop of anywhere from 10 to 20 feet – you could seriously injure yourself.
To avoid that, I recommend tying yourself off with some kind of safety harness. This way, if you slip or step the wrong way while you’re up on the roof, the harness will stop you from plummeting to the ground.
3) Avoid Sheathing On Windy Days
This may sound like a no-brainer, but it’s worth mentioning because a windy day is the worst day to install roof sheathing.
Wind has a special penchant for grabbing those OSB boards and flipping them or blowing them away from you. But the worst situation to be in is when you’re holding the OSB board and the force of the air pushing against the board causes you to fall.
With that in mind, it’s best to stay on the ground on windy days.
Side Note: If you’ve watched any of my roof sheathing videos on my YouTube channel, you may have noticed that I myself have installed sheathing in windy weather.
This is one of those, “Do as I say, not as I do” lessons. I know the risks of working in those conditions, but I don’t recommend someone else taking on those risks, no matter how many times they’ve sheathed a roof in the past.
4) Mind Your Nailer Hose
When you’re up on the roof clambering over trusses and OSB boards, make sure to mind the air hose on your nailer. Those things are slippery like ice when you step on them, and the last place you want to make that mistake is on top of an unsheathed roof.
Tools For Installing OSB Roof Sheathing
DISCLAIMER – This article does contain affiliate links. I earn a small commission that helps support this website at no extra cost to you, if one of the links is used to make a purchase.
Here are the tools and supplies you’ll need for your OSB roof sheathing installation (many of which you can find on my Amazon store).
- OSB panels
- Plywood clips
- Nailer with 2 ⅜ in nails
- Chalk line
Step By Step Guide For Installing OSB Roof Sheathing
Step 1: To start the first row of sheathing on one side of the roof, go to the last truss on that side. Measure 46 ½ inches from the outer edge of the roof and make a mark at that point on the truss.

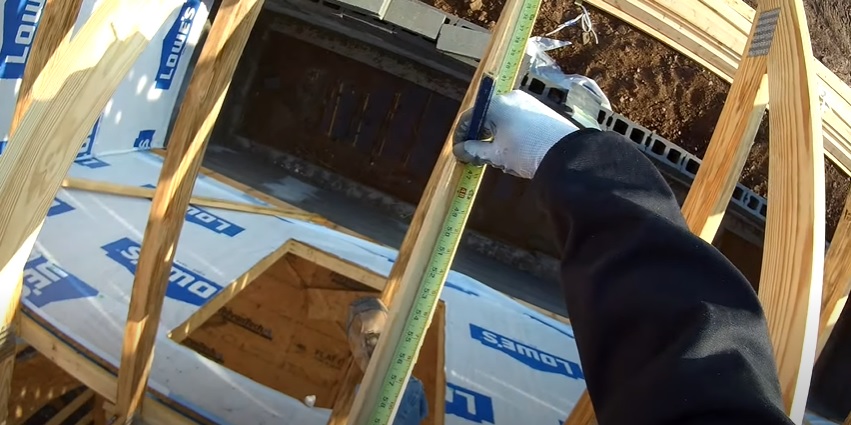
The extra half inch leaves room for the fascia board, which hasn’t been installed at this point in the roofing project.
Step 2: Starting at that mark, make a horizontal chalk line straight across all the trusses on that side of the roof.

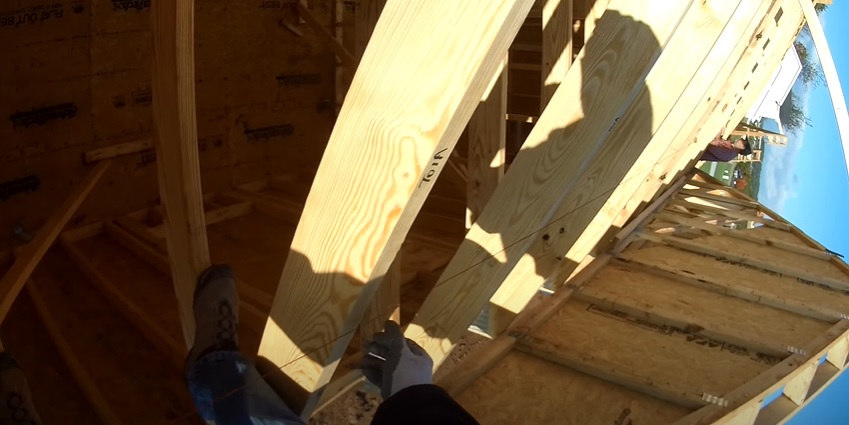
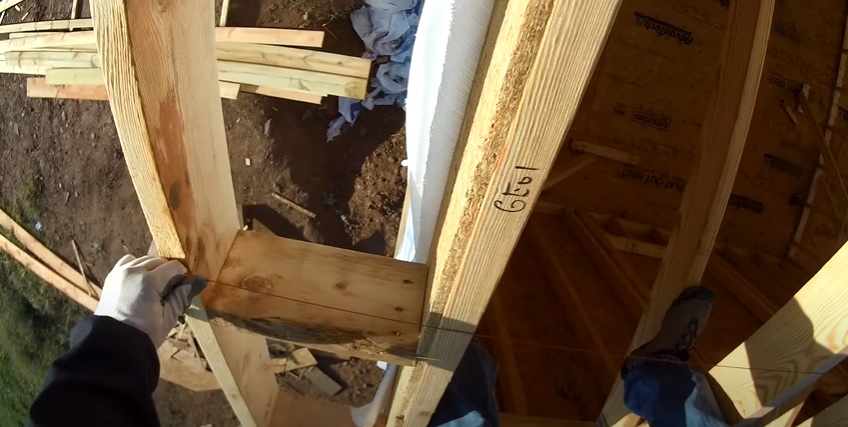
It’s helpful to have a friend help you with this part. They can double check that you kept the chalk line straight before you pluck it.
Step 3: Line up the long edge of your OSB panel flush against the line you just chalked. Ensure that the break point of each panel is resting at the 2 ft on center mark on a truss.

Step 4: Secure the OSB panel in place on the trusses at every 2 ft on center mark using your nailer. I like to put a nail in every 8 inches.

Step 5: Repeat steps 3 and 4 with each OSB panel for that section of your roof.
Step 6: After you’re finished with one row, place plywood clips on the top edge of your OSB panels at intervals of about 2 ft. These will add a tiny space of about ⅛ in between each row of sheathing.


Step 7: Start your second row of sheathing by lining up a new OSB panel with the one below it. Make sure to slide the new panel into the plywood clips (the clips almost never line up the way you want them to at first, so take some time to adjust them before you start tacking the panel down with your nailer).
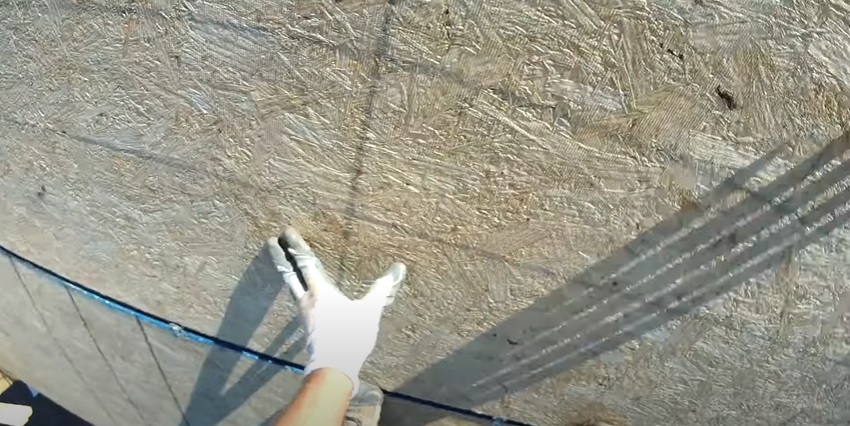
Step 8: Ensure each panel in the new row lines up with the row underneath it and breaks 2 ft on center on each truss before you nail it down (as you did in step 4).
Step 9: Repeat the previous steps until the whole roof is covered in sheathing.

Side Note: To sheathe the part of a roof that butts up against a gable or covers a valley roof, you’ll need to cut the OSB panel to fit. Cutting it for a gable is pretty straightforward, but valley roofs are a little trickier. Watch this video to learn how to cut OSB sheathing for a valley roof.
And there you have it! Installing OSB roof sheathing really is that simple. There are just two key things you should remember: 1) follow the safety tips that I covered above, and 2) have at least one person on site helping you.
If you want to see a roof sheathed from start to finish, watch my tutorial here. And of course, you can always find all kinds of other useful DIY home building videos on the Excellent Laborer YouTube channel.

Pingback: How To Cut Soffit Fast Using a Circular Saw and Soffit Cutting Jig - Excellent Laborer