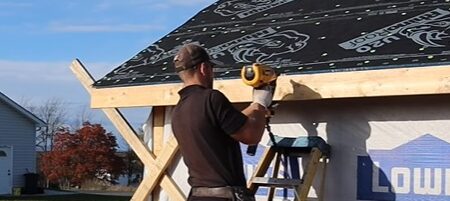
Are you at the point in your DIY house build where you need to install fascia around the perimeter of your roof, but you have no one to help you?
Believe it or not, you don’t need a helper for this part of the project. You can put up fascia boards by yourself – even 16’ ones – without assistance from anyone! The key is having a L-bracket, and I’ll explain what that is when I guide you through my process for installing fascia below.
Remember to ALWAYS CHECK YOUR LOCAL BUILDING CODES before beginning any DIY house project.
Table of Contents
ToggleWhat Is Fascia?
Fascia boards are long pieces of plywood nailed to the ends of rafters all around the perimeter of a roof. Not only do they provide a stable surface for you to mount your gutters to, but they also cover up the unsightly gaps between the rafter ends.
Before the end of the build, home builders typically install fascia covers over the plywood boards. These covers are made out of a more aesthetically pleasing to match or complement the house’s exterior siding.
Safety Tips For Installing Fascia Without Help
As you put up fascia on your DIY house by yourself, be sure to follow these three safety tips.
1) Wear Safety Glasses Or Goggles, Especially When Nailing
When you’re installing fascia, you’ll realize that the nailer gets uncomfortably close to your face. That’s why, for this process and every DIY build project, I recommend you wear eye protection. That can be safety glasses or goggles. Either one will keep your eyes from getting hurt in case something goes wrong with your nailer.
2) Make Sure Your Ladder Is Secure On The Ground
Before you start shimmying up and down the ladder, make sure that it’s secure on the ground (especially if it’s a windy day). Remember, there’s no one around to hold it down for you! The last thing you want is for the ladder to tip over while you’re several feet in the air, holding a 2 by 6 and a nailer.
3) Don’t Try To Install Fascia Board Over 10’ Long Without A L-Bracket
I don’t recommend installing long fascia boards – over 10’ in length – without a L-bracket. If you try to manipulate a 16’ piece of plywood by yourself while you’re around 12’ above the ground without anyone around to help you, you’re setting yourself up for an injury.
Tools And Supplies Needed To Install Fascia By Yourself
DISCLAIMER – This article does contain affiliate links. I earn a small commission that helps support this website at no extra cost to you, if one of the links is used to make a purchase.
Here are the tools and supplies you need to make your solo installation of fascia boards run smoothly (all the tools listed are available in the Excellent Laborer Amazon store).
- Nailer
- L-bracket (I made my own, as you’ll see in the step-by-step installation guide below)
- Ladder
- Tape measure
- 16’ 2 by 6 plywood boards
Step By Step Guide To Installing Fascia Alone
Step 1: Build a L-bracket that you can use to keep each fascia board in place as you’re installing it.
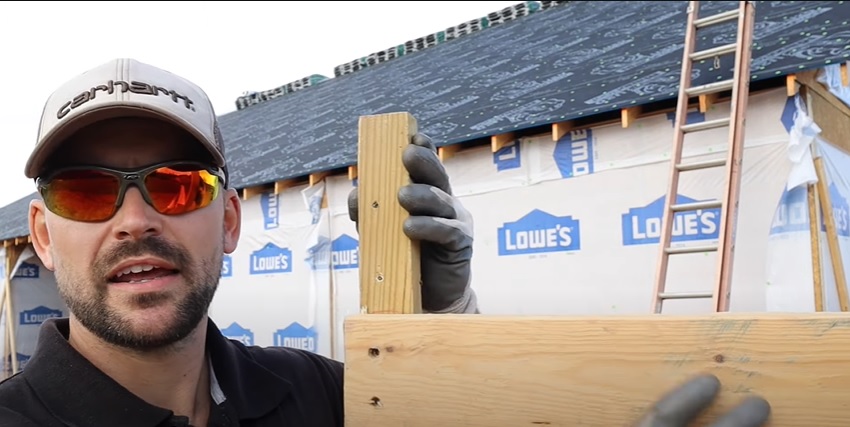
This should be a quick, easy process. For my L-bracket, I made the longest piece about 18” long, and then I installed a shorter piece on the end of it at a 90-degree angle. I made sure there was six inches of space between the top of the long piece and the top of the short piece to match the 6” width of the fascia board.
Step 2: Screw the short piece of the L-bracket, oriented vertically, to a rafter that is about one or two rafters away from the rafter where you will tack up one end of your fascia board.
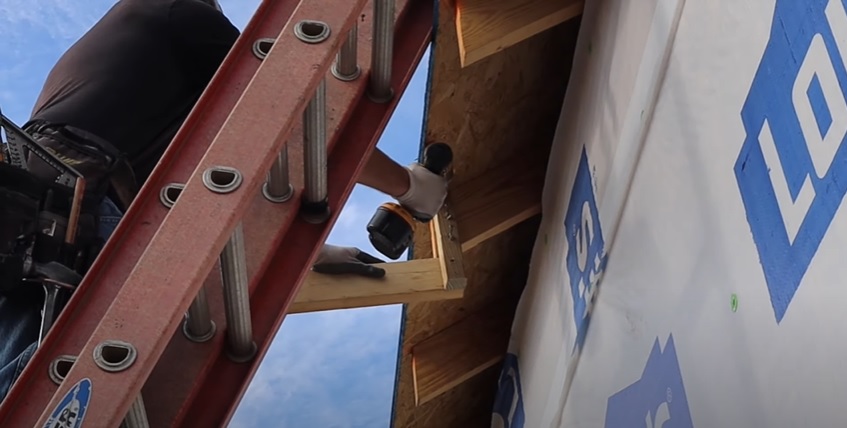
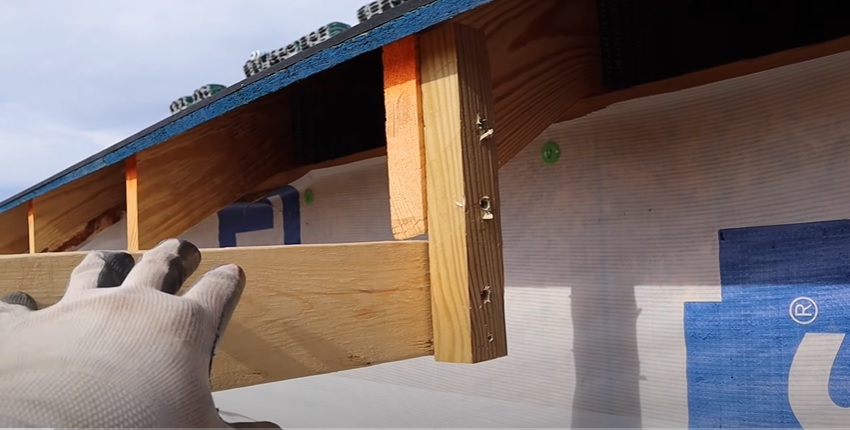
Even if you don’t know which rafter your fascia will break on just yet, you can eyeball it and set up your L-bracket now, so that it’s already in place for the next couple of steps.
Step 3: For your first fascia board, measure from one end of the roof as far along that side as your 16’ fascia board will fit, so that the end of the board will break on center on a rafter. (You may need to break up the length into two measurements, so that your tape measure remains stable.)
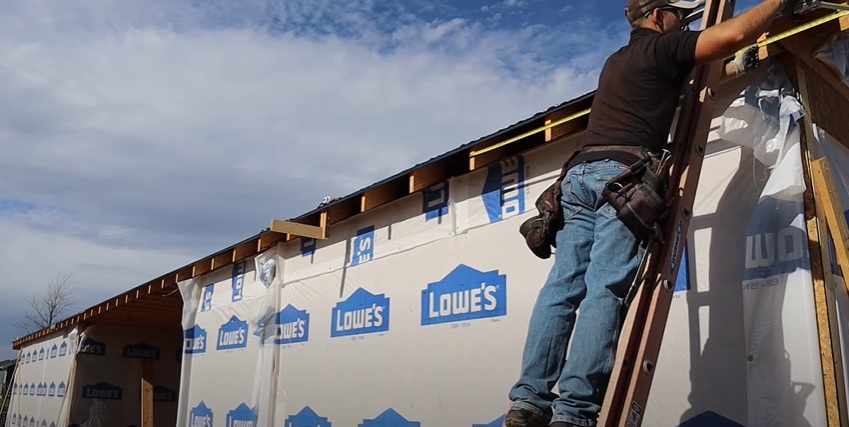
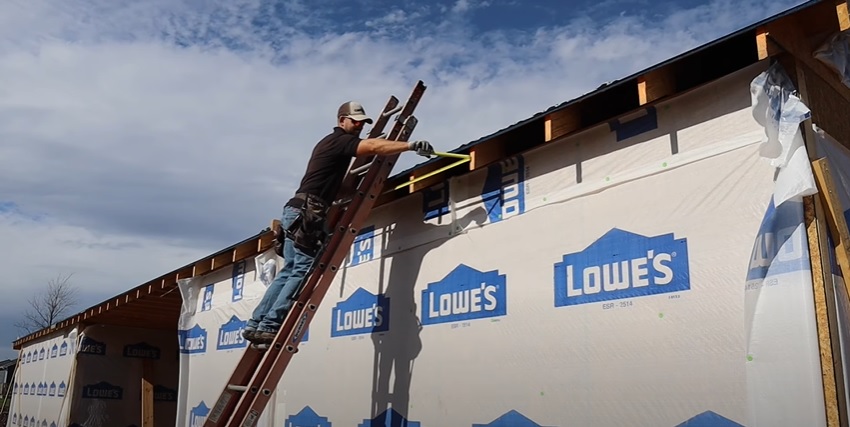
For example, if your fascia board breaks on the center of a rafter at exactly 16’ from the outside edge of the roof, you may need to trim an excess of ¼-½” off the board, since 16’ boards are typically a little bit longer than that.
Step 4: Cut your fascia board to size.
Step 5: Install your first fascia board.
The way I like to do this (for the first and every succeeding fascia board) is to raise one end of the board onto the L-bracket from the ground, then climb up the ladder carrying the other end of the board with me. I make sure the end I’m carrying is flush with the edge of the roof, and then I tack it into place using my nailer.
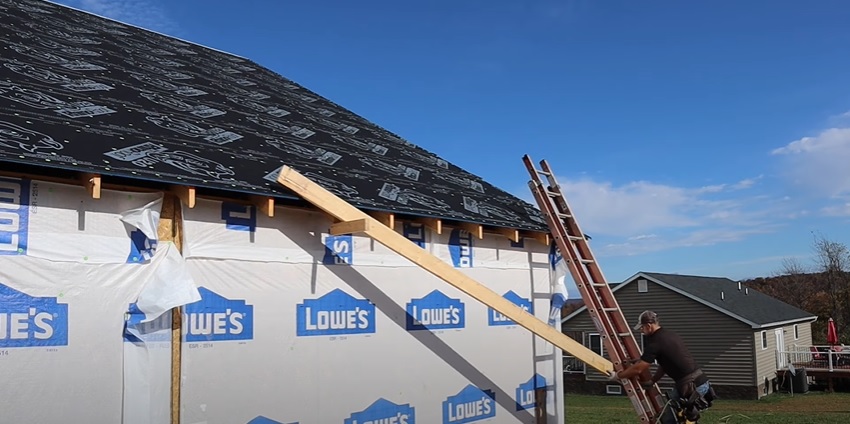
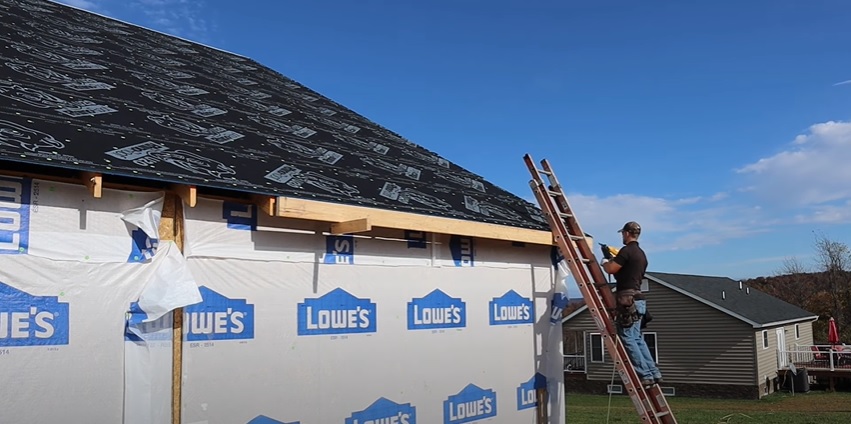
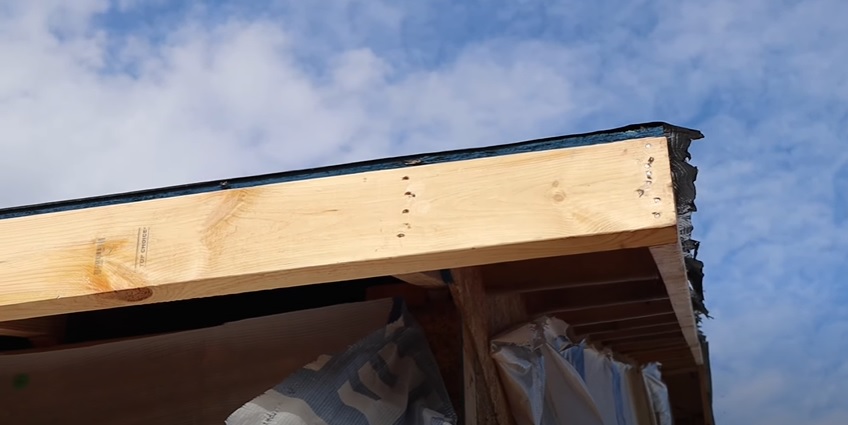
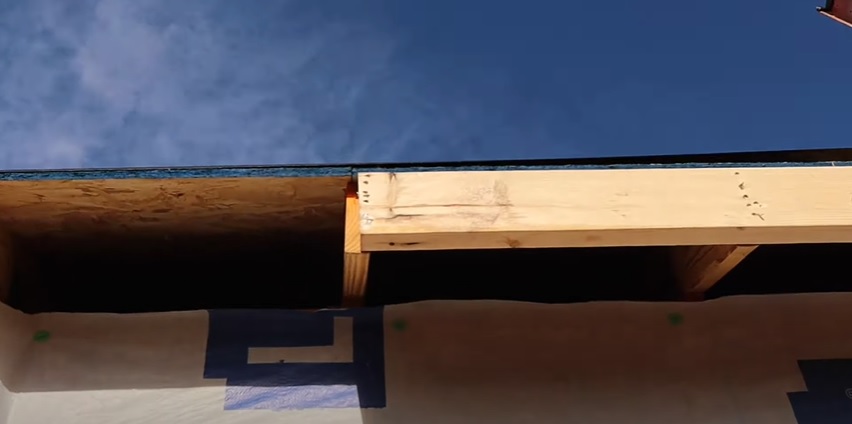
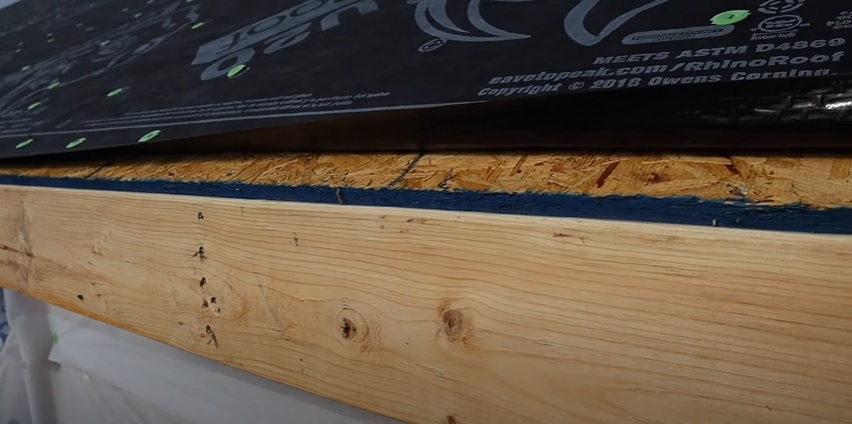
After that, I tack the rest of the fascia board into place using five or six 3” nails on every rafter. I also shoot nails through the top of the roof sheathing down into the fascia board to secure it even more.
Step 6: Unscrew and remove the L-bracket.
Step 7: Repeat steps 2-5 all along that side of the roof.
Step 8: When you reach the other end of that side of the roof, you may find that you need to cut the last board significantly shorter than the rest of the fascia.
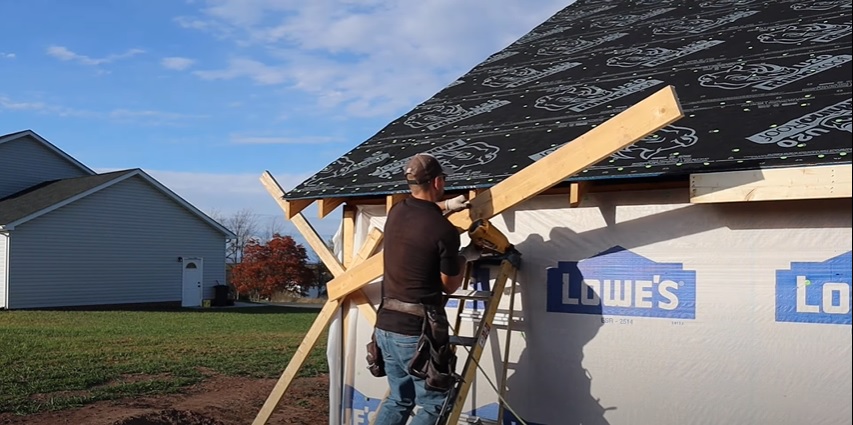
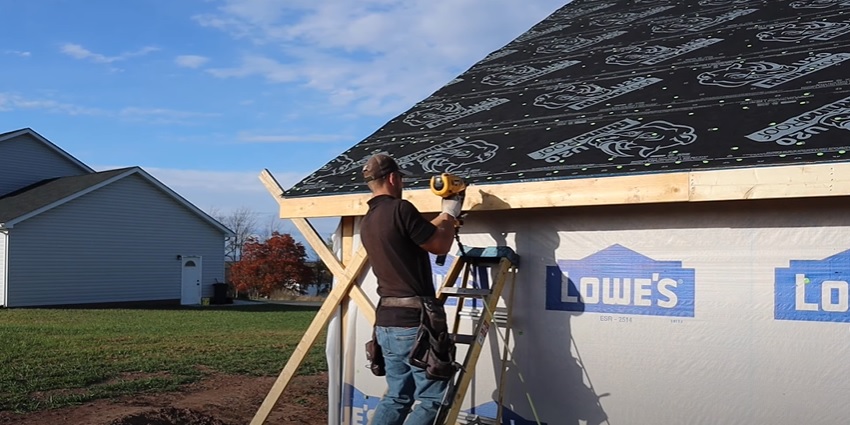
For a board that is around 10’ or less in length, you can install it without the use of a L-bracket. Just carry it up the ladder and tack it into place on the middle rafter first, then finish nailing it into place everywhere else.
That’s it! Pretty easy, right? All you need is a L-bracket and some common sense, and you’ll have beautiful, even fascia all around your home without having to pay for an extra laborer. Now, that’s excellent.
If you’d like to learn how to do more DIY house projects on your own, refer to the blog or the Excellent Laborer YouTube channel.

