In the past, I’ve gone into detail about how to DIY install one of my favorite types of porch decking, Trex. Then, I focused more on how to start the installation. But for this article, I’m going to cover the actual laying of the decking, as well as the process for finishing the Trex off once it reaches the exterior wall of the house.
No matter what stage of your Trex decking installation you’re in, remember to CHECK YOUR LOCAL BUILDING CODES to make sure you’re in compliance.
Tools and Supplies Needed To Install and Finish Trex
DISCLAIMER – This article does contain affiliate links. I earn a small commission that helps support this website at no extra cost to you, if one of the links is used to make a purchase.
Here are the tools and supplies that you’ll need to install Trex composite decking by the Excellent Laborer method. (You can view the brands that I prefer to use on the Excellent Laborer Amazon store.)
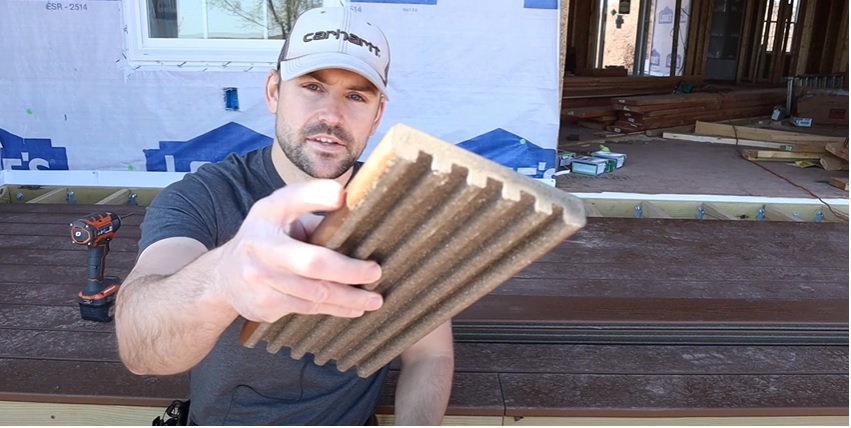
- Trex composite deck boards (for this tutorial, I used the Trex Enhance Basics 16-ft Saddle Grooved Composite Deck Board)
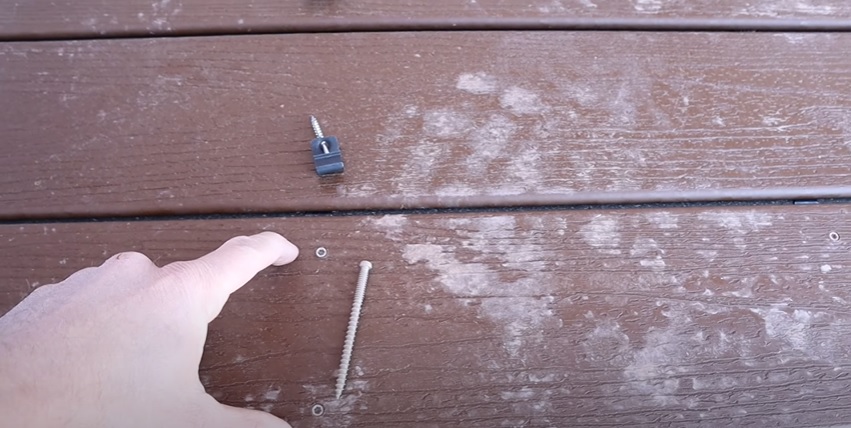
- Trex hidden fasteners
- Trex brackets
- Shims
- Composite decking screws
- Circular saw
- Drill
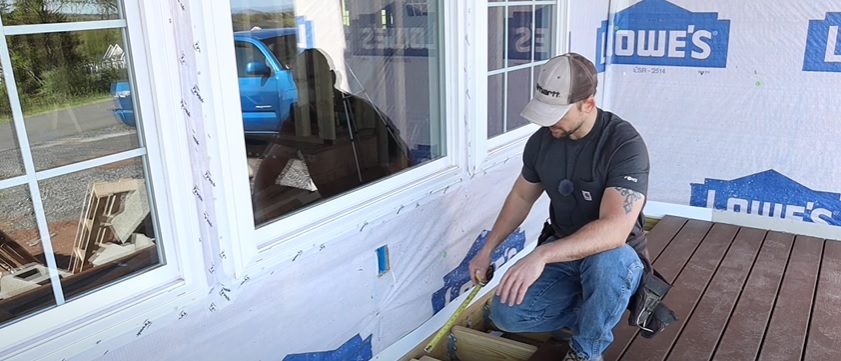
- Tape measure
- Pry bar
Step-by-Step Guide To Installing and Finishing Trex
Step 1: Be sure that the floor joists in the foundation of your deck are no more than 16” apart.
In my live demonstration of this project, my joists are 12” apart, which is more ideal, in my opinion.
Step 2: Use square edge Trex boards for the first row of your deck. This will present a smooth face on the exterior.
Be sure to leave a ⅛” gap between the ends of each board. Where it butts up against an exterior wall of your house, leave a ¼” gap.
Step 3: Pre-drill holes and screw each square edge Trex board in the first row in place using composite decking screws.

Each screw should be about 1” away from the edge of the board. You should also place two screws over each joist. To achieve a uniform look, mark out where your screws need to be installed before drilling your holes.
When you reach the end of the row where it butts up against the house, install two screws through the Trex and into the ledger board underneath, ¼” away from the end of the Trex board.
Pro Tip: If you have two Trex boards breaking on one joist, scab a pressure-treated scrap of wood to the side of the joist, so that it can support both ends of the board.
Step 4: Install starter clips on the first row of Trex decking, so that you can slide the second row of groove edge boards into place.

To do this, slide a starter clip underneath the Trex wherever it rests on a joist. Secure each clip using the screw it comes with and your drill – but don’t fully tighten it.
Step 5: Slide the second row of Trex decking into place behind the first, but this time, use groove edge boards.

Place a shim in between the rows before moving on to step 6 to ensure you achieve that ⅛” gap.
Step 6: Install the regular hidden fasteners for the second row using the same process you used for the first row in step 4. Then finish tightening the previous row of starter clips.


Step 7: Repeat steps 5 and 6 until you come to the back of your deck where it meets the exterior wall of your house.
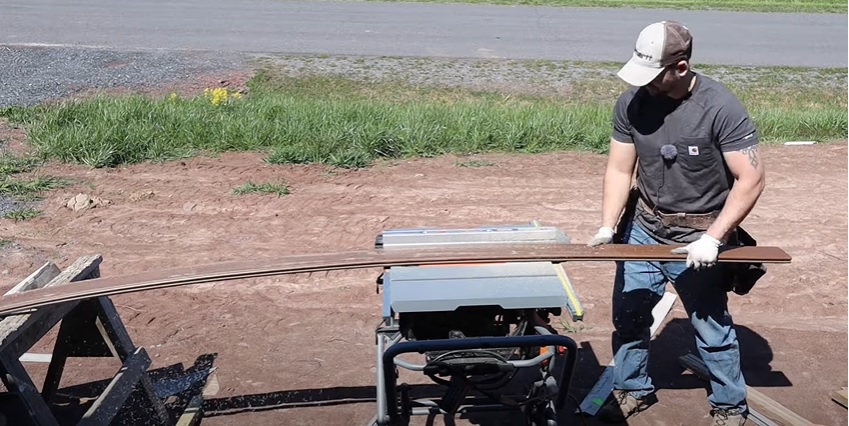
Step 8: If necessary, use your circular saw to cut down the Trex boards, so that they fit in the last row of your deck.
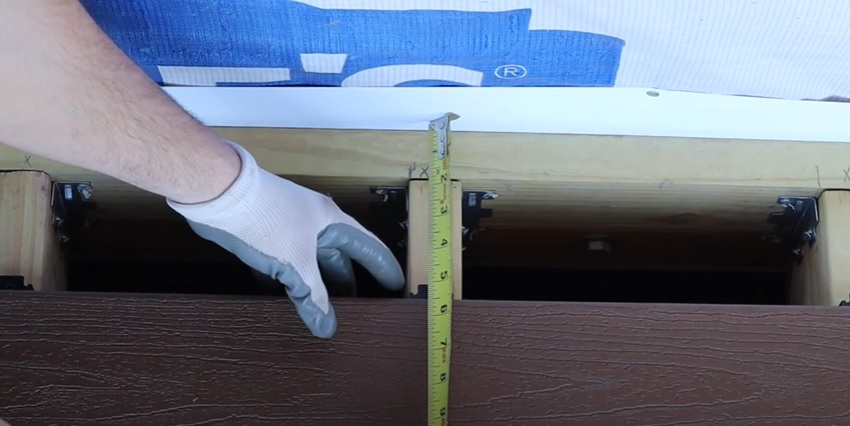
To determine the right width for your boards, measure from the house to a hidden fastener from the previous row of Trex boards. Then subtract ¼” to allow for a gap between the edge of the Trex row and the house.
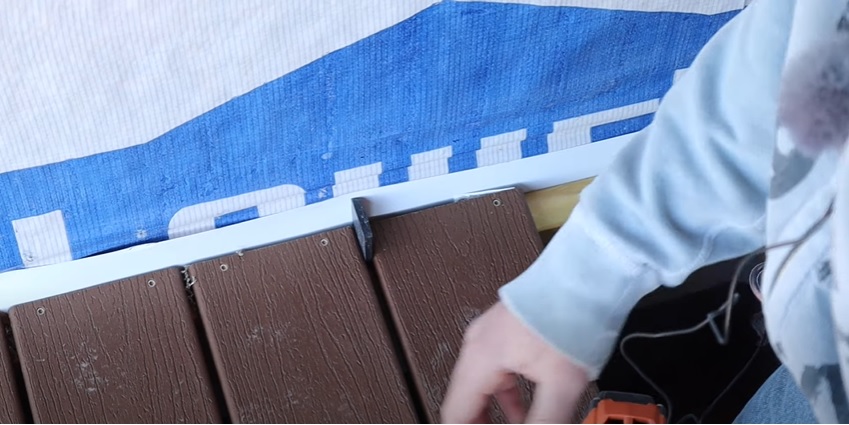
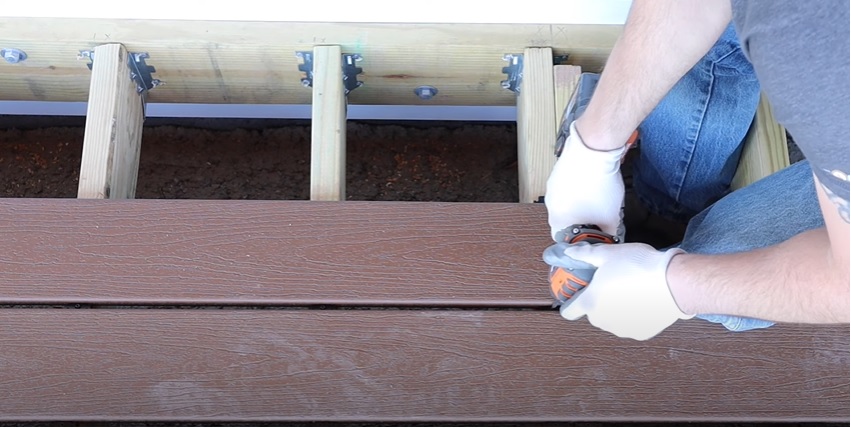
Step 9: Install each Trex board for the last row of the deck by pushing one edge against the house, laying the board down, and then using a pry bar to fully slide each board into the previous row of hidden fasteners.
Step 10: Install composite decking screws on the last row of Trex.
To do this, place a shim in between the board and the house, and then use your pry bar to pull the board snug against the hidden fasteners.

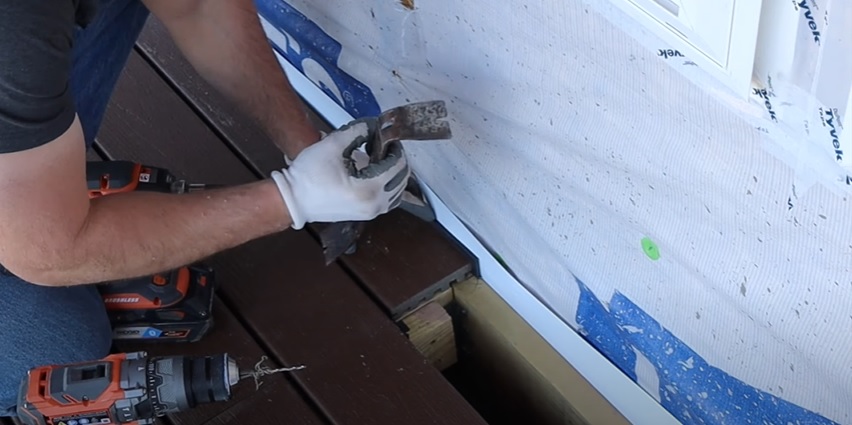

Keeping a hold on the pry bar, pre-drill a hole in the Trex ¼” away from the edge of the board and down through the ledger board.
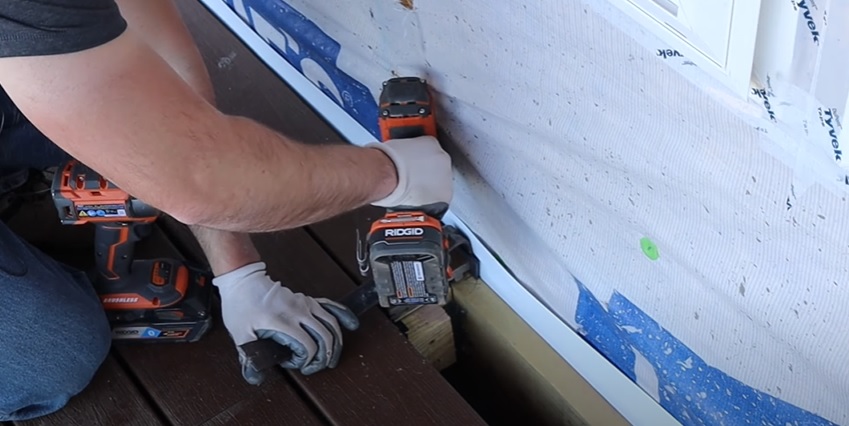
Repeat this process on every joist along the last row of Trex, and then secure the board with composite screws.


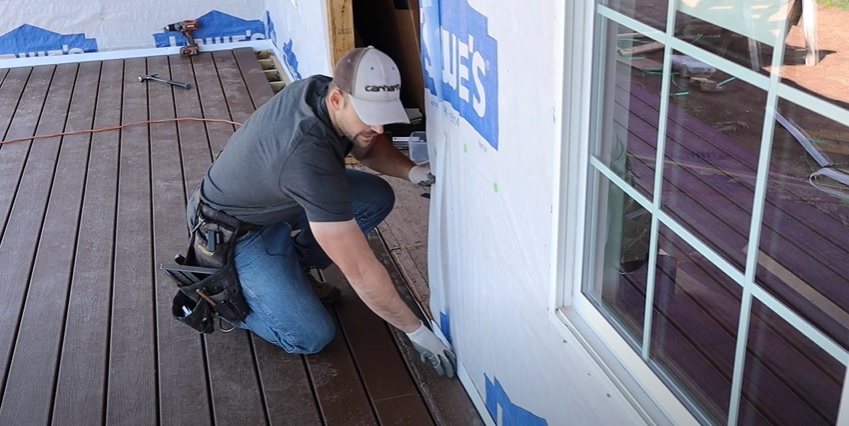
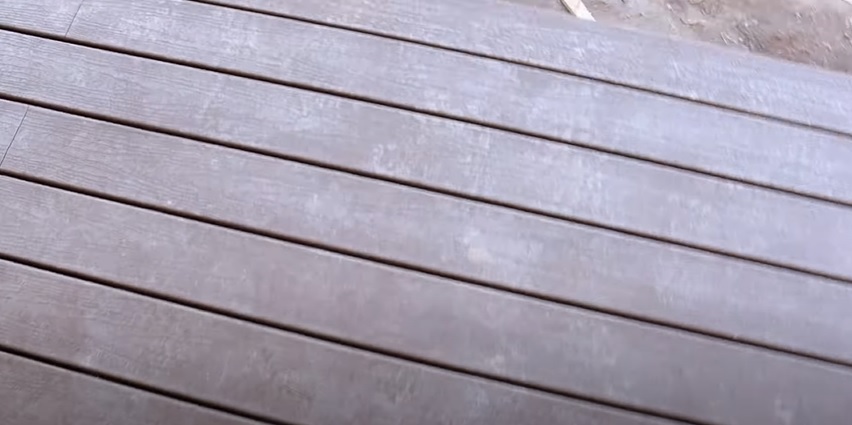
10 steps later, we’re already done! Here’s the gorgeous result.
Did you find this tutorial helpful? If so, check out the rest of the blog for more decking how-to’s (as well as plenty of other DIY home building projects). You can also watch live demonstrations on the Excellent Laborer YouTube channel.