If you’re building a house, chances are you’ll need to construct a girder beam at some point. But if you’re not sure what a girder is, don’t worry – it’s simply a beam that holds up your floor joists. In this tutorial, we’ll walk you through the steps of building a wooden girder using three ply, two by ten lumber and piers spaced eight feet apart.
TOOLS NEEDED TO BUILD GIRDER
DISCLAIMER- This article does contain affiliate links. I earn a small commission that helps support this website at no extra cost to you, if one of the links is used to make a purchase.
Before you can start, you need to gather up a few tools and supplies first. (By the way, if you want to know the exact brand of each material I use, check out the Excellent Laborer Amazon store.):
- Nails
- Framing Nailer
- Hammer
- Tape measure
- Circular saw
- Chalk line
Step 1: Find the pocket where the girder will be placed and mark the center of the beam on the sill plate.

Before you can start building the girder, you need to know where it’s going to go. Look for the pocket that has been cut out for the girder in the sill plate (the horizontal beam that sits on top of the foundation walls). Once you’ve found the pocket, mark the center of the beam on the sill plate. This will help you ensure that the girder is properly centered and balanced.
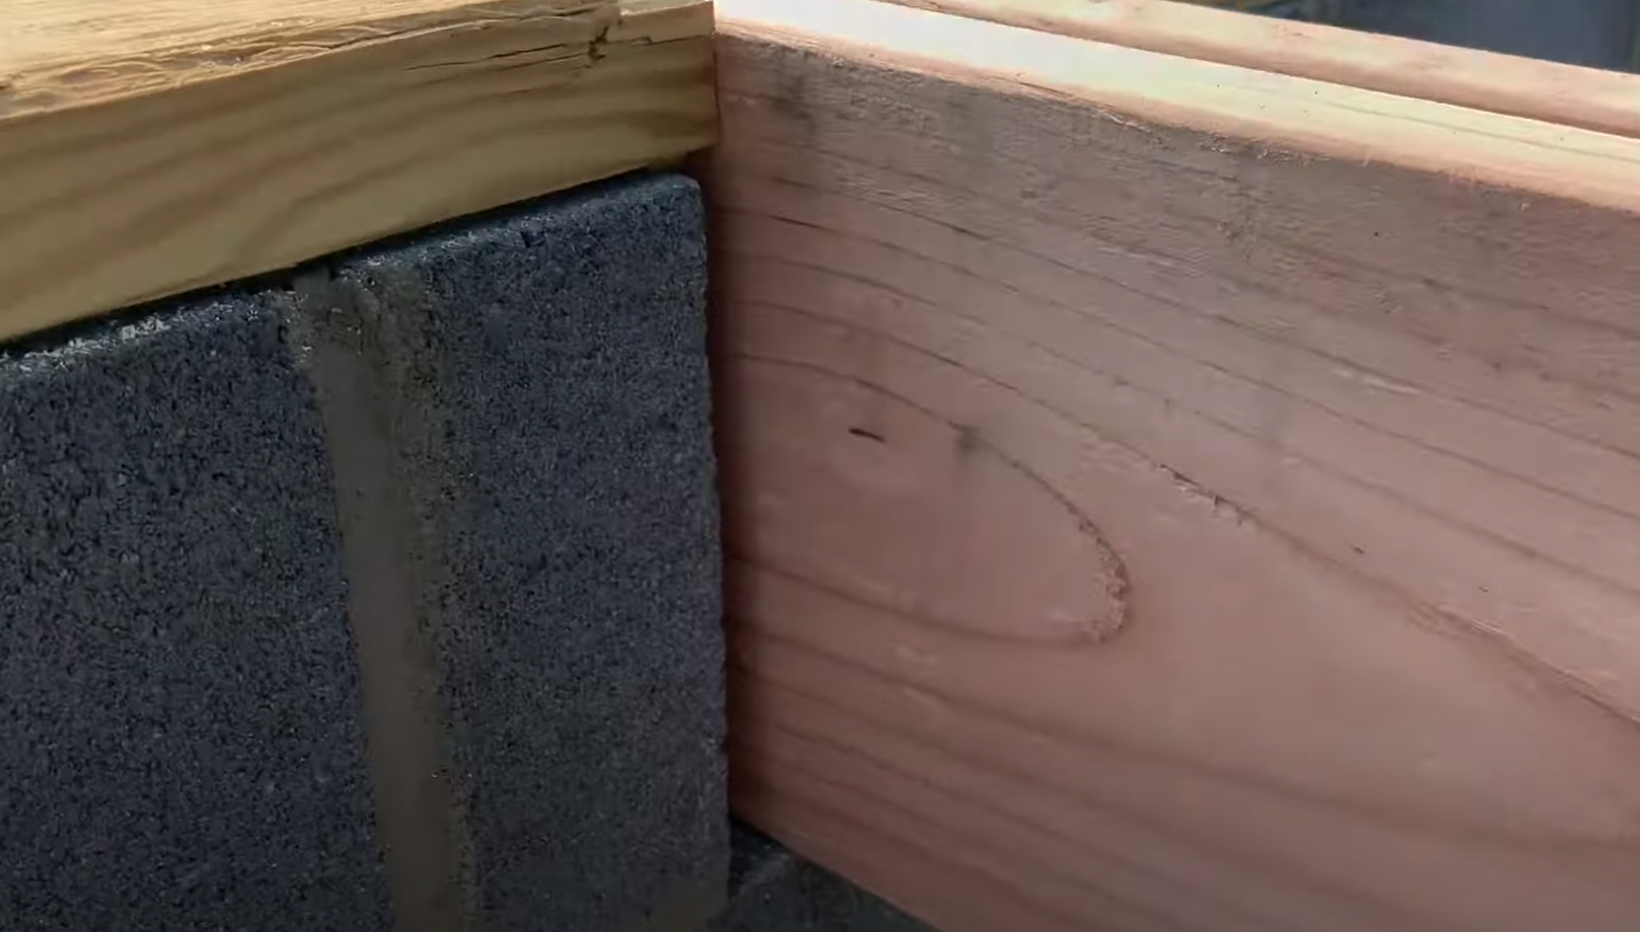
Step 2: Measure and cut the two by ten lumber to fit the pocket and break at the appropriate pier spacing.
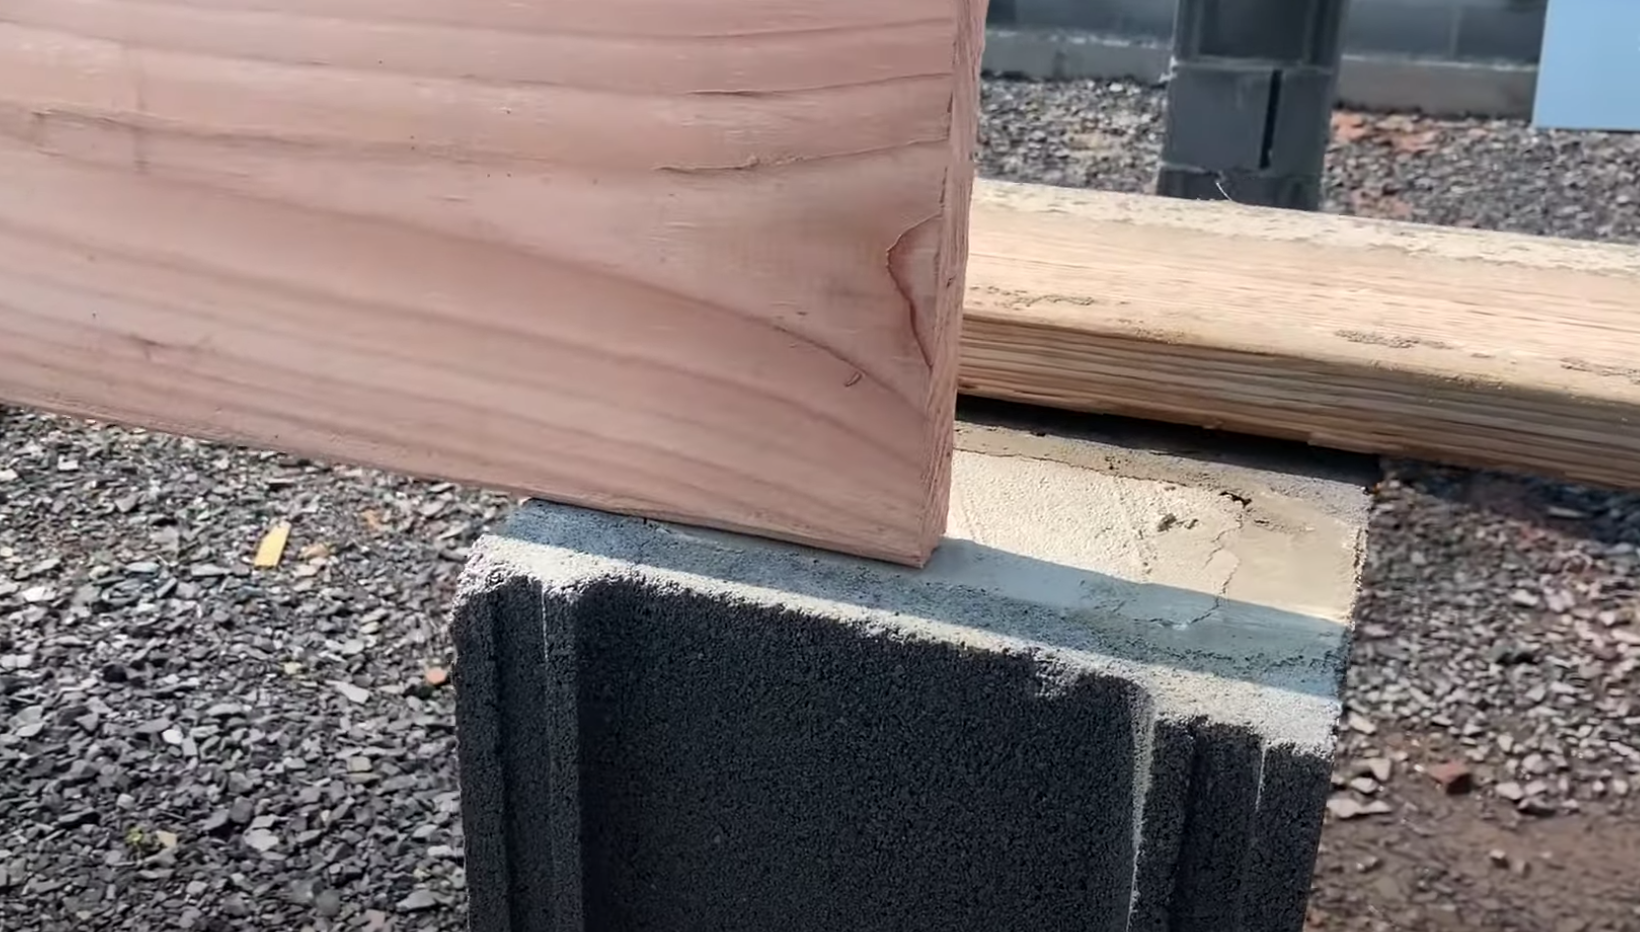
Using a tape measure, measure the length of the pocket and cut the two by ten lumber to fit. You’ll need to cut the lumber to break at the appropriate pier spacing (in this case, eight feet apart). This means that the girder will overlap the piers, providing additional support and stability.
Step 3: Tack the two by ten pieces together to hold them in place as you run them down the length of the wall.
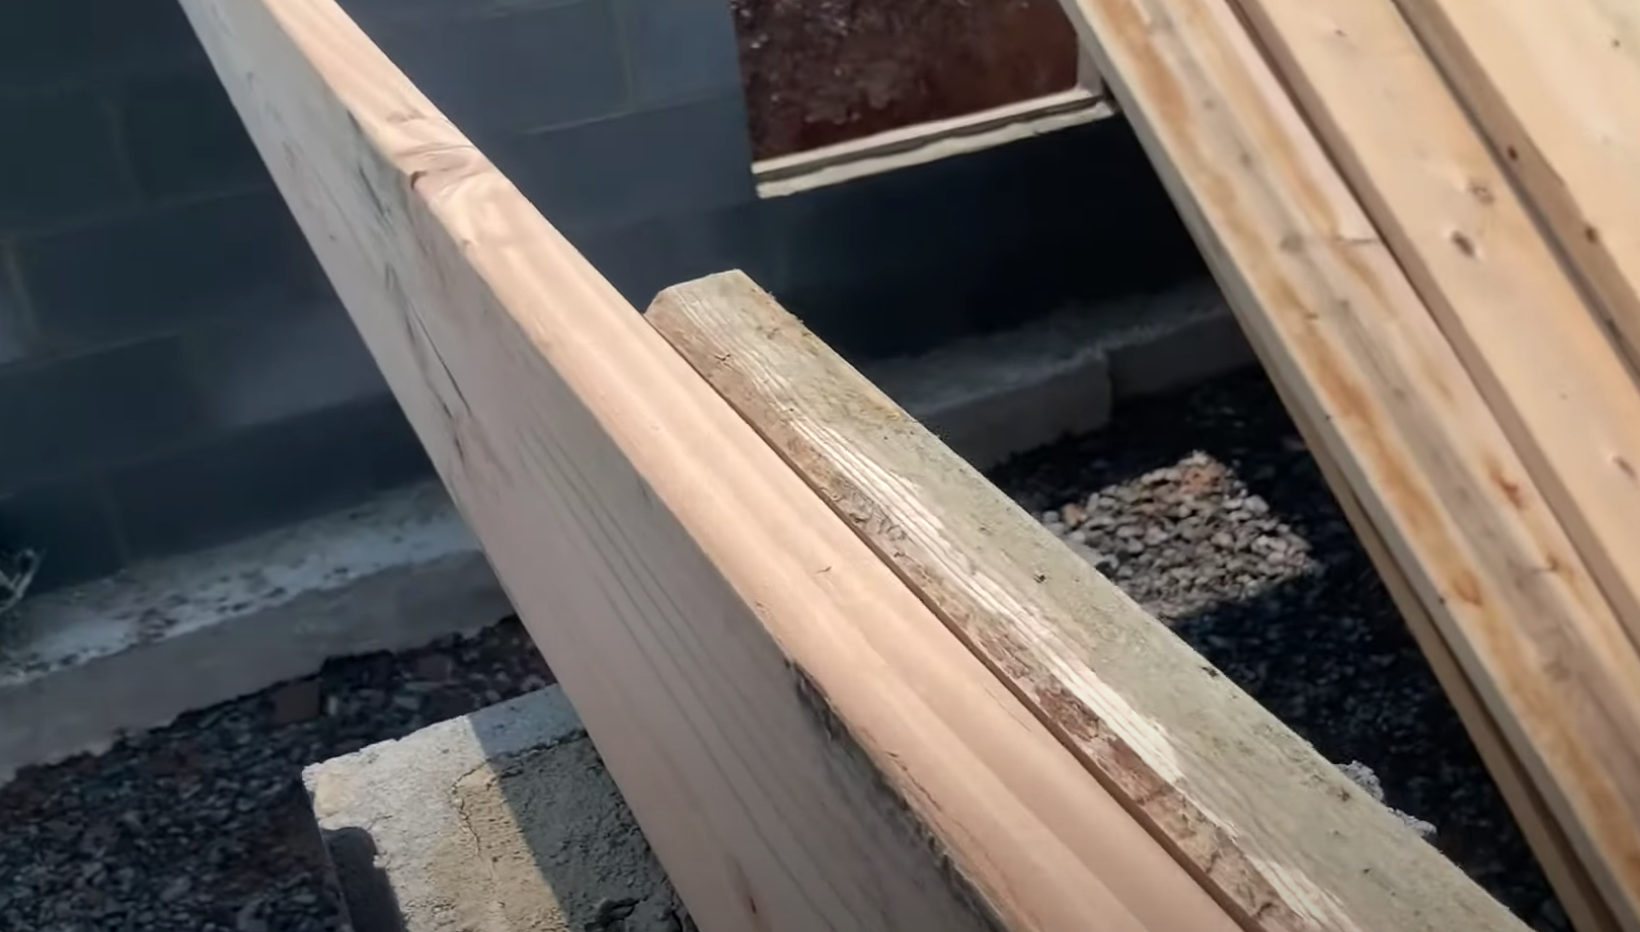
As you lay the two by ten pieces down, use nails to tack them together. This will hold them in place as you continue to build the girder.
Step 4: When you reach the end of the wall, go back through the entire beam and nail it off in a w-shape pattern, as this gives the girder the most strength.
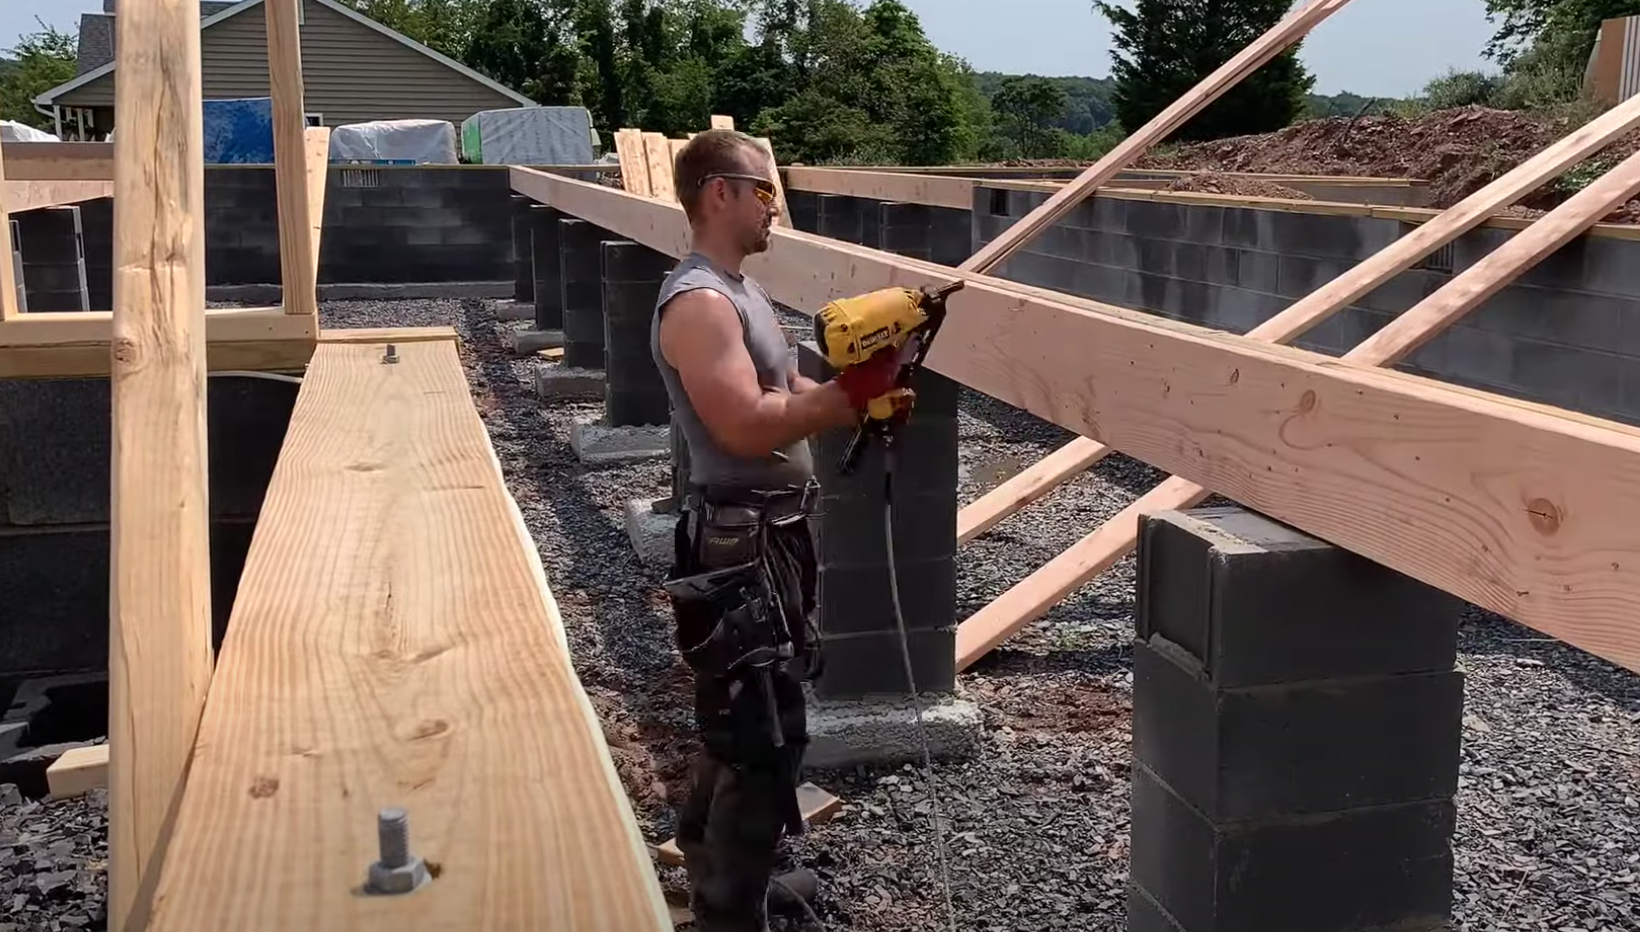
Once you’ve reached the end of the wall, go back through the entire beam and nail it off in a w-shape pattern. This pattern provides the most strength and stability to the girder.
Step 5: Once all the nails are in place, level the girder. Then sink any nails that are not fully seated.
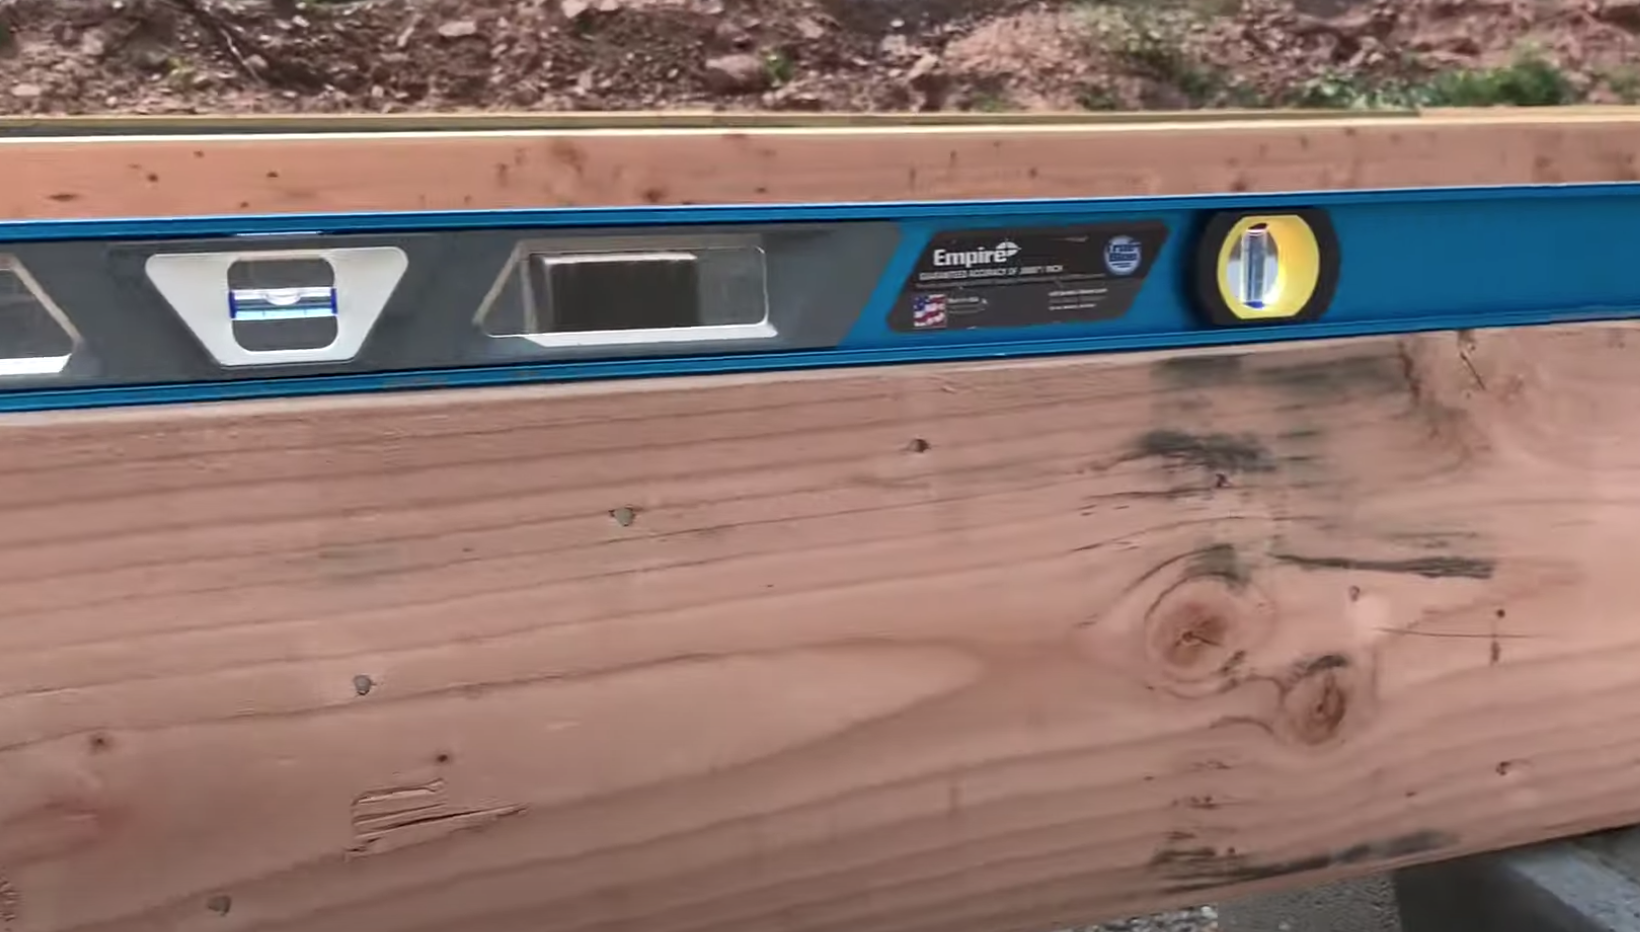
As you nail the girder together, you may find that some of the nails aren’t fully seated. This is because the nails are shooting faster than the air pressure can keep up. To fix this, go back through the girder and sink any nails that aren’t fully seated.
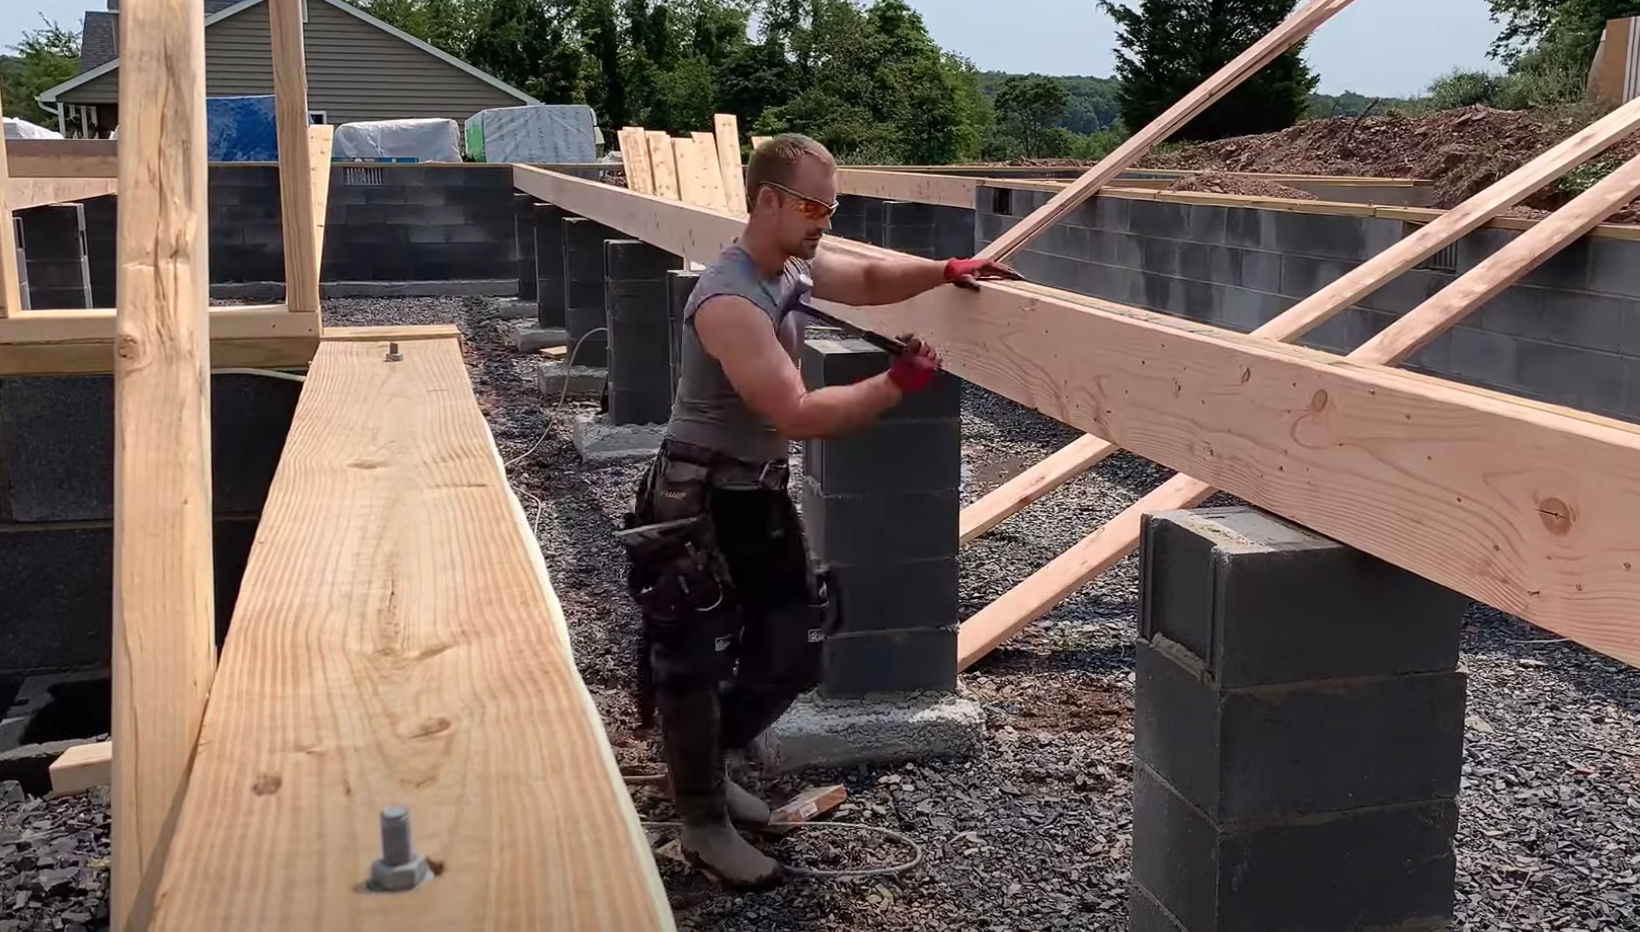
Step 6: Repeat the process for any additional girders needed.
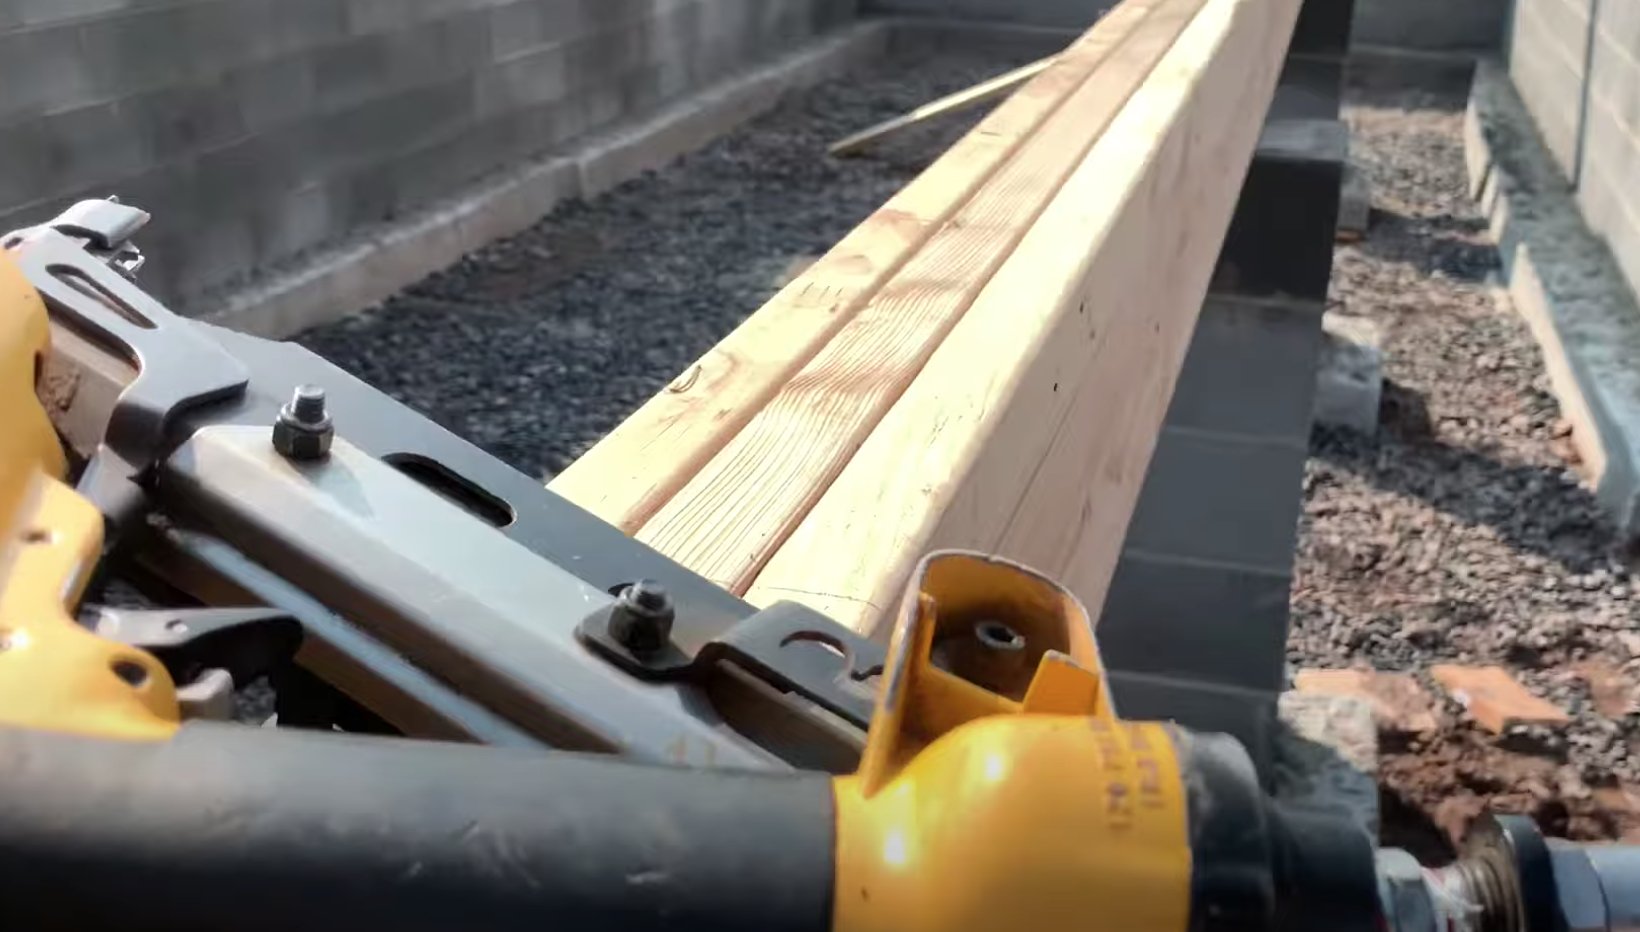
If your house requires more than one girder, simply repeat the process for each additional girder. Watch the full video below for more details!
What did you think of this tutorial? If you liked it, I have plenty more where that came from! Just head on over to the Excellent Laborer YouTube channel to check them out.
And that’s it! With these steps, you should now have a solid understanding of how to build a wooden girder beam. Happy building!


Pingback: How To Install AdvanTech Subfloor - Excellent Laborer