If you’ve reached the point in your DIY house building project where you need to build a wall with a door opening, this article will teach you how to do just that. As usual, I’ll be basing my framework measurements on the most common layout, which is 16 inches on center. Be sure to ALWAYS CHECK YOUR LOCAL BUILDING CODES before building any structure.
Before I guide you step by step through the entire build process, let’s go through the tools and materials you’re going to need.
Tools You Need To Build A Wall With A Door Opening
DISCLAIMER – This article does contain affiliate links. I earn a small commission that helps support this website at no extra cost to you, if one of the links is used to make a purchase.
Make sure you have the following framing tools and materials ready prior to beginning your wall build.
- Framing Nailer
- Chalk Line
- Pencil
- Measuring Tape
- Speed Square
- Lumber
Step By Step Guide For How To Build A Wall With A Door Opening With 16 Inches On Center Layout
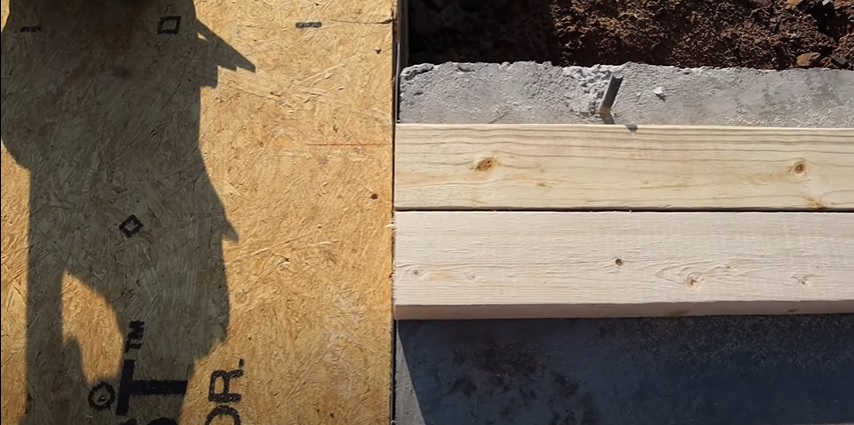
Step 1: Take two pressure treated 2 by 4’s and lay them out along the length of the floor where you plan to build a new wall.
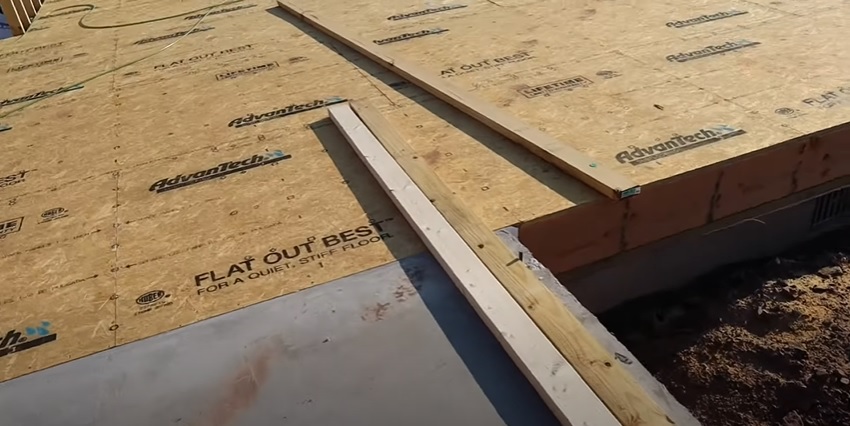
These will be your plates, which make up the top and bottom pieces of the wall.
I’ve mentioned this in previous articles, but I like to use 16 ¼-foot 2 by 4s. This gives me plenty of length to use for plates, as well as studs, jacks, and cripples.
Step 2: Line the plates up where you want the wall to be and mark where you need to cut them, so that they will sit flush against any adjoining walls. Then cut them to size.

Step 3: Chalk a line to mark where the edge of the wall should sit. This will help guide you when you set it up after it’s built.
To know where to chalk the line, I measure 4 inches out from the edge where I want the back of the wall to sit.
Step 4: Lay out your plates – now freshly cut to size – just like you had them before, flush with where the wall will begin and end.
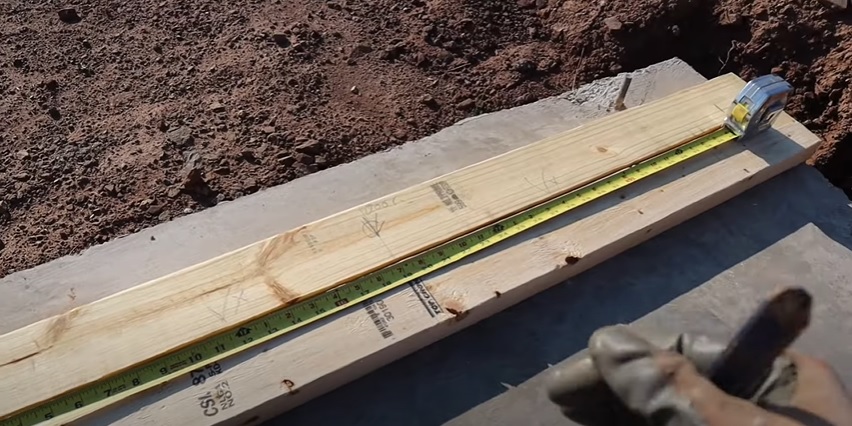
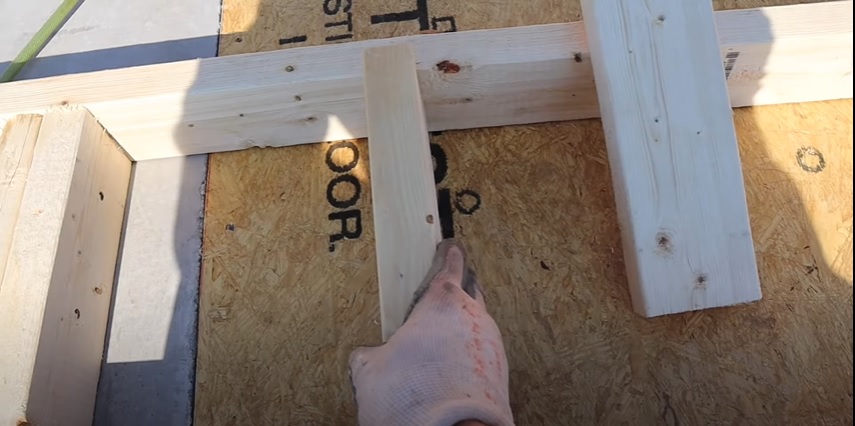
Step 5: Take your tape measure and measure from the end of your plates. Find the 16-inch mark and make a pencil line ¾ inches behind that mark.

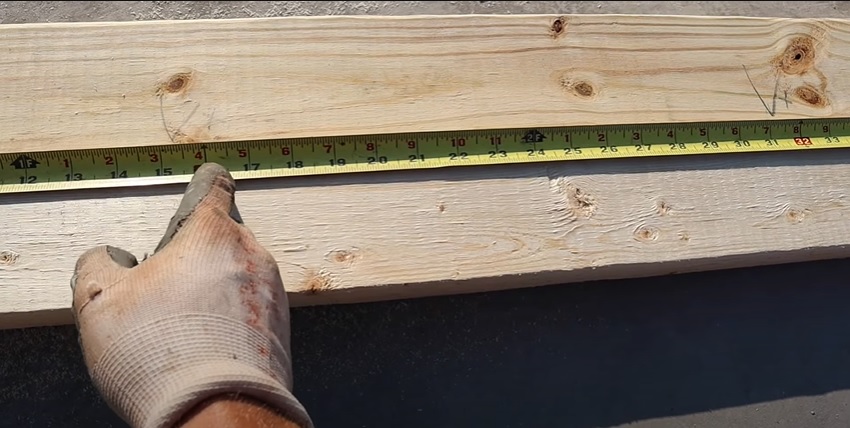
This is where you will line up the edge of your stud so that the center of it sits on 16 inches exactly.
Continue making these marks every 16 inches from one end of the plates to the other.
Step 6: Look at your house plans to figure out where the doorway should be. Then, take your pencil, measure out the width of the rough opening, and mark either end as well as the center of the doorway with your pencil.
To calculate the rough opening, take the width of the doorway from your building plans and add two inches to that figure. Later, you’ll add two inches of height to the door opening, as well.
For example, if the door opening is 36 inches wide in your building plans, make it 38 inches wide. If the height is 80 inches, you’ll make the height of the rough opening 82 inches.
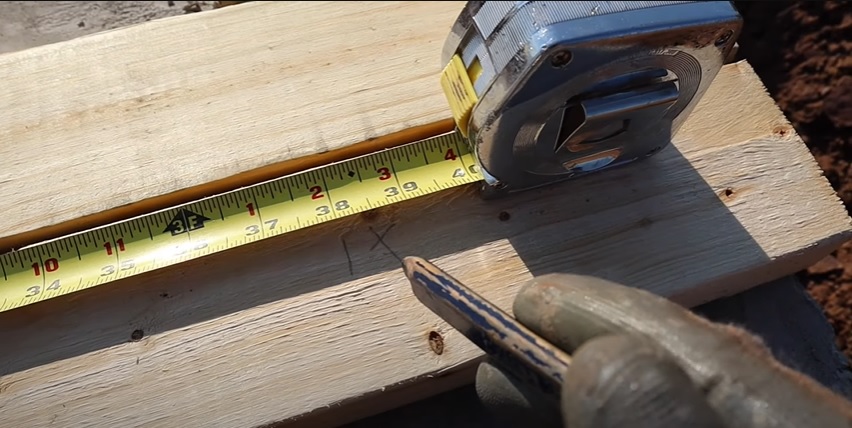
Including these extra spaces allows you some wiggle room once you start adding in things like sheet rock and flooring.
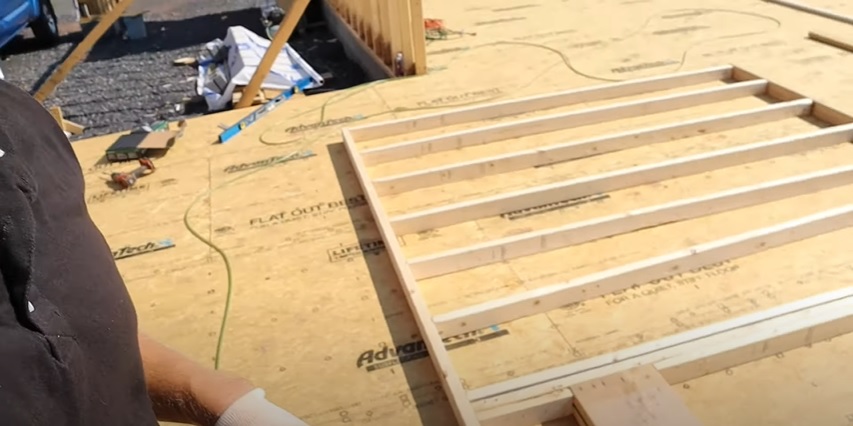
Step 7: Once you’ve made all your marks for your rough opening, mark out where your jacks and king studs will sit. You’ll have one jack and one king stud on either side of your rough opening. Each pair will take up about 3 inches of space on either side.
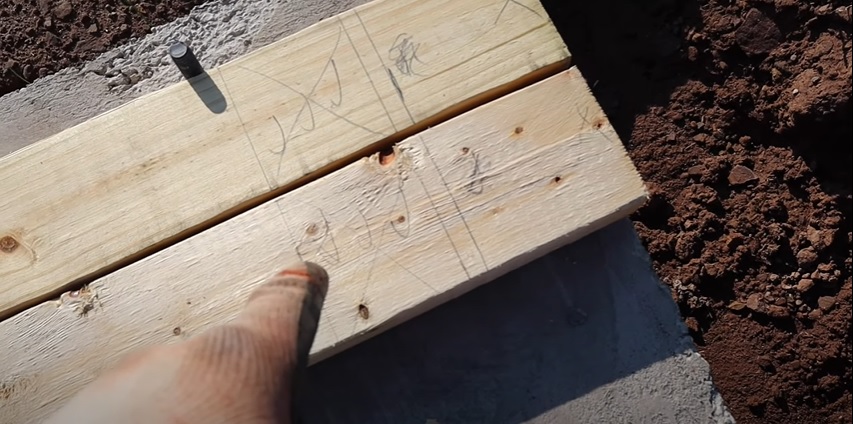
Step 8: Measure, cut, and lay out your king studs, jacks (also called trimmers), and the header for the doorway. The header should be two inches wider than your rough opening.
Step 9: Line the header up on top of the jacks and flush against the king studs. Then secure the header into each king stud with about ten nails on either side.
If you’re having trouble getting the header flush with the king stud, what I like to do is secure the top part of the header to the stud with one nail, and then lift the stud up on my foot to help line up the rest of it. Then I finish nailing it into place.
Step 10: Line up the tops of your king studs and jacks with the marks you made on your top and bottom plates. Secure them into place with nails.


Step 11: Measure the area between the header and the top plate and cut out your cripples. Nail them into place.
Step 12: Nail in your studs, being sure to line them up with the pencil marks you made.
Pro Tip: If one of your studs ends up twisted after it’s been nailed in (don’t worry, it happens all the time), I have an easy fix. Just take a pipe wrench, secure it on the twisted stud, and pull on it so that the stud lines up with the mark you made on your plate. Then secure it in place with a nail.

And that’s how you build a wall with a door opening based on a 16 inches on center layout!
As you can see, the key is to make your layout measurements and mark them out on the plates before you start putting your frame together. It may seem tedious, but it helps the rest of the build go so much faster.
If you want to see these steps implemented in real life, be sure to watch my demonstration video. You can also find many helpful DIY videos on my YouTube channel. Good luck with your framing project!