Building jack studs is a crucial part of framing walls in a construction project. Jack studs are the vertical framing members that are used in conjunction with king studs to support a header above an opening, such as a door or window. In this step by step guide, we will walk you through the process of building jack studs for your construction project.
What is a JACK STUD?
A jack stud is a framing member in a wall that supports the weight of the structure above it, including the ceiling, roof, and any additional floors. It is typically found in multi-story buildings where it is used to transfer the load from the upper floors to the foundation of the building.
Jack studs are usually located on either side of a window or door opening, and they are typically shorter in length than the other framing members in the wall, such as the king studs and header. They are designed to support the weight of the structure above them, and they are often used in conjunction with cripple studs, which are shorter framing members that are used to fill in the space between the top of the jack stud and the bottom of the header.
In a typical wall construction, the jack studs are placed on either side of the opening, and they are connected to the king studs with nails or screws. The header, which is a horizontal framing member that spans the top of the opening, is then attached to the top of the jack studs. This creates a strong, structural frame that can support the weight of the structure above it.
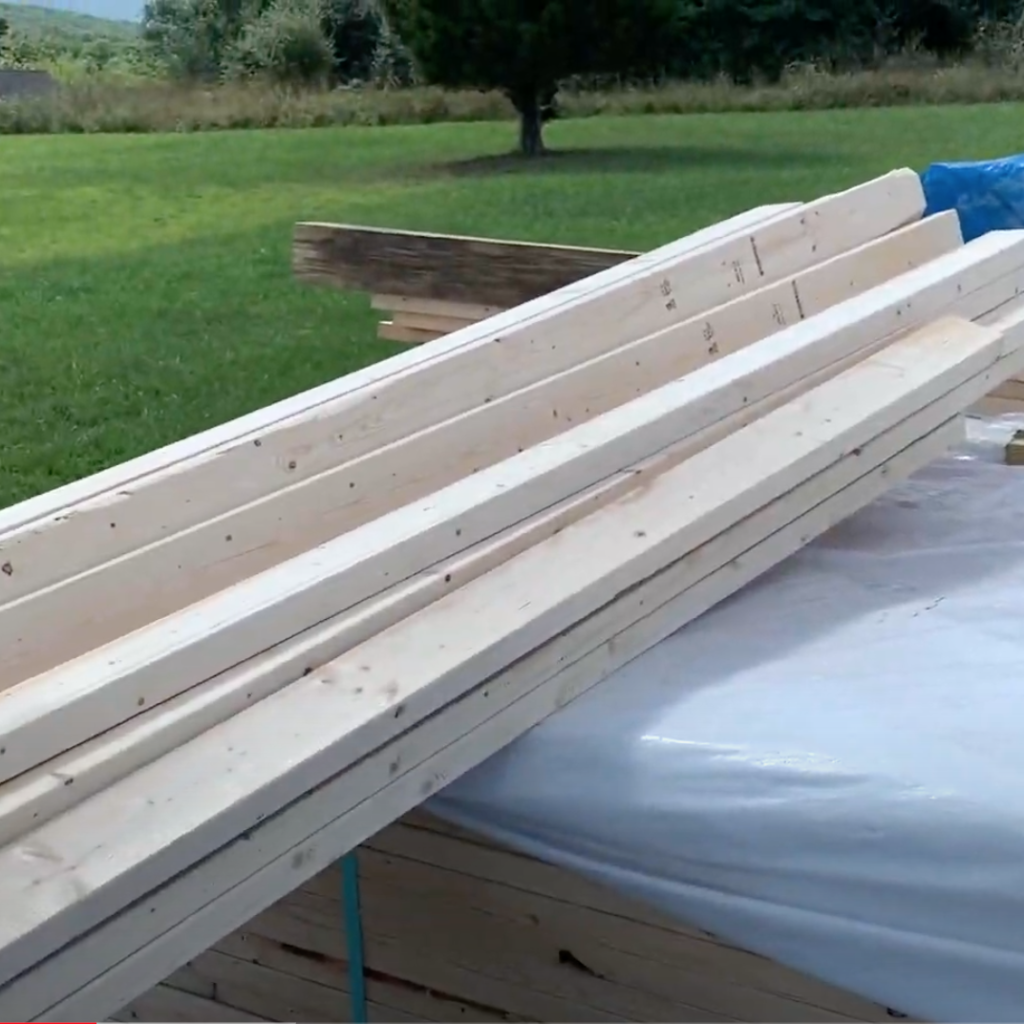
TOOLS YOU NEED TO BUILD JACK STUDS
DISCLAIMER- This article does contain affiliate links. I earn a small commission that helps support this website at no extra cost to you, if one of the links is used to make a purchase.
To build jack studs, you just need some basic tools:
- Hammer
- Framing Nailer
- Framing Nailer Nails
- Tape Measure
- Air Compressor
- Air Hose
- Miter Saw
Step 1: Measure and cut your studs
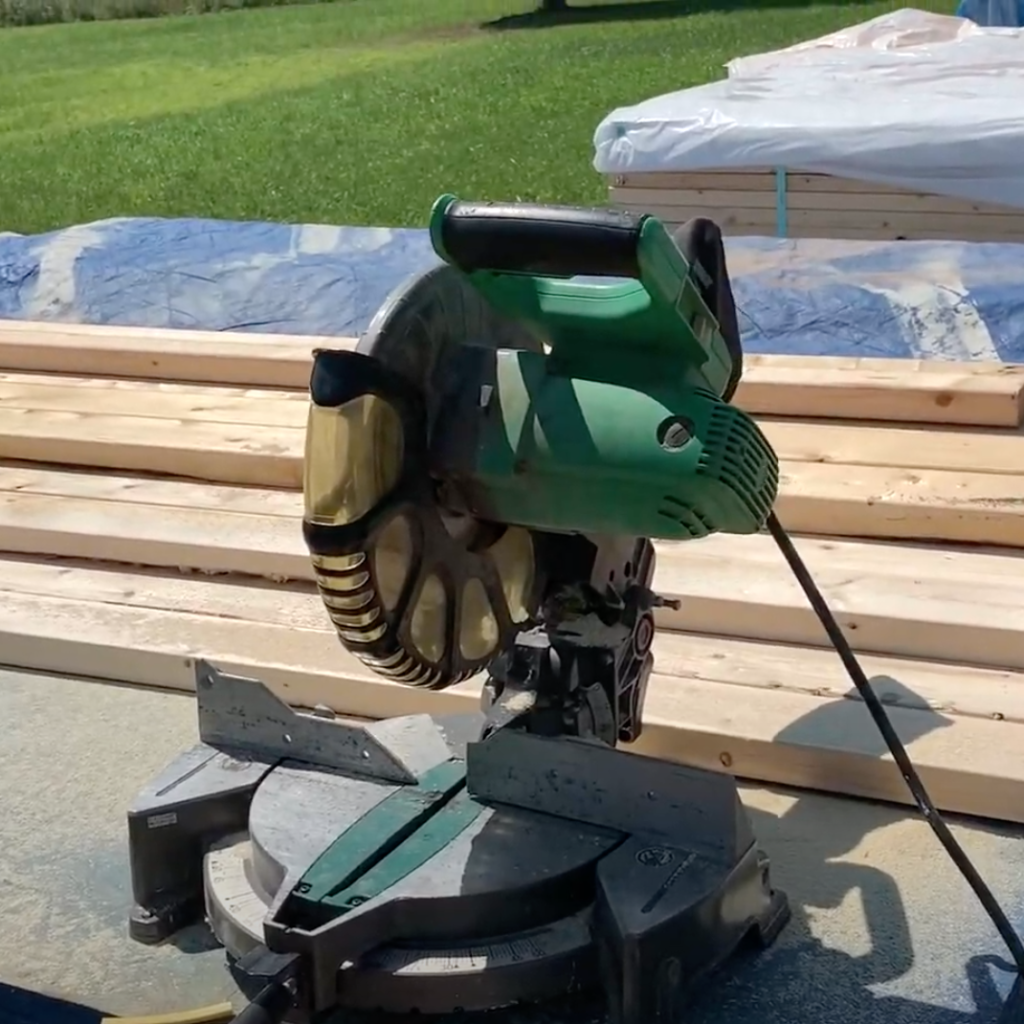

The first step in building jack studs is to measure and cut your studs to the correct length. To do this, you will need to measure the height of your pre-hung door, which is typically 82.5 inches. You will also need to account for the 2×4 plate that the jack stud will sit on, which adds an additional 1.5 inches to the overall height. This means that
Step 2: Lay out your pre-cuts
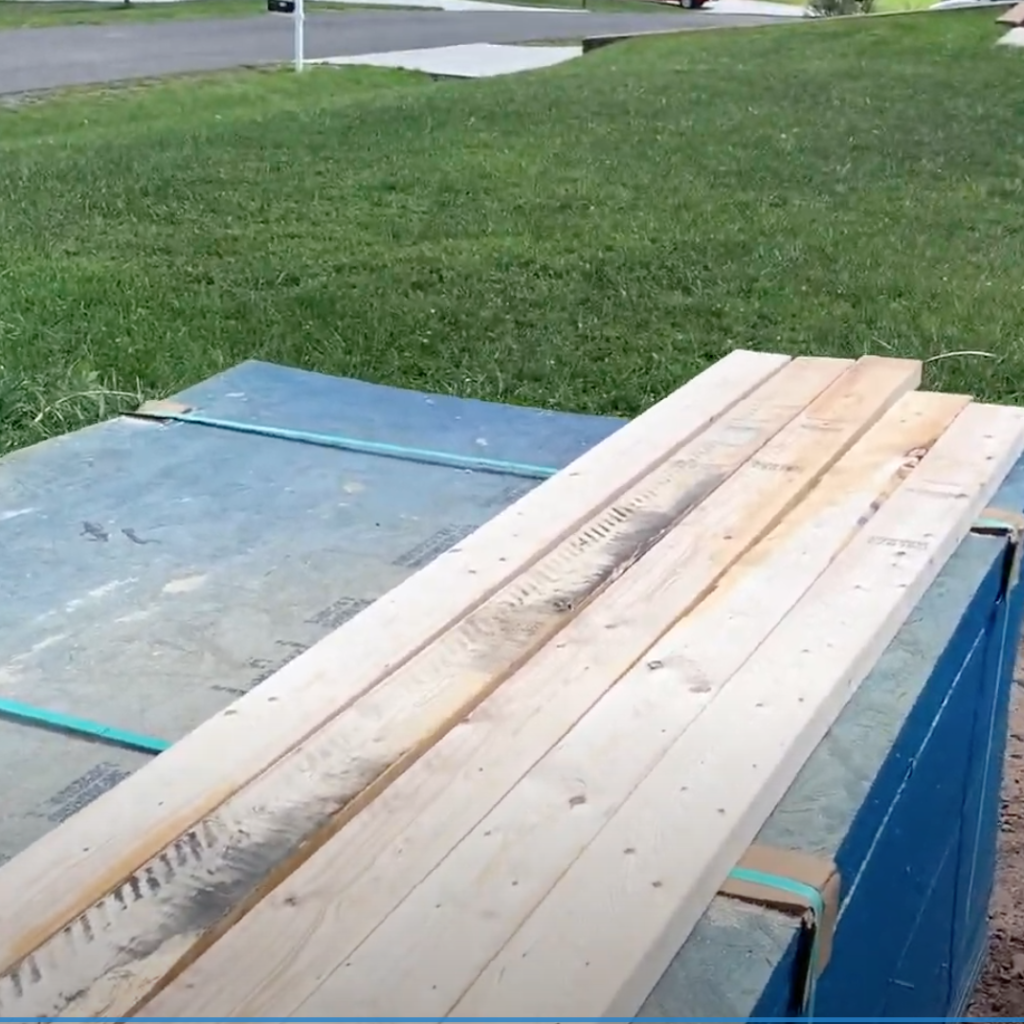
Once you have cut all of your pre-cut studs, you will need to lay them out on your work surface. You should place the rough side of the cut studs facing down on top of a full stud with the rough side facing up. This will sandwich the rough sides in the middle of the jack stud once it is assembled. You will want to make sure that the edges of the studs are flush with one another, as this will ensure that the jack stud is properly aligned.
Step 3: Assemble the jack studs

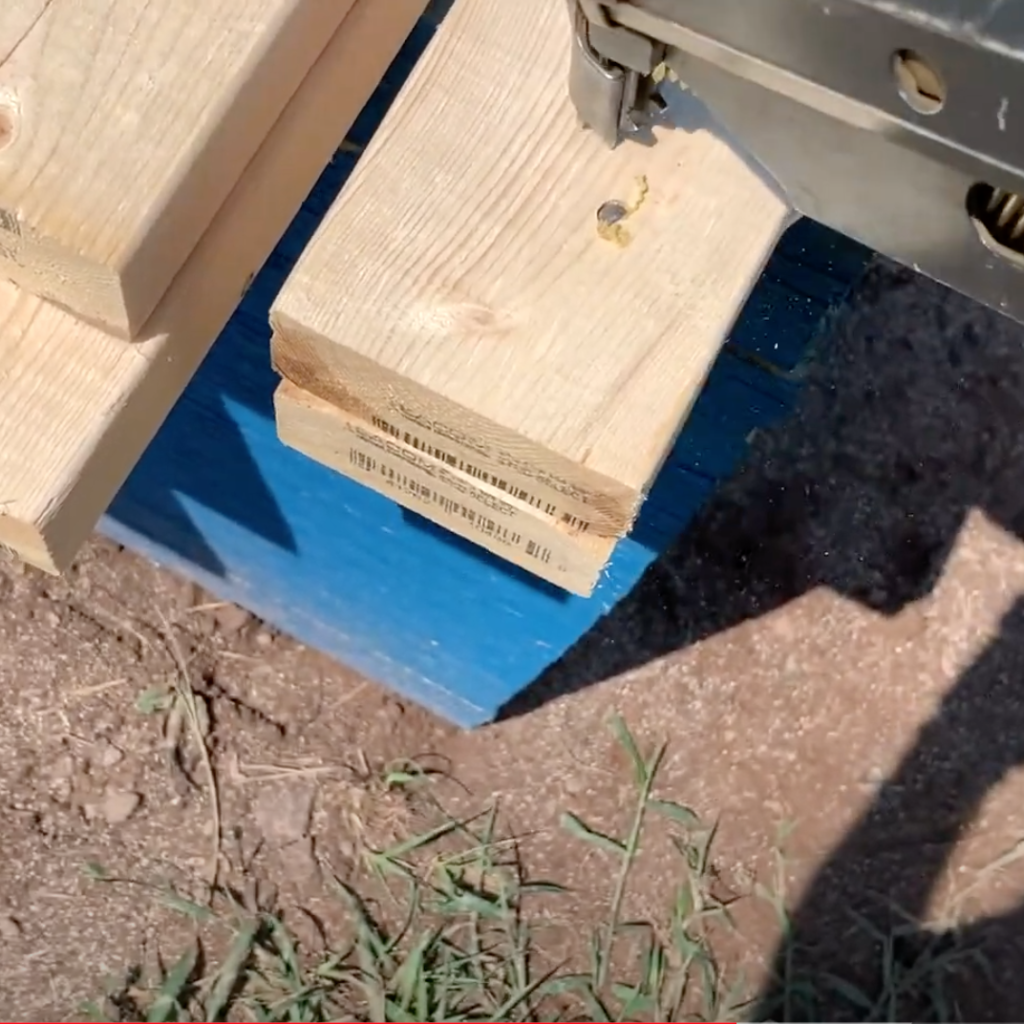
To assemble the jack studs, you will need to place one of your pre-cut studs on top of a full-length stud. Make sure that the rough side of the pre-cut stud is facing down, and that the edges are flush with the full-length stud. Once you have the studs properly aligned, you will need to nail them together using 3.25-inch nails. Make sure to nail the studs several times on each side, as this will ensure that the jack stud is properly secured.
Step 4: Repeat the process
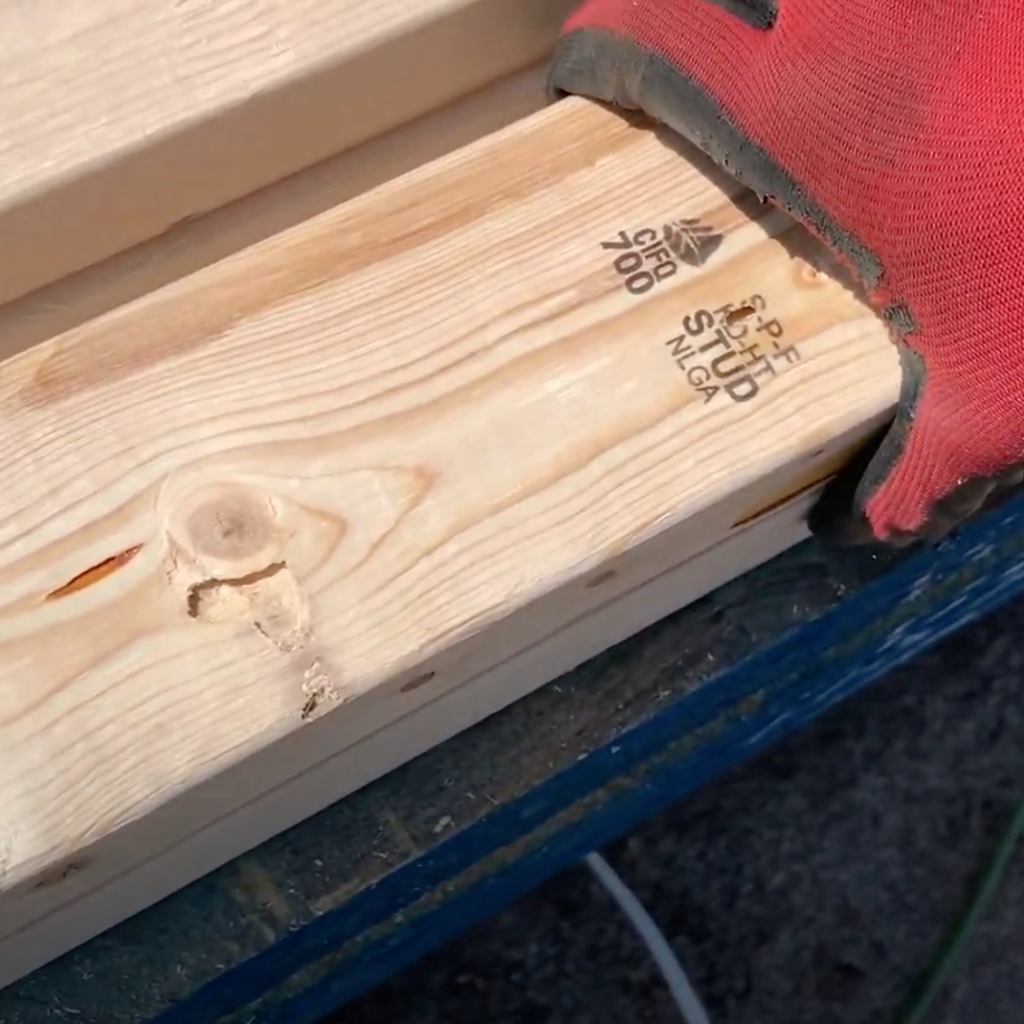
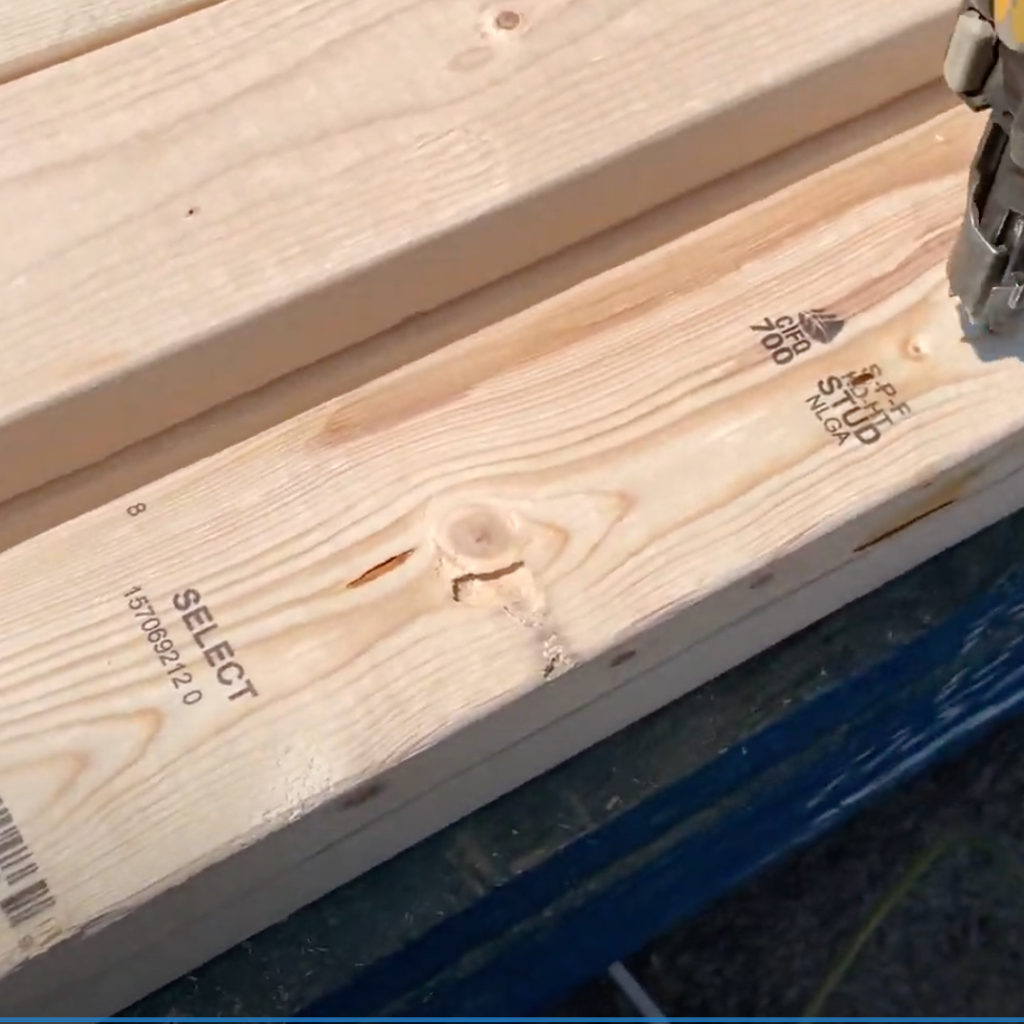
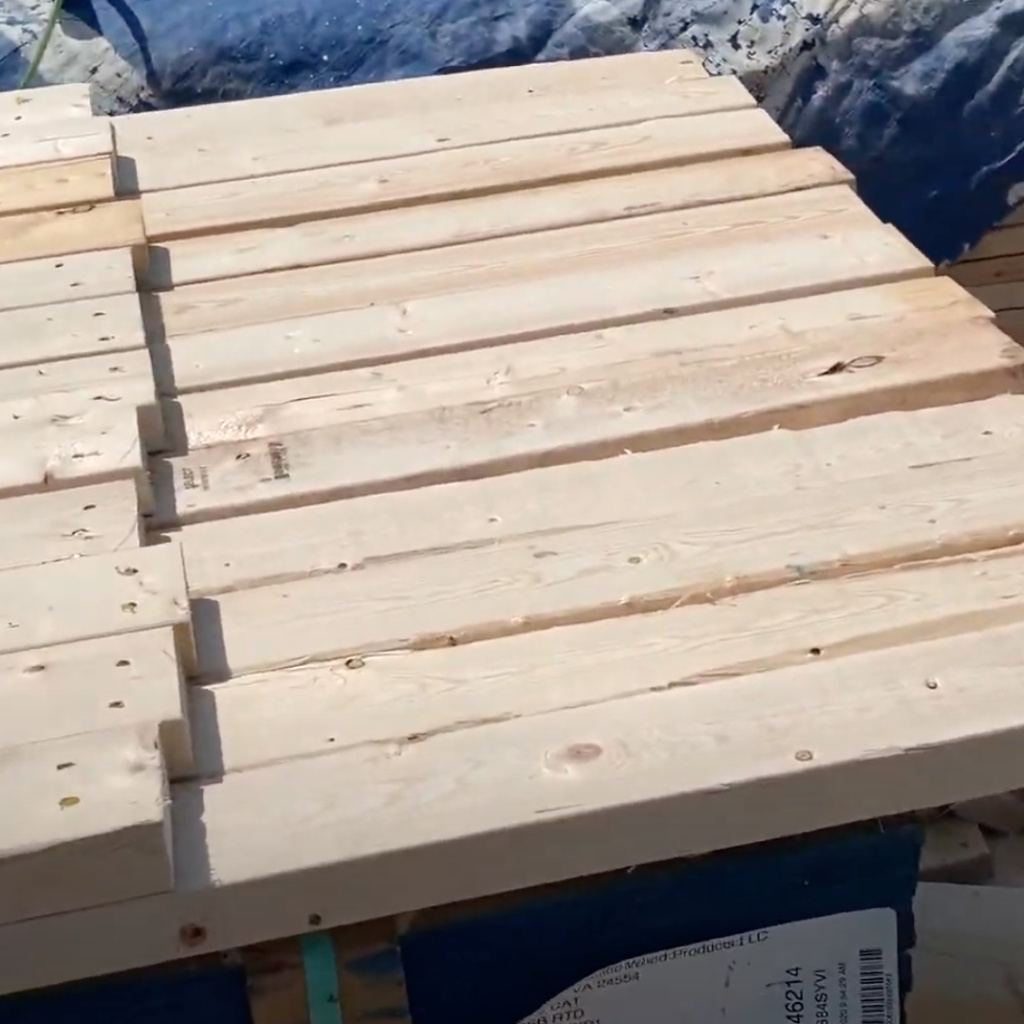
Once you have completed the first jack stud, you will need to repeat the process for all of the remaining jack studs. Make sure to keep your work area organized, as this will make it easier to keep track of which studs you have already assembled.
Step 5: Install the jack studs
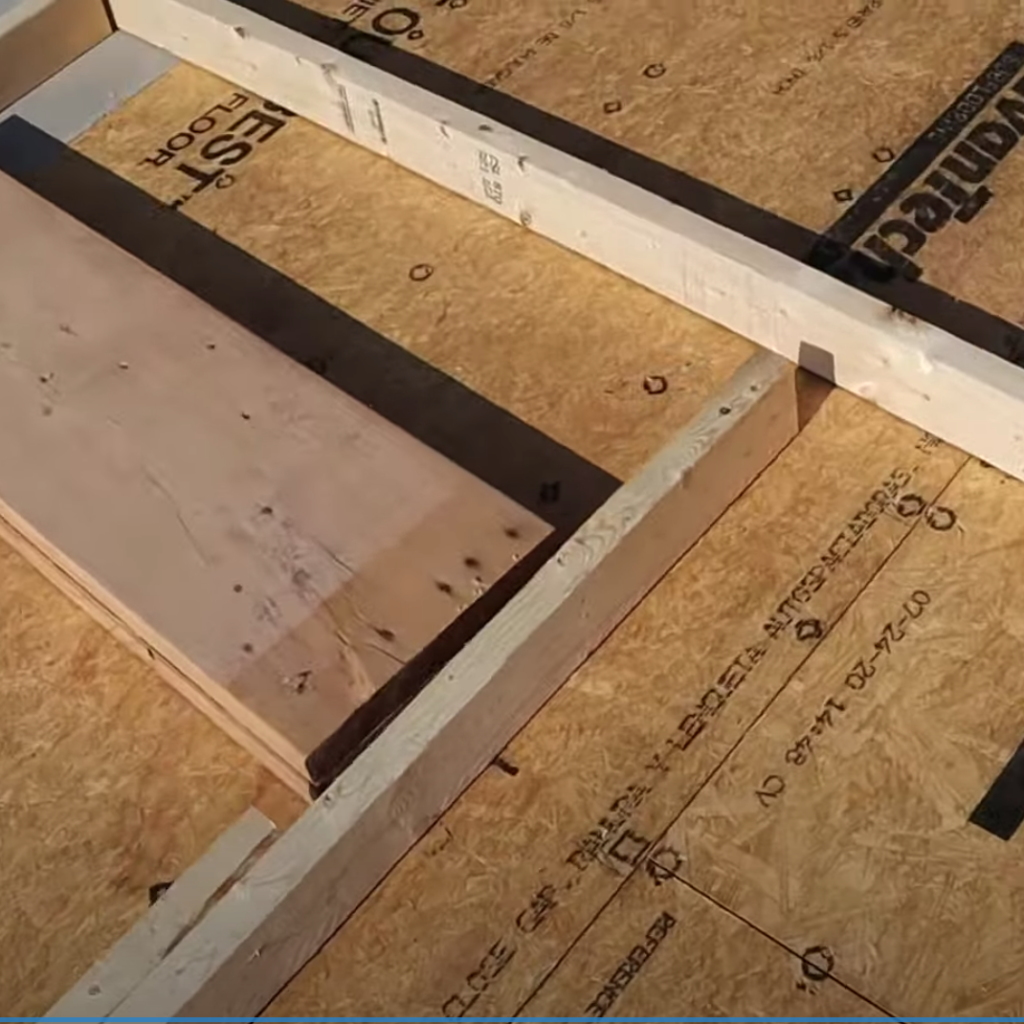
Once you have completed all of the jack studs, you will need to install them in your framing. To do this, you will need to place the jack studs on either side of the opening, making sure that they are properly aligned with the top and bottom plates of the wall. You will then need to nail the jack studs to the plates using 3.25-inch nails.
Step 6: Install the header


Once the jack studs are in place, you will need to install the header above the opening. The header is a horizontal framing member that spans the opening and is supported by the jack studs. To install the header, you will need to measure and cut it to the correct length, and then nail it in place using 3.25-inch nails.
If you want to watch the video, it is on my youtube channel!
In conclusion, building jack studs is a crucial part of framing walls in a construction project. By following these step by step instructions, you will be able to properly assemble and install jack studs in your framing, ensuring that your walls are properly supported and secure.


Pingback: How To Build A Wall With A Door Opening With 16″ On Center (O.C) Layout - Excellent Laborer