I’m back with another DIY home build tutorial! In this article, I’ll guide you step by step through the process of installing a bathtub drain.
This project can be tricky if you’ve never done it before, so follow along closely as I explain what to do. That way your bathtub drain installation will be as smooth as possible!
ALWAYS CHECK YOUR LOCAL BUILDING CODES before you tackle any DIY bathroom or home project.
Tools and Supplies Needed To Install a Bathtub Drain
DISCLAIMER – This article does contain affiliate links. I earn a small commission that helps support this website at no extra cost to you, if one of the links is used to make a purchase.
Before you can start installing a bathtub drain, you need to gather up a few tools and supplies first. (By the way, if you want to know the exact brand of each material I use, check out the Excellent Laborer Amazon store.)
- Trip lever style bath drain kit (I used the one put out by Keeney for this tutorial)
- Plumber’s putty
- Needle nose pliers
- Screwdriver
In my live demonstration of this project (of which you’ll see images throughout the rest of this guide), I’m assembling a trip lever drain and hooking it up to a Delta bathtub shower combo made of fiberglass. So, as we move forward, just know that’s the type of tub I’m referencing in each step of the instructions. Most bathtub drain installations follow the same basic process that I’m about to explain to you.
Step by Step Guide To Installing a Bathtub Drain
Side Note: If there is any plastic wrap covering the bottom or sides of your bathtub, REMOVE IT BEFORE INSTALLING THE DRAIN. Otherwise, the drain won’t be snug against the tub; it will be snug against the plastic wrap. Then you’ll have a whole mess of problems!
Step 1: Set your bathtub in an open space where you have room to install the drain.
Step 2: Open your bath drain kit and doublecheck that all the components you need are present. You should have a pipe that leads out from the drain assembly on the bottom of the tub, a pipe that leads up to the overflow, and a connector piece in between. The connector piece will have a section of pipe on the bottom that connects the entire assembly to the drain in the floor.
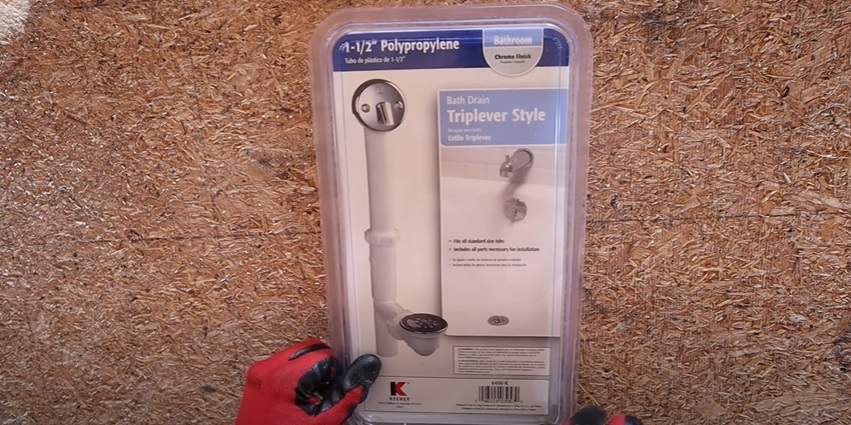

Other components you should find in your kit are the drain, the drain cover, the overflow and stopper plate, the stopper that plugs up the drain, gaskets, pins, O-rings, and pipe fittings.
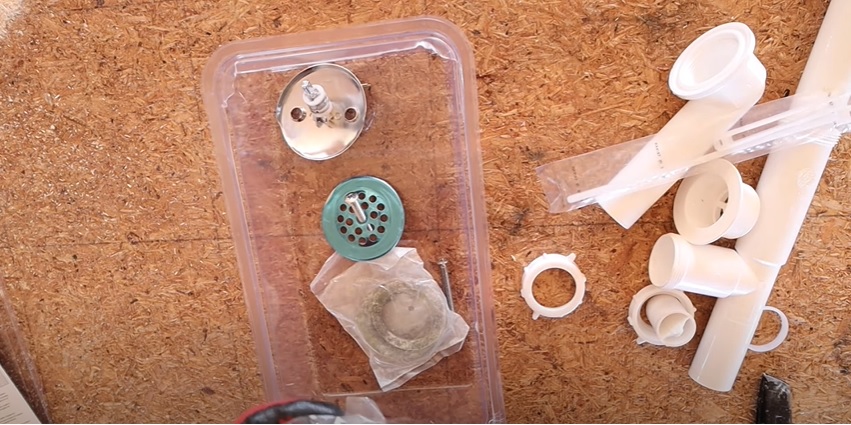
Step 3: Assemble the stopper.
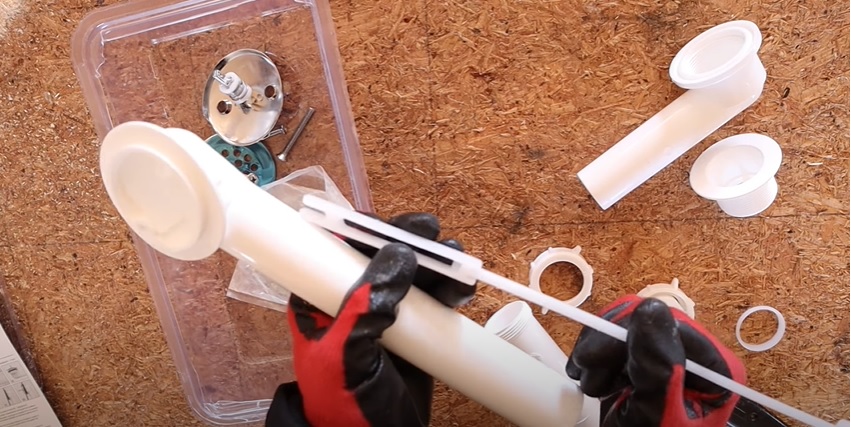
To do this, thread the two main pieces together (this assembly is adjustable, so don’t worry if it’s not quite the right length right now; you can change it after you’ve installed the drain).


Next, attach the stopper itself to the bottom of the longest piece and secure it with a pin. Bend the ends of the pin slightly outward to help it stay in place. The stopper shouldn’t be able to slip out of place, but it also be loose enough to pivot.

Finally, attach the overflow plate to the top of the stopper assembly and use another pin to keep it in place.
Step 3: Connect the drainpipe, the connector pipe, and the overflow pipe together using the O-rings and pipe fittings.
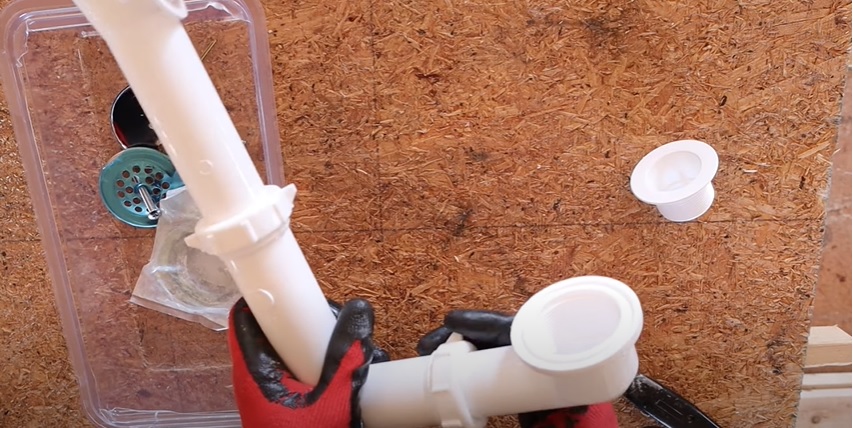
Don’t tighten the pipe fittings too much. Once they’re screwed all the way, they’re really hard to loosen up again! Plus, leaving them a little loose will make it easier for you to install the entire assembly, so it’s best to wait and finish tightening them at the end.
Step 4: Take some plumber’s putty, warm it up in your hands, and form it into a thin snake.
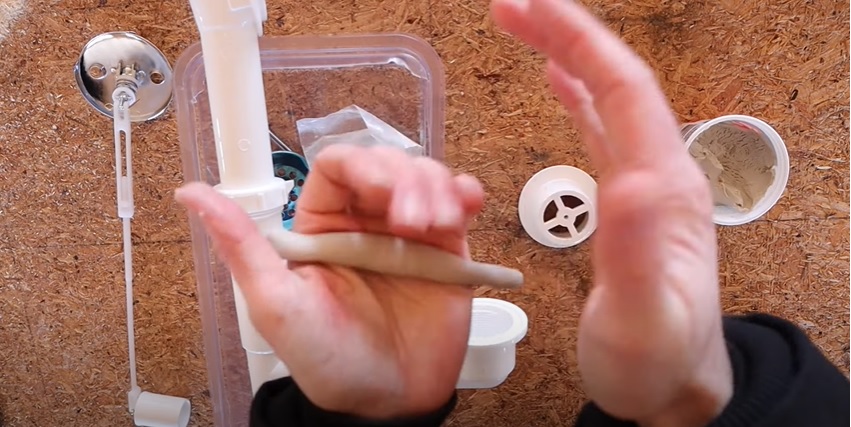
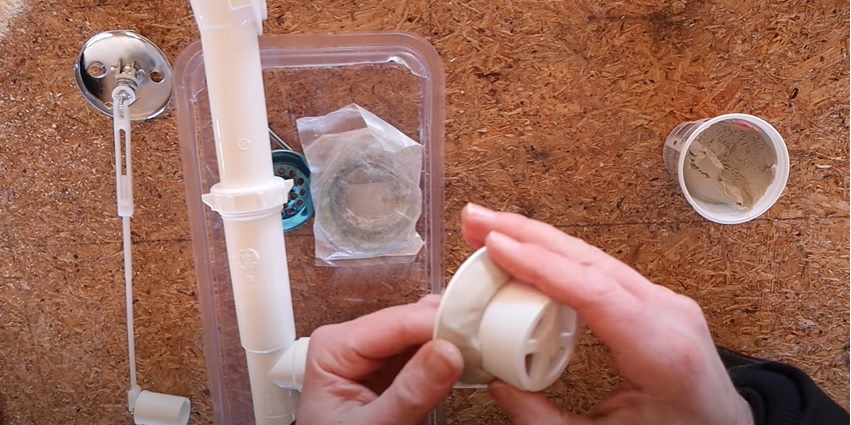
Next, pack it up underneath the lip of the drain, all the way around (make sure the drain is clean first). Don’t worry about packing too much putty, as it will squeeze out later when you install the assembly.
Step 5: Install the gasket for the overflow hole and the gasket for the drain hole.
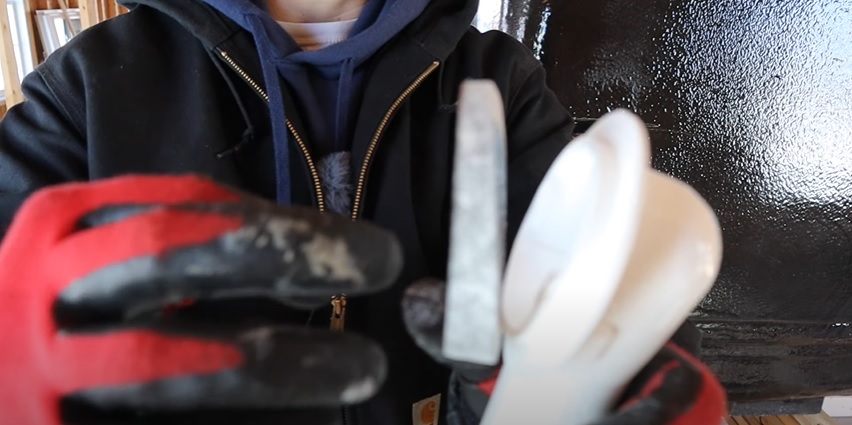

The overflow gasket is thicker on one end. Place that end over the overflow hole pointing down. Secure it in place with the two metal clips that came with it (there are notches in the overflow pipe head for each clip).

The other gasket is the same thickness all the way around. All you need to do is set it in place over the drain hole.
Step 6: Separate the overflow assembly from the drain assembly, while making sure the fittings stay loosely attached to their respective pipes. Then, install the overflow assembly and the stopper in the bathtub.
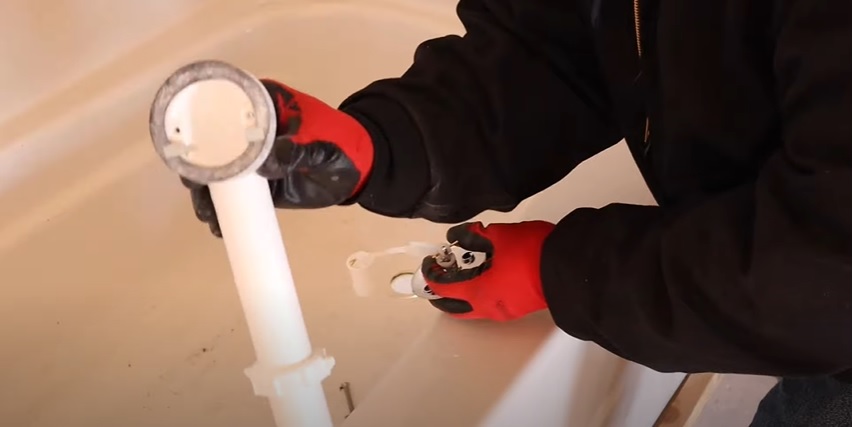
To do this, reach around the end of the bathtub with one hand and hold the overflow pipe up against the upper hole on the outside of the tub.
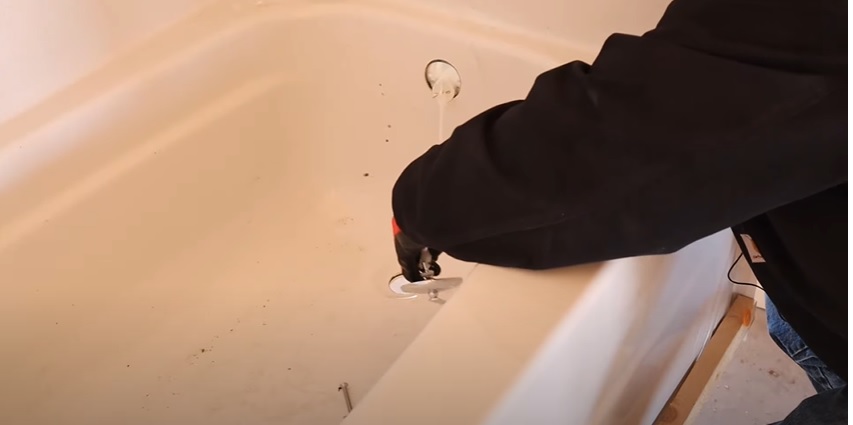
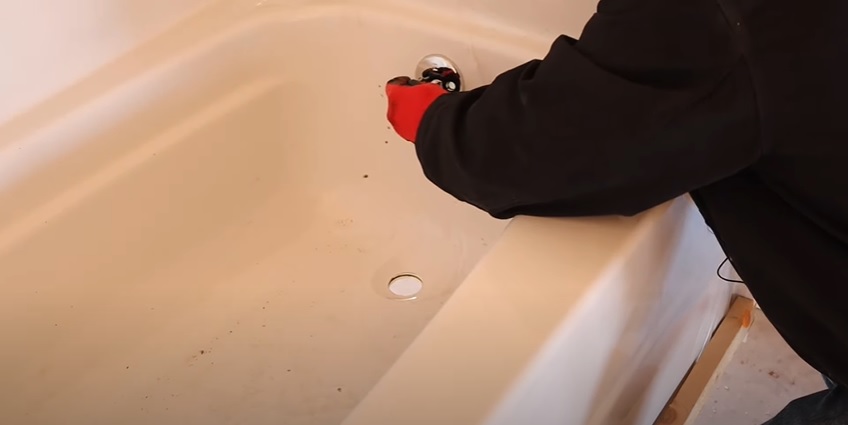
Then, with your other hand, feed the stopper through the hole from the inside of the tub until the overflow plate sits flush against the tub’s surface.
Next, screw the overflow plate into place with a screwdriver. Make it snug, but not too tight.
Step 7: Install the drain assembly in the bathtub.

Reach around the side of the tub and hold the drainpipe up against the underside of the hole in the bottom of the tub. Then, with your other hand, screw the drain into the pipe from the topside of the same hole.

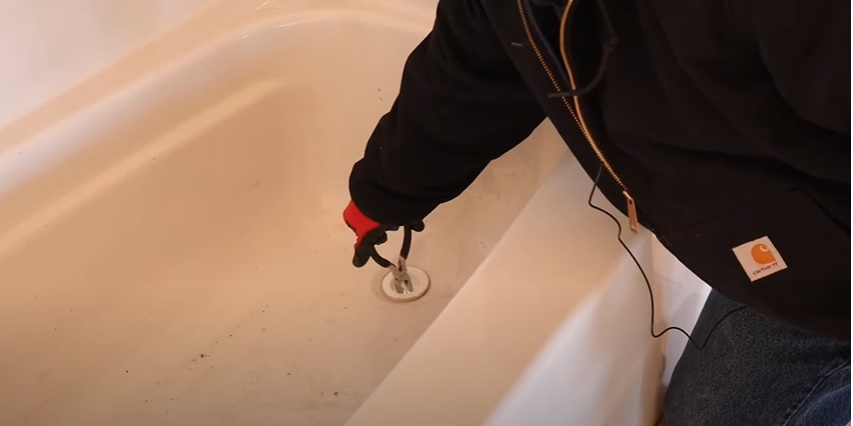
Once the drain starts to tighten, use a pair of needle nose pliers to continue turning it into place.
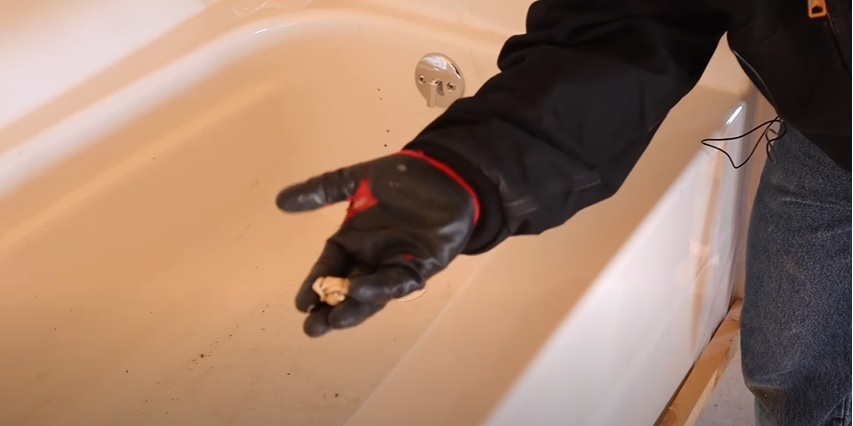
As you do so, you’ll see any excess putty start to squeeze out into the bottom of the tub. Remove that after you’ve tightened the drain until it’s snug. Once again, don’t tighten it too much or it could break.
Step 8: Tighten all the fittings on your drain and overflow assembly, so that it holds together securely.
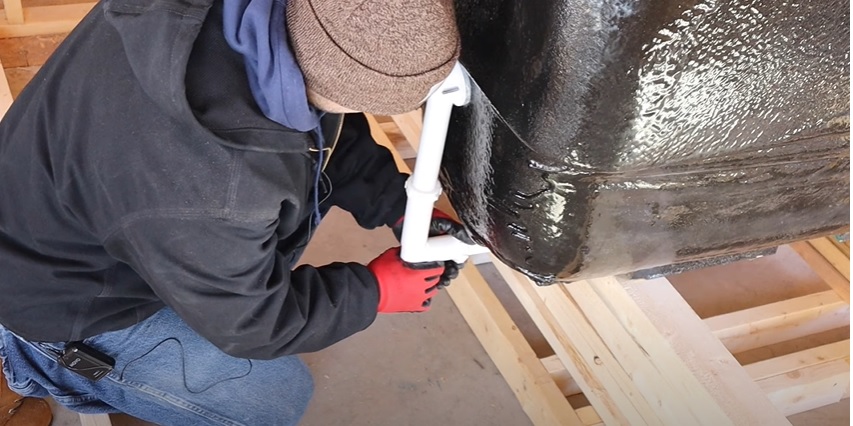
And that’s it! Your drain is now put together and ready for you to set into place over the drainpipe under the house.
What did you think of this tutorial? If you liked it, I have plenty more where that came from! Just head on over to the Excellent Laborer YouTube channel to check them out.
