It may sound redundant, but the foundation (which includes the sill plate) of your house is, well, the foundation of everything. Without it, your entire DIY house could shift or even tear away during extreme weather conditions, like tornadoes and hurricanes.
To make your foundation whole, you need to install a sill plate. This is how you will transition from masonry to wood while still ensuring that the entire structure is as solid as a rock.
Follow along with me as I explain what a sill plate is, what tools you need to install it, and how to perform the installation step by step.
What Is A Sill Plate?
A sill plate is a piece of wood that sits sandwiched between the top of the foundation wall and the bottom of the wood frame of a house. It’s a transition piece that helps stabilize the entire structure, so that the wood frame doesn’t wiggle or move around when the foundation settles.
It’s also essential in case an earthquake or high winds shake your house. You wouldn’t want it to fly off the foundation!
Tools You Need To Install A Sill Plate
DISCLAIMER- This article does contain affiliate links. I earn a small commission that helps support this website at no extra cost to you, if one of the links is used to make a purchase.
To install a sill plate, you just need some basic tools:
- Drill with a ⅝ bit
- Circular saw
- Impact drill with a ¾ inch socket
- Hammer
- 2 by 8 pressure treated wood plates
- Foam sill sealer
Step By Step Guide For How To Install A Sill Plate On A Foundation
Before I start guiding you step by step through the sill plate installation process, I want to show you what the top of your foundation wall should look like with the anchor bolts installed in it.
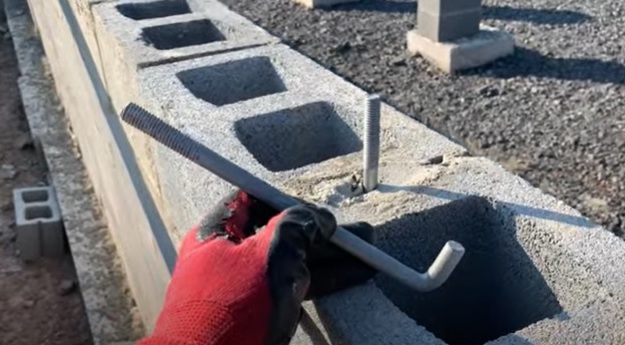
The anchor bolts are extremely important, so don’t forget to mortar them in between your masonry blocks. These will keep the sill plate firmly anchored to the masonry, as well as facilitate protecting the wood frame of your house from sliding or tearing off the foundation wall.
Now that I’ve reminded you about anchor bolts, let’s move on to installation.
Step 1: Spread down a layer of sill sealer on the top of your foundation wall, texture side down. This is a thin layer of foam that seals the gap between the foundation and the sill plate. It prevents bugs and moisture from seeping into the house through the seam.
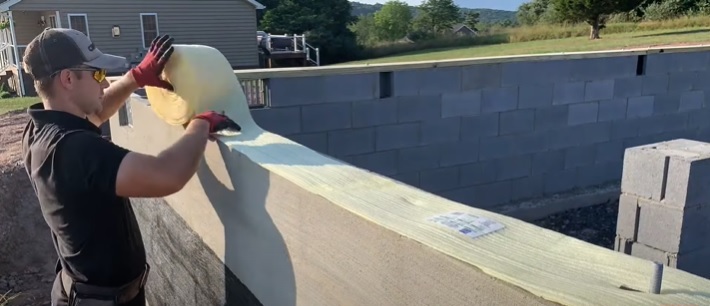
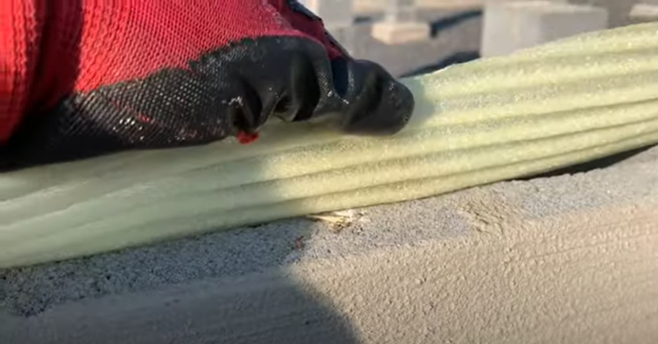
As a side note, I use a 7 ½ inch sill sealer for blocks that are 8 inches across. It comes in a big roll, and it’s cheap. I can usually do a full house and only spend $50 on this stuff.
Also, be aware that you’ll need to poke holes through the sealer to fit it over the anchor bolts.
Step 2: Measure from one end of your wall to the other end where it will butt up against your other sill sealer, so you know how long of a piece of wood you’ll need.
Step 3: Cut your 2 by 8 wood plate to match the measurement you took.
I usually purchase plates that are 16 feet in length unless I’m working with a shorter wall. In those cases, I will purchase 12-foot plates. In general, I find that the ones that are 16 feet long work best.
Step 4: Take your cut plate and place it on top of the anchor bolts. Balance it in place and make sure it’s flush against one end of the foundation wall and the side of the wall that’s facing you, all along its length.
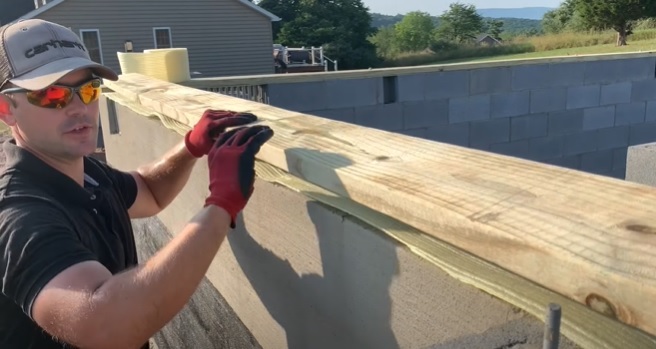
Step 5: After you get your board sitting where you want it, take your hammer, and whack it down on the board above each anchor bolt. This makes a dent where you will drill holes, so that the anchor bolts can fit through the wood plate. This is easier than measuring.
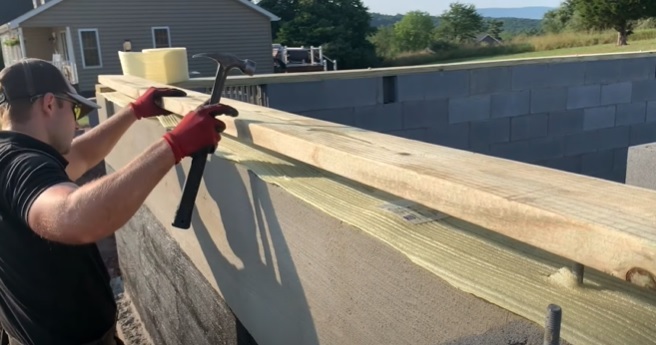
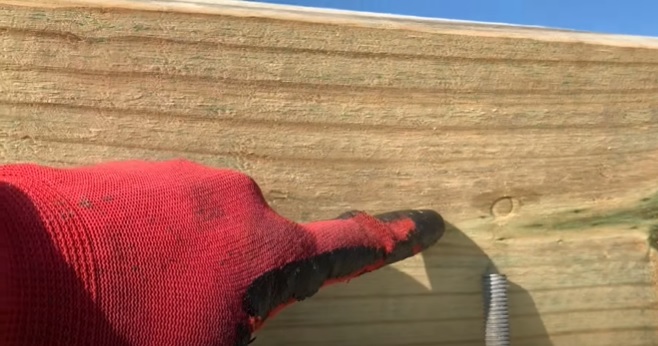
Step 6: Take your dill with the ⅝ bit and drill a hole through each indentation.
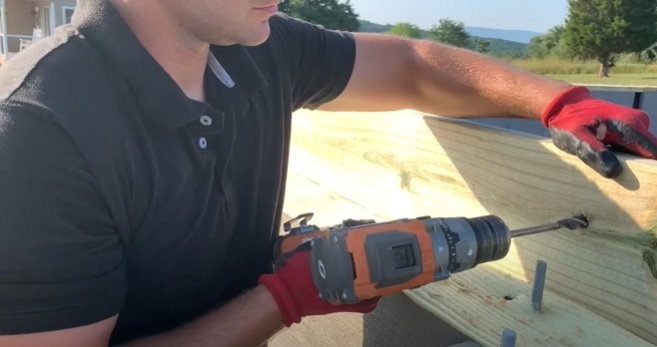
Step 7: Place the wood plate over the anchor bolts and push it down, so that it sits flush against the sill sealer. Make sure the sides are flush to the foundation wall, just like you did in step 4.
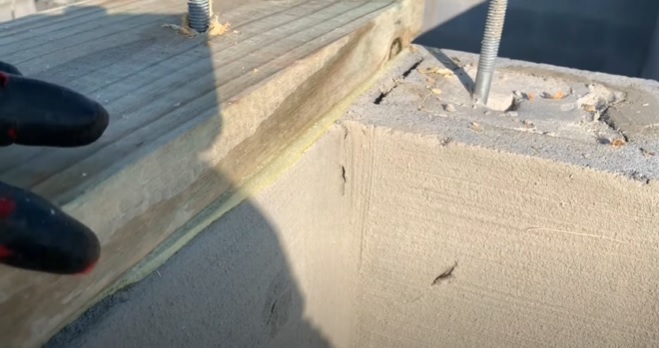
Step 8: After you’ve double checked that the plate is sitting where you want it, put a washer and a bolt on each anchor bolt. Then, use your impact drill to secure each bolt in place until it’s snug.
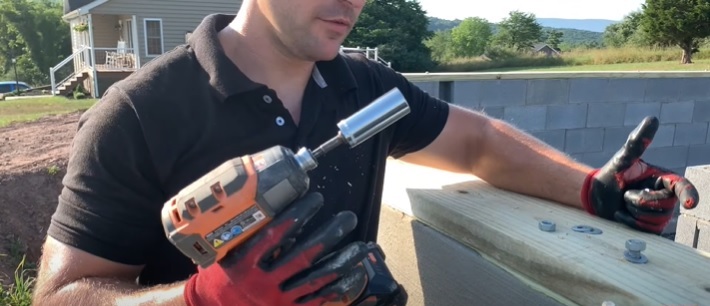
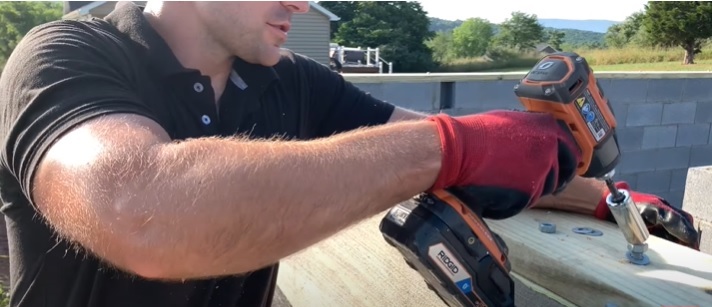
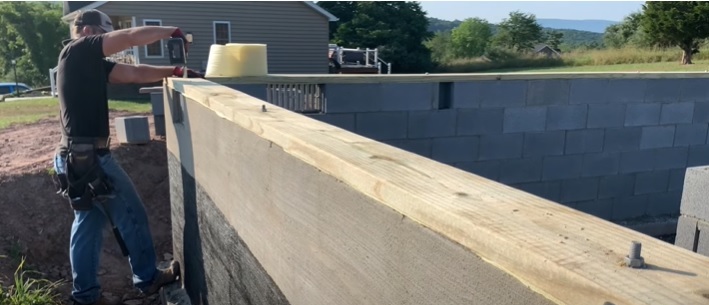
The last photo shows the finished product.
If you want to watch the video, it is on my youtube channel!
And that’s it! It really is as simple as that. With just a few tools and a bit of know-how, you can install an excellent sill plate on each section of your foundation. That way, your DIY house is as solid as the Rock of Gibraltar for years to come.

Pingback: How To Build An Interior Wall With A Door – Load Bearing Vs Non-Load Bearing Doorway - Excellent Laborer