If you’ve already worked your way through my tutorials on how to build a deck, then chances are you’re at the stage where you’re ready to install a door from the house to your patio. On the other hand, maybe you’ve decided to replace the patio door in your current home with a new one.
Regardless, the Excellent Laborer himself is here today to teach you how to install a sliding patio door that will last you for years to come.
Remember, ALWAYS CHECK YOUR LOCAL BUILDING CODES prior to embarking on a DIY home building project such as this one.
Tools and Supplies Needed To Install a Sliding Patio Door
DISCLAIMER – This article does contain affiliate links. I earn a small commission that helps support this website at no extra cost to you, if one of the links is used to make a purchase.
To help you get started on your patio door installation, here’s a list of the tools and supplies you’ll need. (As with any other of my DIY tutorials, you can discover which brands I use at the Excellent Laborer Amazon store.)
- Sliding patio door (in my live demonstration of this tutorial, I used a Pella 150 series door with mini blinds from Lowes Home Improvement)
- Aluminum nails
- Hammer
- Drill
- Liquid Nails
- Tyvek tape or flashing tape
- Shims
- Level
- Tape measure
- Pencil
Step-by-Step Guide To Installing a Sliding Patio Door
Step 1: Measure the height and width of your doorway. You want a ¼” gap running on both sides and the top between the doorway and the door itself. This extra space will give you some wiggle room when you install the door, as well as ensure that the nailing flanges surrounding the door end up resting on the exterior walls.
Step 2: Use your level to make sure the subfloor and sides of the doorway are plumb.
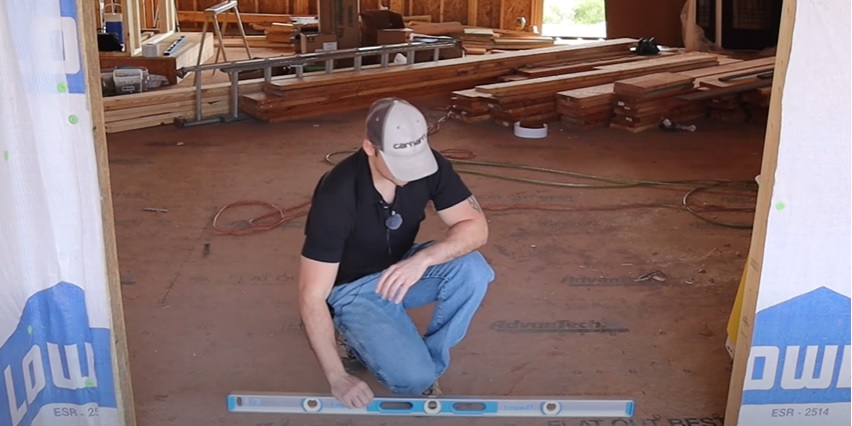
Step 3: Dry fit the door and center it in place. Make sure the ¼” gap is present.


Step 4: Have a helper lean the door back far enough for you to squeeze a few beads of Liquid Nails on the subfloor underneath it. Then gently lower the door back into place.

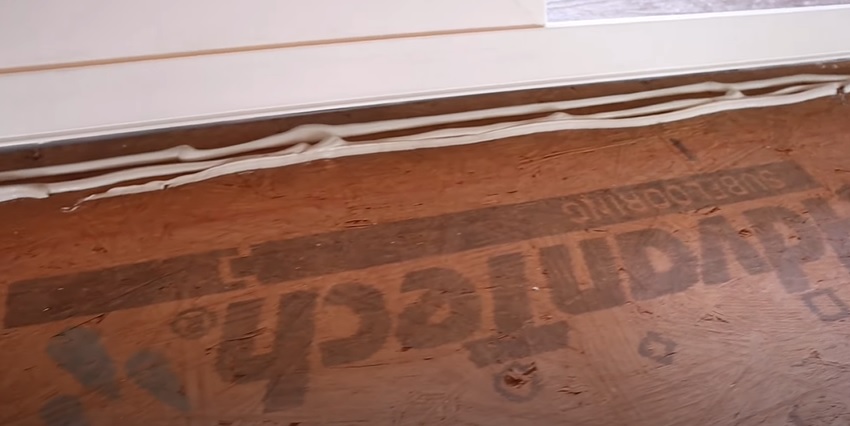
Step 5: Anchor the bottom corners of the door to the exterior wall using aluminum nails and a hammer. This step will keep the door steady while you proceed with the installation.

Step 6: Use your level to check if the side of the door where the latch will be is plumb. Then, check the reveal on the door by sliding it as closed as you can get it without latching it.

The reveal, or gap, between the door and the door jamb should be even all the way up and down. If it’s not, and if the door jamb is not quite level, insert a shim on the other side of the door jamb wherever the gap needs to be closed.
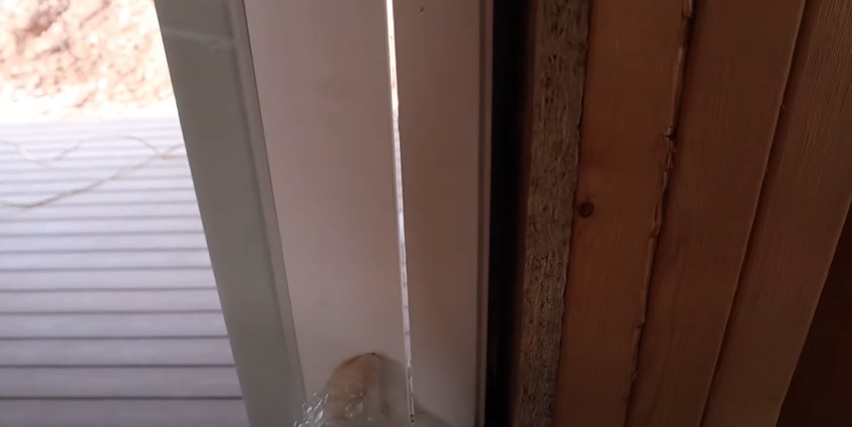

By the time you’re done, the reveal should be narrow and even up and down the height of the door.
Step 7: Place a shim behind the door jamb where the latch will be installed. This part of the door is flimsier than the rest and needs extra support.
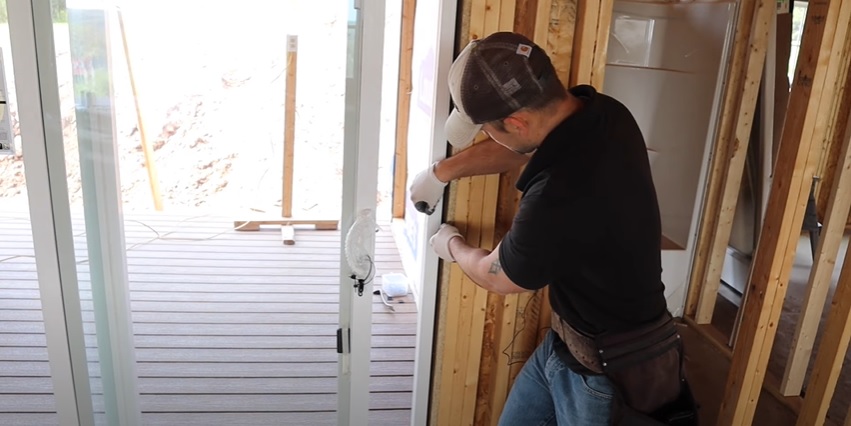
Step 8: Check the reveal one more time to make sure it stayed even.

Step 9: Finish nailing off the flange on the exterior side of the door.
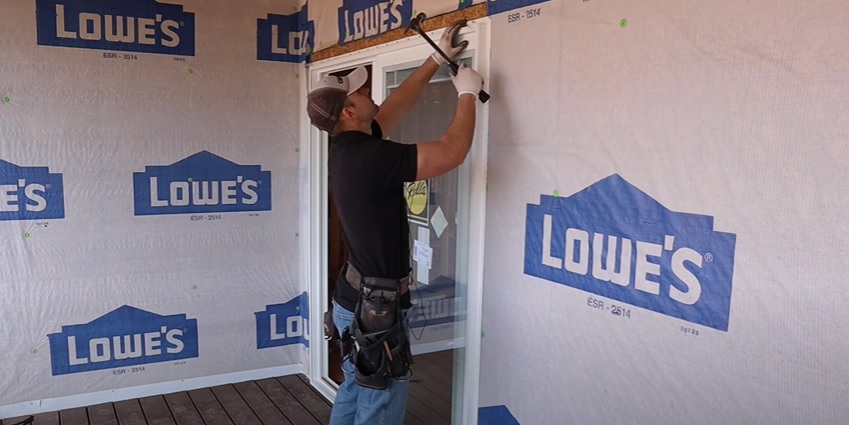
Step 10: Install the door latch.
To do this, leave the door open and set the hook into the lock position.
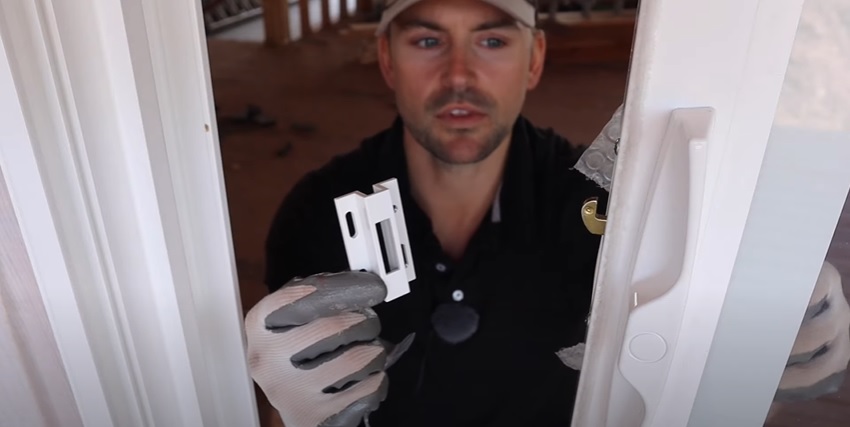
Then, use a pencil to make a mark on the door jamb, using the part of the door hook that will butt up against the top of the hole in the latch as a guide.
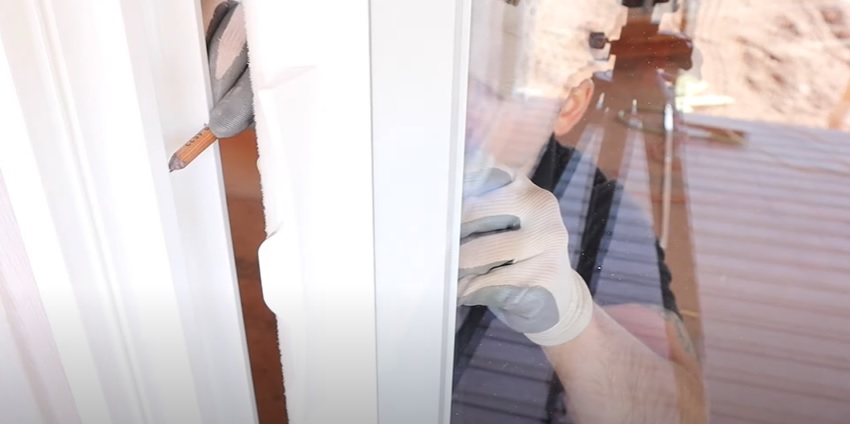
Once you’ve made your mark, place the latch over it and attach it to the door jamb with a single screw in one of the top slots.
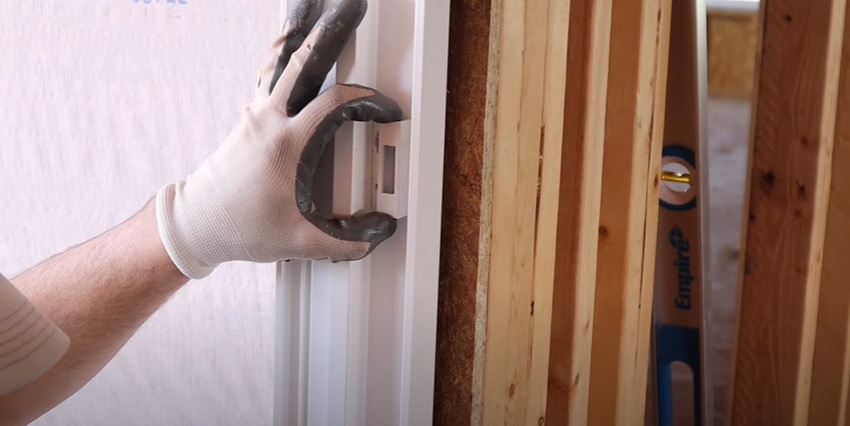
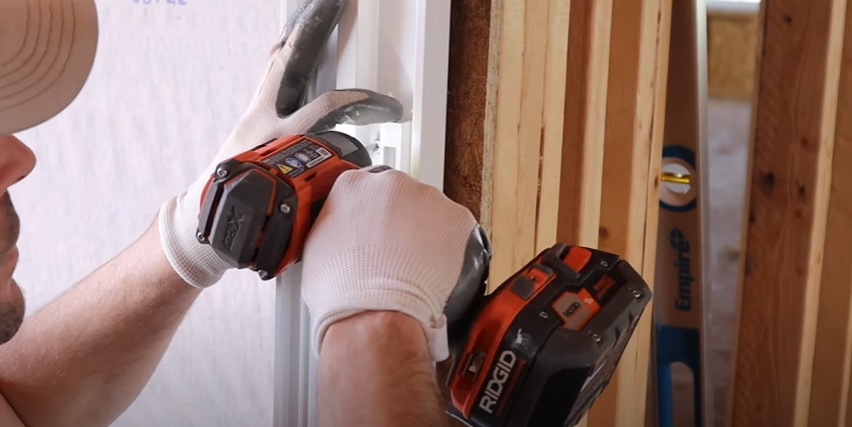
Before you install the screws in the other three slots, test the door to make sure it locks. If it does, continue installing the rest of the screws, and then check one more time that the door does, in fact, lock.
Check your reveal, also, to verify that it hasn’t moved during this step.
Pro Tip: If the door doesn’t latch tightly, adjust the screw above the hook on the door. By doing this, you can pull the hook tighter against the door, so that when you activate the lock in the latch, it secures the door to the door jamb better.
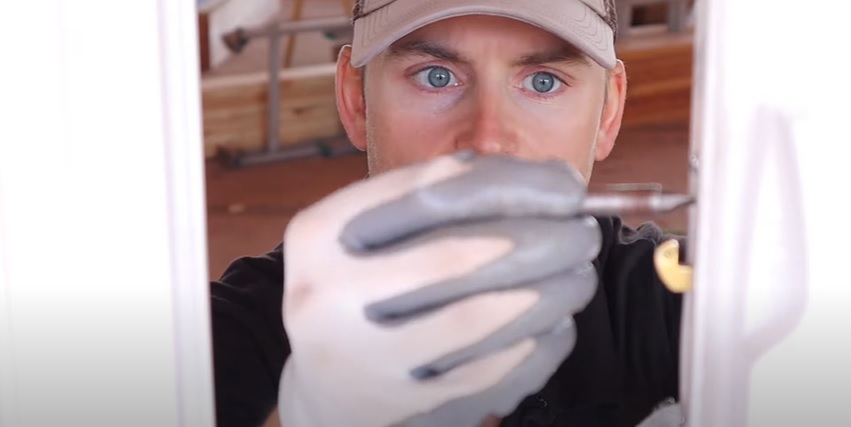
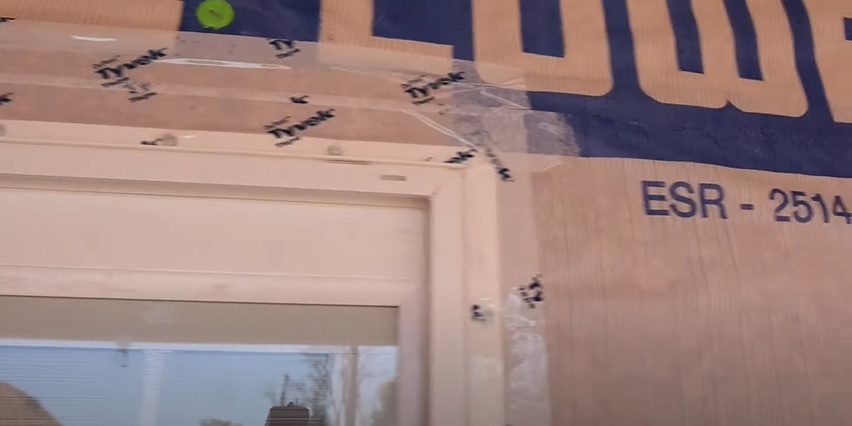
Step 11: Place tape around the outside of the door, so that it overlaps the nailing flange.

For this step, you can either use Tyvek tape or flashing tape. I recommend using flashing tape if your door is going to be directly exposed to the elements, since it provides a more robust seal against moisture, dirt, and mold.
Because the door I’m working on in this tutorial is at the back of a covered patio, however, I feel comfortable using regular Tyvek sheathing tape. It will still do a good job of repelling any moisture that may make its way there.

Step 12 (optional): To seal the bottom of the door against the weather even more, run a bead of caulk under it on the exterior side.

11 (or 12) steps later, and you now have a great-looking portal from the inside of your house to your patio!

I also wrote an article if you want to learn how to install an exterior door. You can discover other simple and excellent DIY house tutorials here on the blog or on the Excellent Laborer YouTube channel.
