In this article, I’m going to explain my process for installing AdvanTech OSB sheathing as a subfloor in your DIY house. This is a relatively simple project, but I do recommend getting a friend or family member to help you, as it involves a lot of lifting and hammering.
Remember, ALWAYS CHECK YOUR BUILDING CODES before starting a DIY house job.
Table of Contents
ToggleWhy AdvanTech Subfloor?
You may be wondering why I use AdvanTech OSB sheathing specifically. This brand offers three main advantages that I really appreciate as a DIY home builder.
Advantage #1: Lifetime Limited Warranty
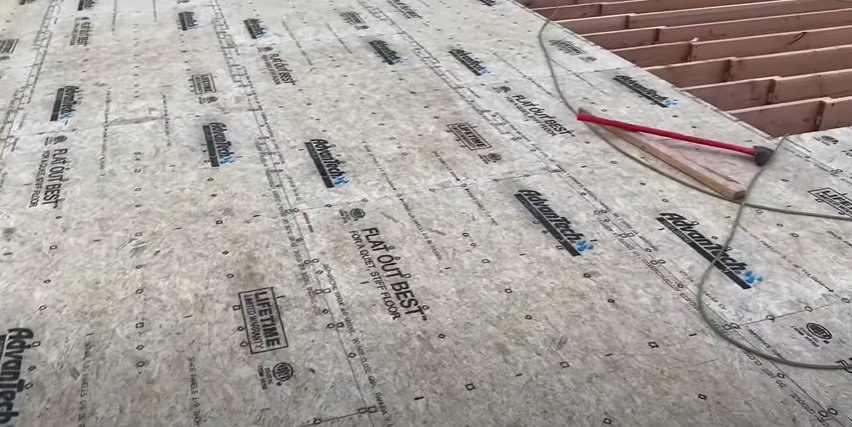
AdvanTech OSB sheathing comes with a lifetime limited warranty. It’s a huge comfort to know that if I receive OSB that’s damaged, the brand will replace it.
Advantage #2: Holds Up Well Against the Weather
I’ve always found that AdvanTech OSB sheathing holds up well against the weather. That’s an important advantage if you’re like me and have to leave your supplies out in the elements in between the days you can work on your DIY home build.
Advantage #3: Comes with Pre-marked Nailing Layout
AdvanTech OSB boards come with this nifty pre-marked nailing layout. The small circles on the face of the sheathing indicate where you should secure a nail to affix the sheathing to your subfloor joists.
Tools and Supplies Needed To Install AdvanTech Subfloor
DISCLAIMER – This article does contain affiliate links. I earn a small commission that helps support this website at no extra cost to you, if one of the links is used to make a purchase.
Below are the tools and supplies I typically use while installing AdvanTech subfloor. (Interested in which brand I use for each item? Check out the Excellent Laborer Amazon store.)
- AdvanTech OSB sheathing
- Heavy duty subfloor adhesive
- Nailer
- 2 ⅜” ring-shanked nails
- Sledgehammer
- Circular saw
- Chalk line
- Tape measure
- Pencil
Step by Step Guide To Installing AdvanTech Subfloor
Step 1: Set your stack of AdvanTech sheathing near the side of the house where you plan to install subflooring.
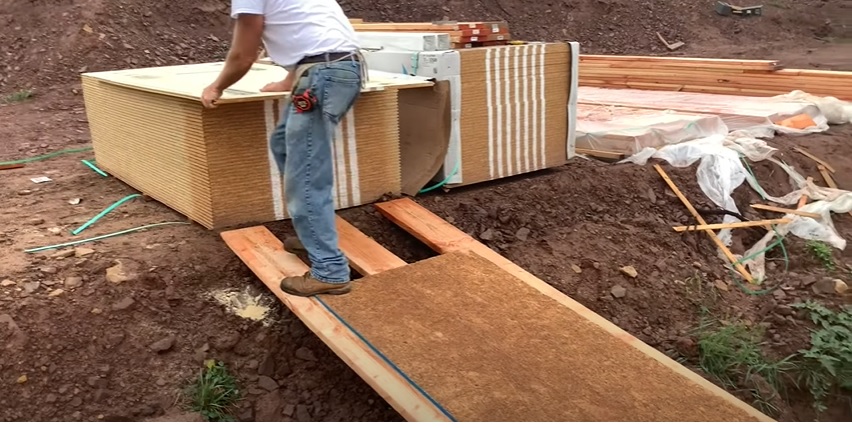
Step 2: Create a makeshift slope to slide the OSB boards down from the stack to the subfloor.
For my slope, I used three 2x10s and put a piece of plywood across them. This step just makes it so much easier to move the sheathing around.

Step 3: Measure 48” in from the outside of the side of the house where you’re going to start installing subflooring. Then chalk a straight line across your joists at that mark.
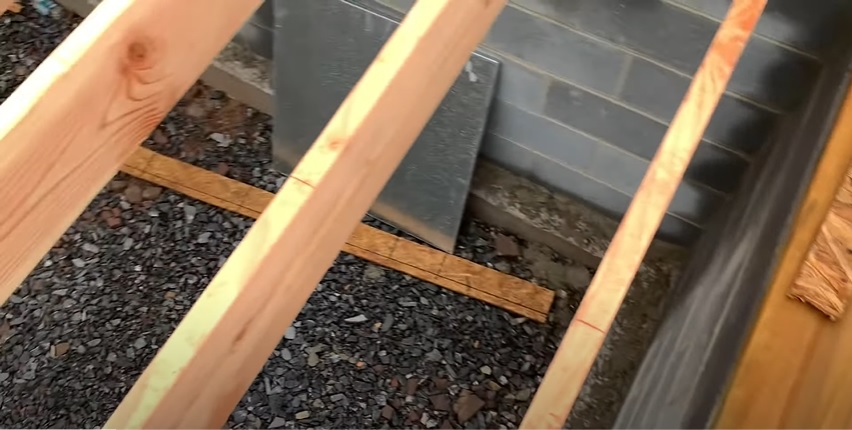
48” is the width of the OSB boards. This mark will help you line up your first row of sheathing as straight as possible.
Step 4: Install the first AdvanTech OSB board in the first row using a full board.
To do so, place a bead of sheathing along each joist as far as the width of the board (48”).
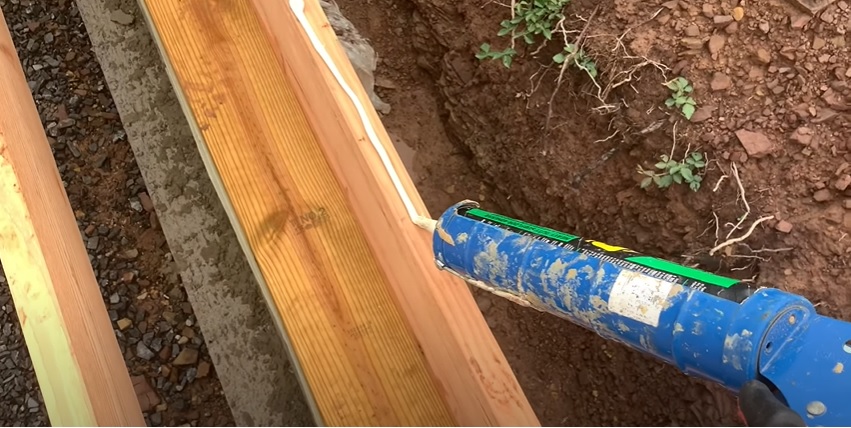
Next, place your board over the glue. Make sure the outer edge of the board lines up with the outer edge of the band board, and that the inner edge of the board breaks on center on the inner joist. Then tack it down in all four corners and in each circle marked on the sheathing.
Step 5: Repeat step four for every board in the first row, making sure that the edges of the board break on center on the joists.
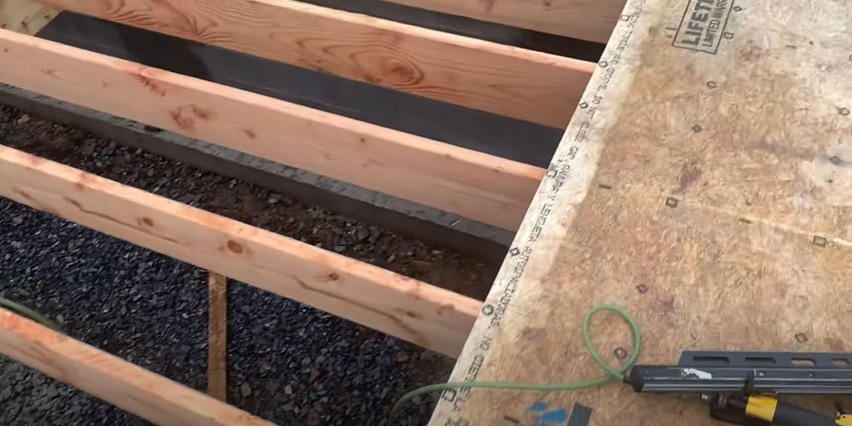
Step 6: Install the second row of AdvanTech OSB sheathing.
The joints between rows of sheathing should be staggered. To achieve this, cut the first board in the second row down to a length of 48” inches.
Repeat step 4 until after you lay the OSB board on the glue. At this point, use a sledgehammer and a scrap piece of wood to hammer the board into place (it helps to have someone standing on the bottom of the board during this part to keep it steady). This step ensures that the sheathing is snug in place. There should only be a thin crack between it and the sheathing in the previous row.
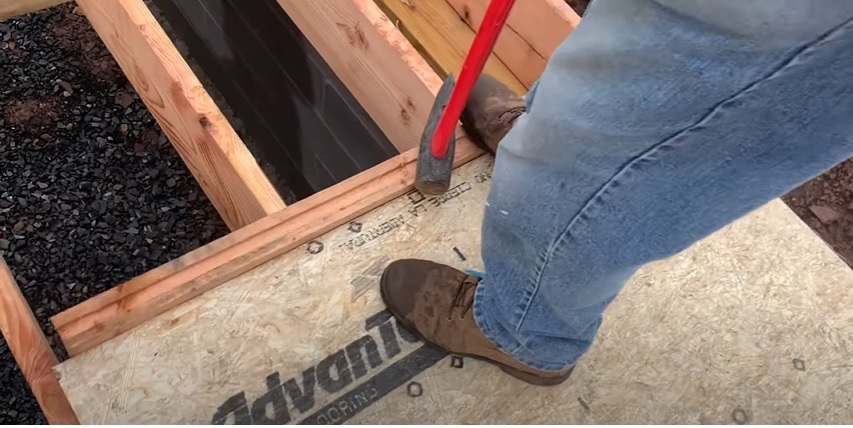

From there, tack the board into place at all four corners.
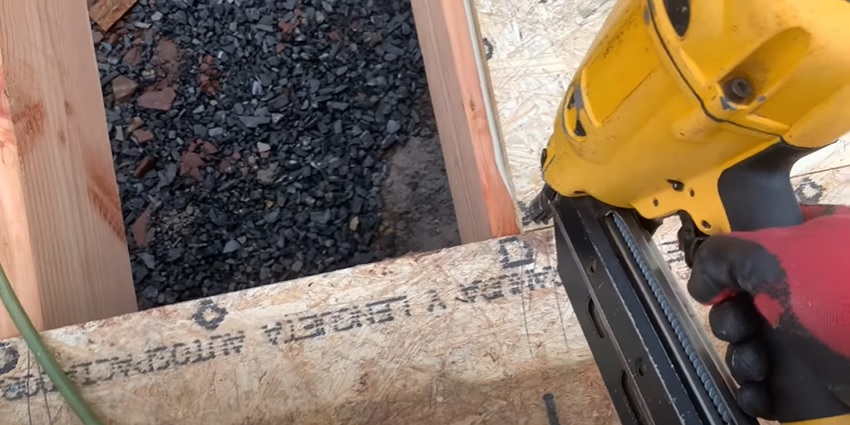
Next, measure and mark a 16” on center layout from the outside of your sheathing to the inside using a tape measure and a pencil. Place a nail on each mark of your layout to secure it to the joist underneath it on center.

Finally, place a nail at every pre-marked circle on the board to secure it completely and prevent squeaks.
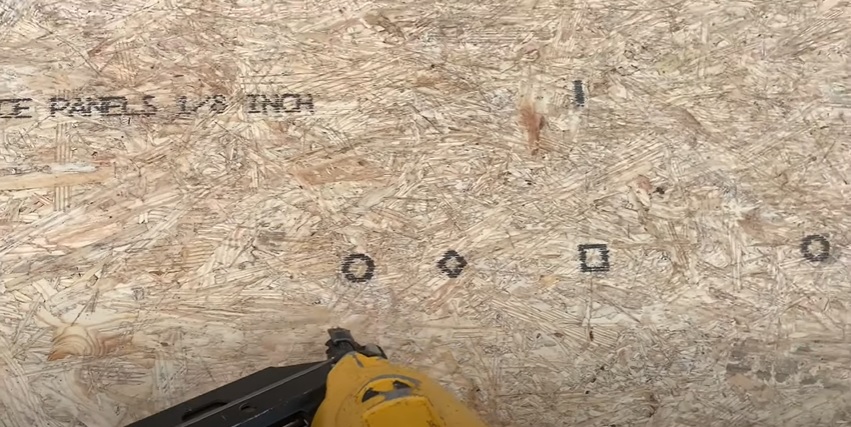
Step 7: Repeat step six for every row of your subflooring, taking care to stagger the joints as you go.
Pro Tip: During the subfloor installation, you may reach a point where the joists in the subflooring are staggered.

To create enough of a surface to attach the sheathing to, scab a 2×4 block on each joist where the OSB boards will break.
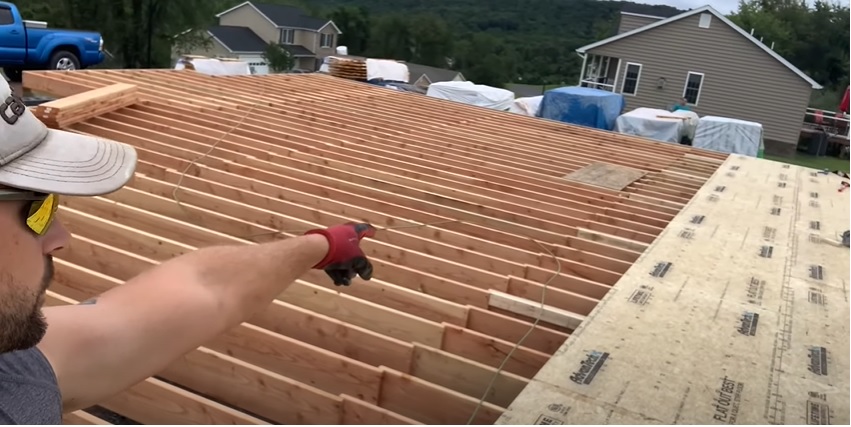
Keep installing sheathing according to my instructions, and before long you’ll have a beautiful, completed subfloor.
If you enjoyed that DIY home building tutorial, I have a lot more over on the Excellent Laborer YouTube channel. Check them out!
