Installing an exterior door on your DIY home isn’t difficult, but it’s still super important that you do it exactly right! The door needs to be properly leveled and sealed against the elements. Otherwise, it could cause major problems for you in the future.
I (The Excellent Laborer) believe in doing DIY home build projects right the first time! That’s why in this article, I take you step-by-step through how to install an exterior door on your DIY home, the right way.
ALWAYS CHECK YOUR LOCAL BUILDING CODES before building your own home or adding any new fixtures to it.
Tools and Supplies Needed To Install an Exterior Door
DISCLAIMER – This article does contain affiliate links. I earn a small commission that helps support this website at no extra cost to you, if one of the links is used to make a purchase.
Here are the tools and supplies you’ll need to gather up before you start installing an exterior door (check out what brands I use at the Excellent Laborer Amazon store).
- Exterior door (in the tutorial below, I use a fiberglass masonite door with mini blinds that I purchased from Lowes Home Improvement)
- Liquid Nails Construction Adhesive
- Finished nailer (or galvanized finish nails with a hammer)
- Drill
- Screws and plugs (they should come with the door)
- Shims
- Level
- Tape measure
Step-by-Step Guide To Installing an Exterior Door
Before You Begin: Exterior doors typically come with a pack of accessories (i.e., screws and plugs) taped to the top. They also come with a plastic latch in the doorknob hole that acts as a sort of lock to keep the door in place when closed. Remove both of these items before attempting to install the door.
Step 1: Measure the doorway and the exterior door to doublecheck that it will fit.

Typically, the doorway should be two inches wider than the size of the door. For example, in my live demonstration of this tutorial, the doorway was 38” wide and the door size was 36”. That extra inch on either side gives you some wiggle room and ensures the install isn’t too snug.
Plus, even though the store will say that a door is 36” wide, in reality, it may be 37”, like mine was in the demonstration. Even so, that still gives you a whole inch to play with.
Step 2: Use your level to check that the subfloor and the sides of the doorway are level. If they aren’t, now is your chance to fix that before you install the exterior door.
Step 3: Lay down beads of Liquid Nails on the subfloor where the bottom of the exterior door will rest.

This step is particularly important, as it will keep the door in place while acting as a seal against the elements.
Step 4: Set your exterior door into place and make sure it’s sitting in the center of the doorway.
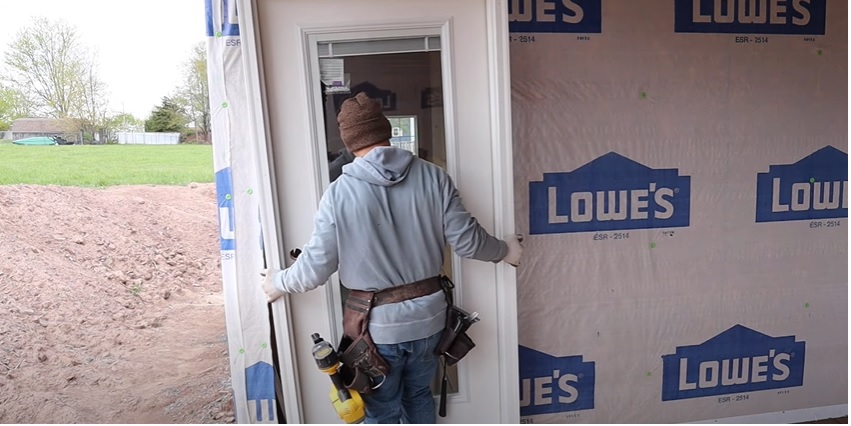
Step 5: Use your level to ensure that the door is sitting plumb against the house and then tack it down on one side with your finished nailer.

Only use one nail. We’re not trying to secure the entire thing in place at this point. Instead, we just want it to stay steady while we perform a couple more preliminary steps.
Step 6: Go inside the door and check that the reveals (AKA the gaps in between the door and the doorway) are all even and that the door shuts easily.
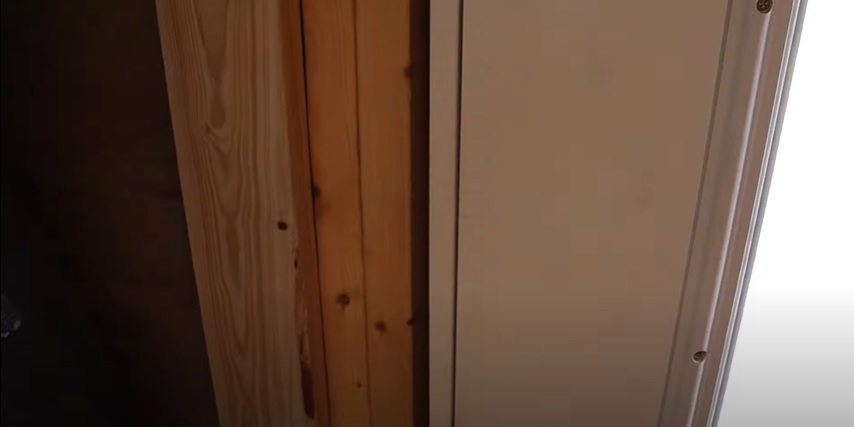

Step 7: Use your drill to install the hinge screws. Don’t tighten them all the way yet.

Step 8: Use a drill bit to create a hole for a screw underneath the weather stripping on the door jamb, in between the holes for the doorknob and the lock.
Then use a Phillips drill bit to round out the hole before installing the screw, so that it will countersink.

This will keep the door jamb nice and secure.
Step 9: Install your shims.
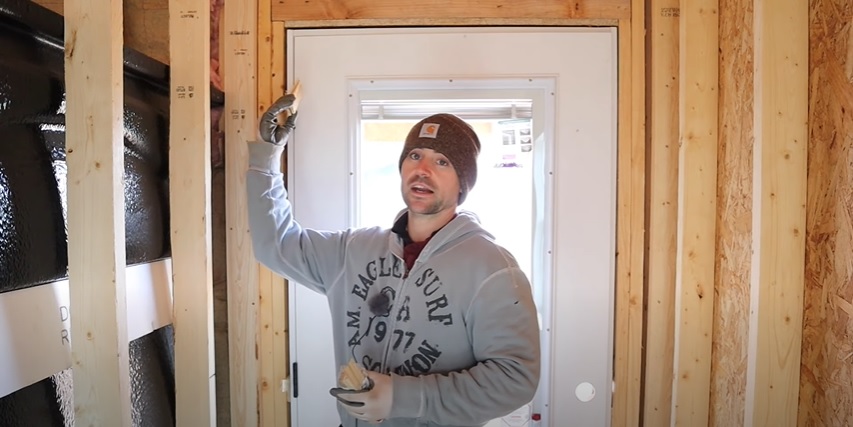
To do this, slide one or two shims in above and below each screw that you installed in steps 7 and 8.
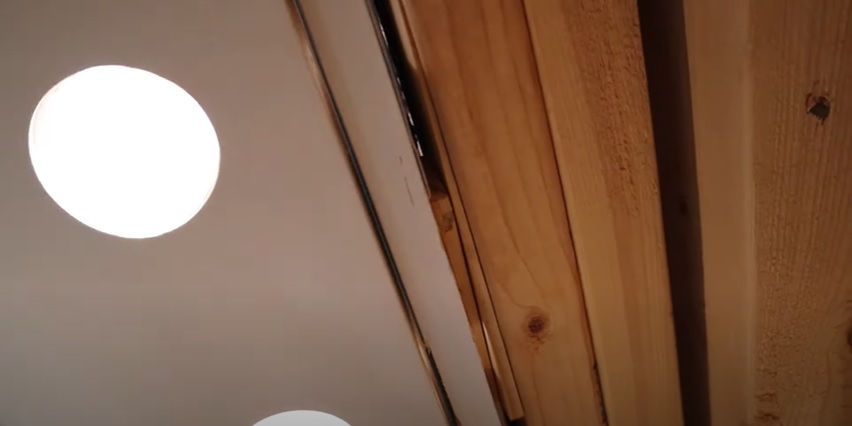
Step 10: Finish tightening the screws, and then remove or break off the shims.

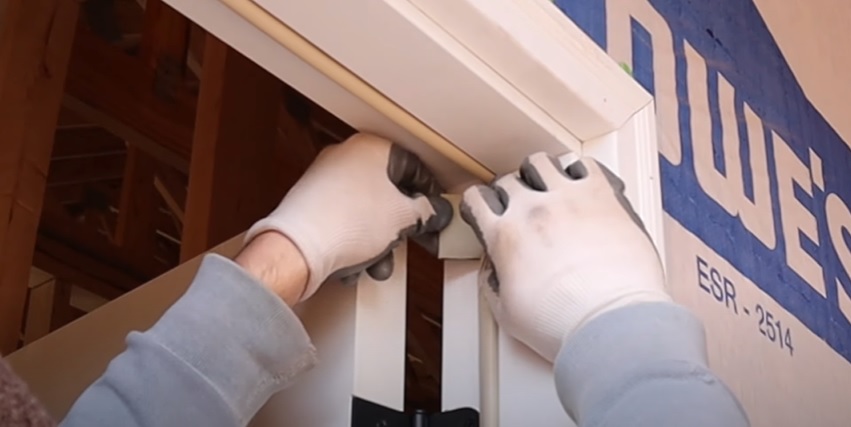
Step 11: Install the foam pads that came with the door in the top and bottom corners of the door on the hinge side.

Performing this step will block out the light and the air coming in through those corners.
To install the foam pads, open the door, peel off the adhesive on the pads, peel back the weather stripping on the door jamb slightly (on the hinge side), and slide one foam pad into the top and bottom corners.
Step 12: Spray foam or manually place insulation in the gaps on the interior side of the door.

Step 13: Use the plugs that came in the door’s accessory pack to plug up the screw holes on the window of the door (if it came with a window).
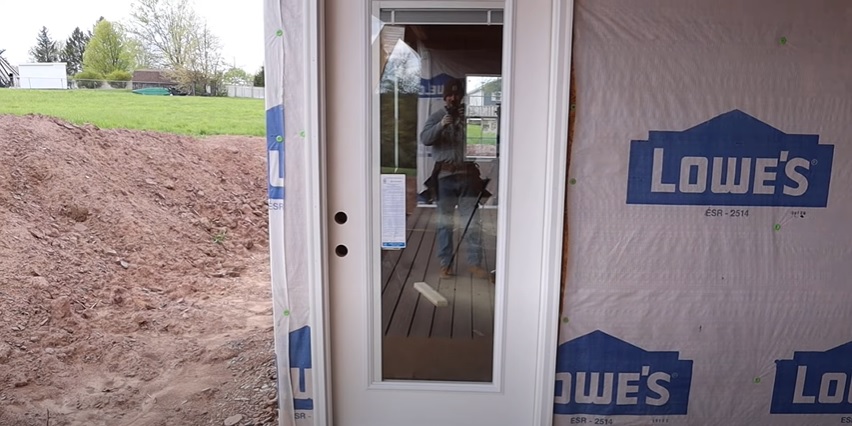
That’s it! Now, look at the beautiful result!
Wasn’t that easy? You can find more easy DIY homebuilding tutorials here on the blog and on the Excellent Laborer YouTube channel.
