In this article, I’m going to guide you through the process of installing a drip edge and a rake edge on a roof. This is one of the easiest steps in finishing off a roof on a DIY house, so let’s get to it!
As always, remember to CHECK YOUR LOCAL BUILDING CODES before starting any new DIY house project.
What Is A Drip Edge?
First, let me explain what a drip edge is.
A drip edge is a piece of aluminum that you attach to the edge of your roof, all the way around the house. Its purpose is to provide a surface that rainwater can drip down from the roof to the ground, while simultaneously protecting the edge of the wooden fascia board from moisture that could cause it to rot.
Drip edges are typically made out of aluminum. Aluminum is thin and flexible, which means it’s easy to cut to size and attach to the roof. It’s also resistant to rust, making it ideal for contact with water.
Drip Edge Vs Rake Edge
There are two types of edges you’ll need to install on your roof: drip and rake.
While drip edges are attached to the fascia surrounding the perimeter of your roof, a rake edge is attached to the rakes on your gable ends. It looks exactly the same as a drip edge and serves the same functions. The only tricky part is cutting it to match the pitch of the gable peak, but I’ll show you how to make those cuts later in the article.
Tools Needed To Install A Drip Edge And A Rake Edge
DISCLAIMER – This article does contain affiliate links. I earn a small commission that helps support this website at no extra cost to you, if one of the links is used to make a purchase.
Here’s a list of some of the tools you’ll need for this DIY house project.
● Nailer
● Drip edge flashing
● Tin snips (you can use any other kind of snips, but I prefer this kind)
● Speed Square
Step By Step Guide To Installing A Drip Edge And A Rake Edge
How To Cut And Install A Drip Edge
Step 1: Measure the fascia board on which you plan to install a drip edge from end to end.


Make sure that your measurement is flush to the end of the fascia board, so that your drip edge won’t stick out over the end of the roof. Otherwise, you may have a hard time lining up the next drip edge flush against the first one.
Step 2: Mark out the length you just measured on the face and the top of the drip edge with a line. (I like to trace the line against a Speed Square to ensure it’s nice and straight.)


Step 3: Cut along the line that’s marked on the outward face of the drip edge with your snips. Then cut the line that’s marked on the top face of the drip edge.


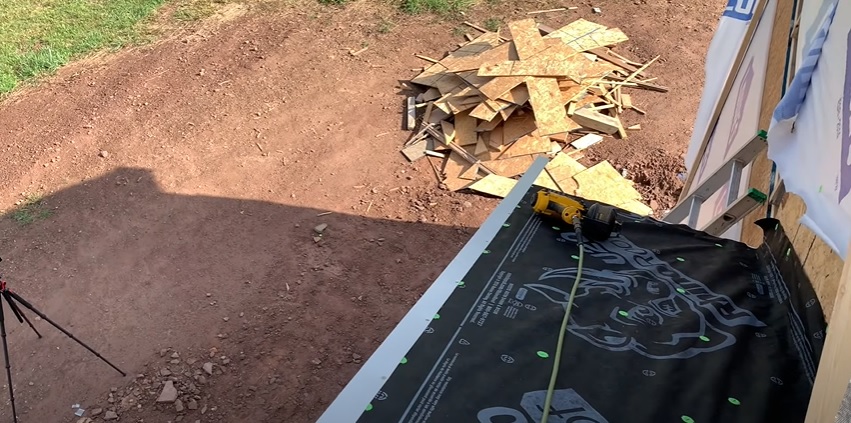
Step 4: Tack your freshly cut piece of drip edge in place with one nail every 12 inches on top of the fascia board.


Make sure that the roof paper overlaps the top of the drip edge. This way, rainwater doesn’t seep under the roof paper at that seam and rot out the wood.
That was pretty easy, wasn’t it? Now, let’s move on to the rake edge.
How To Cut And Install A Rake Edge
Step 1: Mark out the pitch of your gable peak on the rake edge.


To do this, take your Speed Square and line it up flush against the face of the rake edge on one end. For a 7/12 pitch, find the common 7 on the Speed Square and then trace a line on that angle on your flashing.
Step 2: Cut the rake edge at the angle you just marked.
Step 3: Install the rake edge on the gable rake, using the same steps with which you installed the drip edge on the fascia board.

As you’re securing the rake edge, make sure it sits on top of the roof paper and the adjoining drip edge. Since rainwater travels down the slope of the roof and not outward, you don’t have to worry about water getting down to the wood at the rake edge seam.
Step 4: Trim the edge of the rake edge, so that it sits flush against the adjoining drip edge.


For this step, the easiest way to make sure your cuts are accurate is to butt your Speed Square up against the drip edge underneath the rake edge, and then use it to score a straight line on the top of the rake edge. Then, take the corner of your Speed Square and use it to scratch the outline of the drip edge onto the underside of the rake edge. Use those markings to make your cuts.
As you can see in the photo below, by following these instructions, you’ll ensure that your rake edges will break nicely at the peak of your gable instead of sticking up and out at 90-degree angles.


It really is that easy to cut and install drip edges and rake edges. However, if you’d like to view a live demonstration of all the steps I described, don’t worry – this YouTube video has you covered.
For more excellent DIY house building tutorials, be sure to check out the Excellent Laborer YouTube channel.