If you’re saving room in your DIY house for an attic, you need to know how to install attic flooring by yourself. In this article, I’ll cover how to do just that, as well as share the tools and supplies I use to make DIYing an attic floor as easy (and safe) as possible.
Once again, ALWAYS CHECK YOUR LOCAL BUILDING CODES before starting any homebuilding project.
Important Safety Disclaimer About DIY Attic Flooring Installation
As you’ll soon see, the process of installing your own attic flooring, while time-consuming, is pretty simple. But don’t let that fool you into not taking it seriously! While you’re nailing your OSB sheathing onto the trusses, you’re climbing from truss to truss with nothing between you and the concrete floor below except a dozen or so feet of empty air.
That’s why I can’t stress enough: BE CAREFUL AND TAKE YOUR TIME.
Remember that it’s often when we get in a hurry that we make mistakes. In this case, the mistake could be falling from the attic trusses and injuring yourself. You don’t want that!
So, just use common sense, and if you can, get a friend or family member to hand you sheathing and spot you while you’re scuttling around in the ceiling.
Tools and Supplies Needed To Install Attic Flooring
DISCLAIMER – This article does contain affiliate links. I earn a small commission that helps support this website at no extra cost to you, if one of the links is used to make a purchase.
Below are the tools and supplies you’ll need to install attic flooring. (If you’re interested to know which brands I use for each tool, check out the Excellent Laborer Amazon store.)
- ¾” OSB sheathing (I use the Advantech brand)
- Nailer
- Wireless circular saw
- Table saw
- Sawhorses
- Tape measure
- Chalk line
- Framing square
- Pencil
- Scrap 2×4
Step by Step Guide To Installing Attic Flooring
Step 1: Prop your pieces of OSB sheathing up vertically on a couple of sawhorses. This will make it easier for you to grab them and haul them up into the attic.

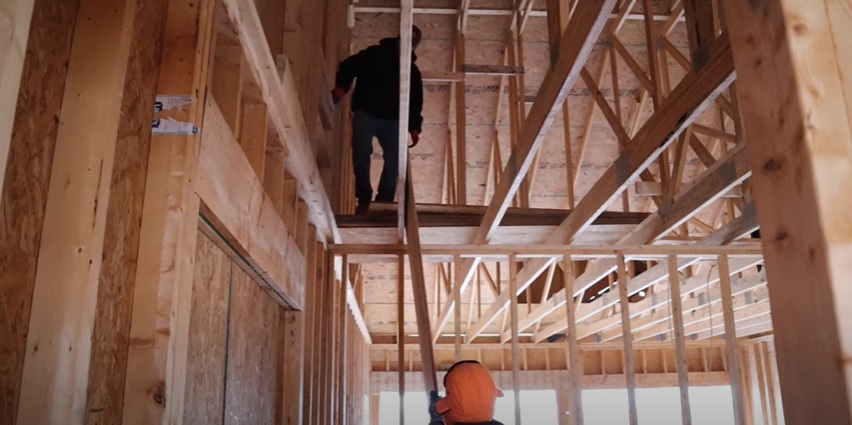
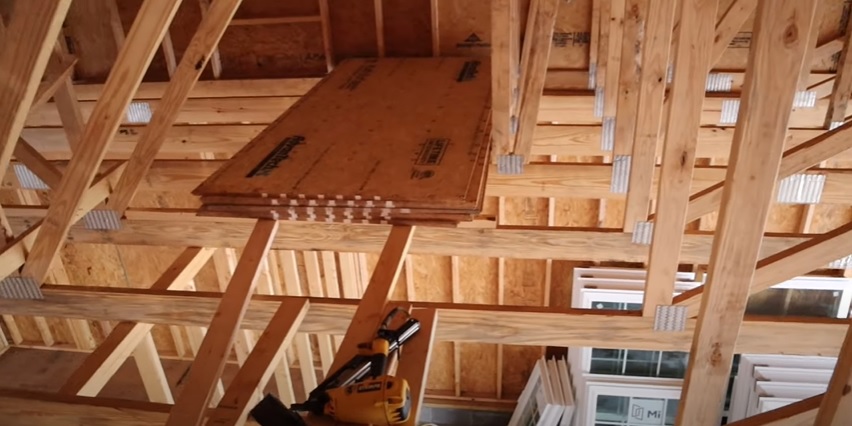
Step 2: If any of your trusses are not attic trusses – for example, the bottom cords are 2×6’s instead of 2×8’s – cut lengths of wood out of 2×8’s to size and use them to pad out those smaller cords and make them wider.
In my live demonstration of installing attic flooring, my attic trusses had 2×8 cords and the other trusses had 2×6 cords. I used my Ridgid Pro Jobsite Table Saw (check out my review of this tool here) to cut 2-inch-wide lengths of wood out of spare 2×8 boards. Then I cut all those pieces of wood down lengthwise to fit on top of the 2×6 cords.
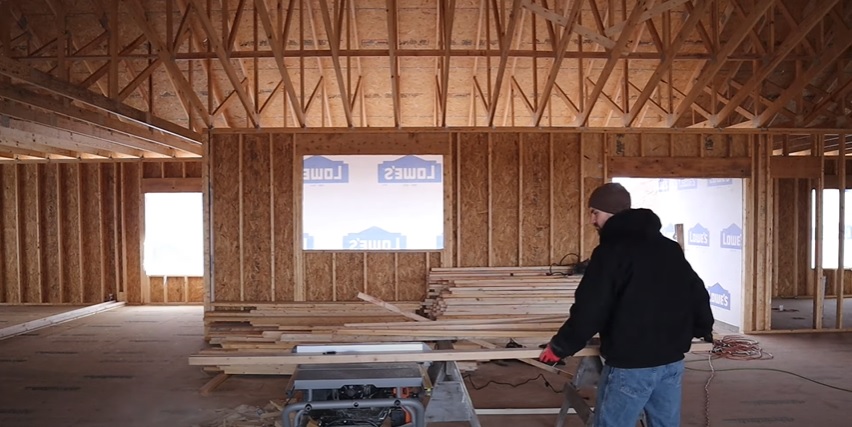
This step may sound tedious, but that extra padding ensures that all the flooring will be even once installed. Again, you only need to follow this step if not all your trusses are attic trusses. That extra width that the bottom cords on attic trusses have is critical for bearing heavy loads.
Pro Tip: To trim off the extra length on all your padding boards at once, line all their ends up together.

Next, measure the length you need to span the bottom cords on the truss, and mark that measurement on one of the wood pieces you need to cut.
Finally, take your framing square, line it up with that mark, and trace a straight line across all your boards.
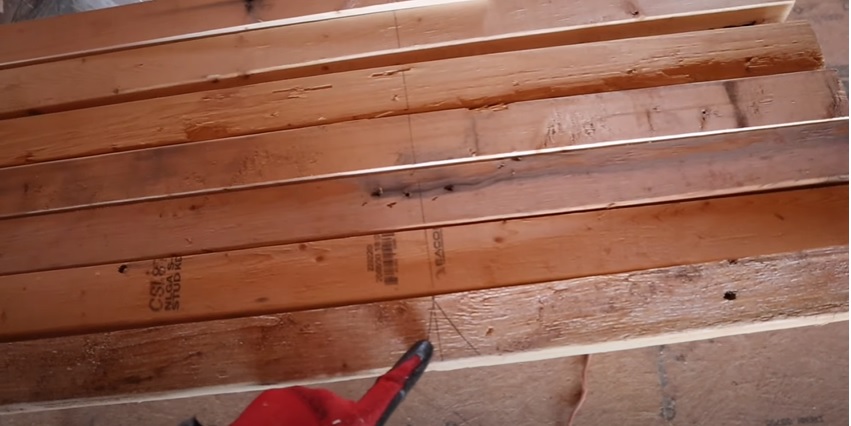
Now you can cut all the boards to size, lengthwise, at one time using your circular saw.
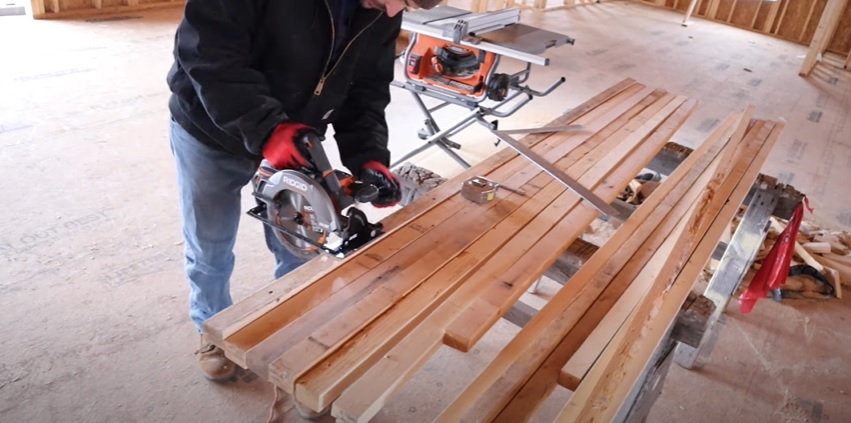
This technique is best to use when your cuts don’t need to be too precise. If you need precise cuts, mark and saw through them individually.
Step 3: Secure the pieces of wood you cut in step two into place with one nail from your nailer every 18” or so along the length of each truss that needs padding.

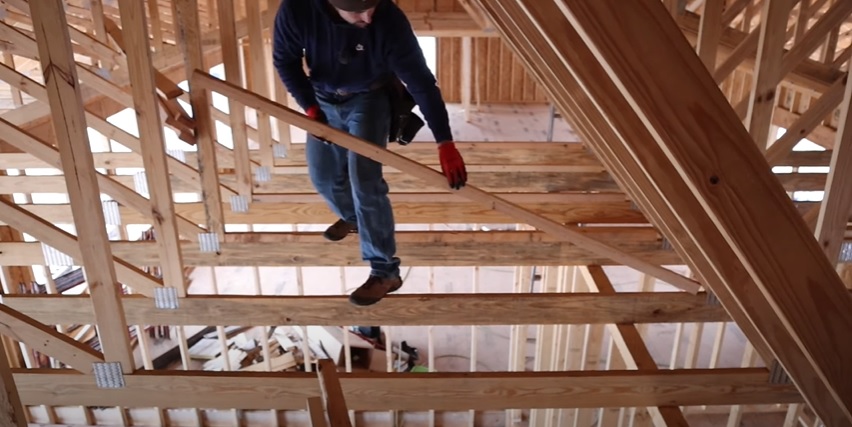
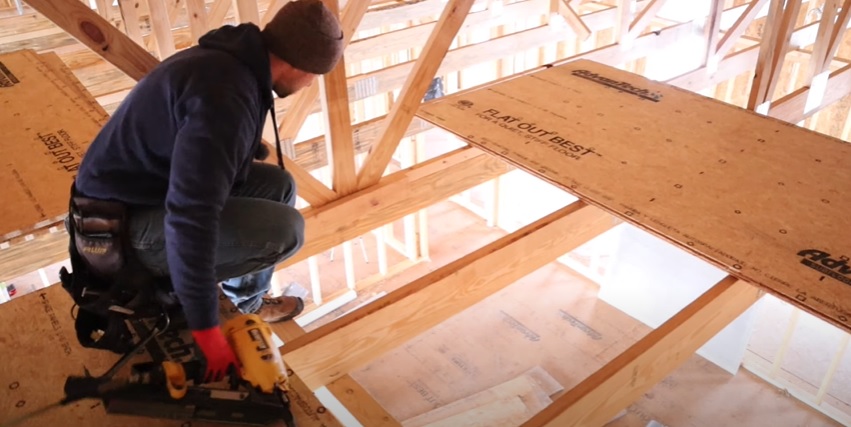
Step 4: Start securing the OSB sheathing into place with your nailer.

If you have sheathing nails, I recommend using those to secure each OSB board to the bottom cords. But if you only have framing nails to start with, use about three or four of them to tack the board down until you can come back with sheathing nails and finish it off.
From time to time, you may need to trim or make cut-outs in your OSB boards to make them fit in all the areas where you want attic flooring.
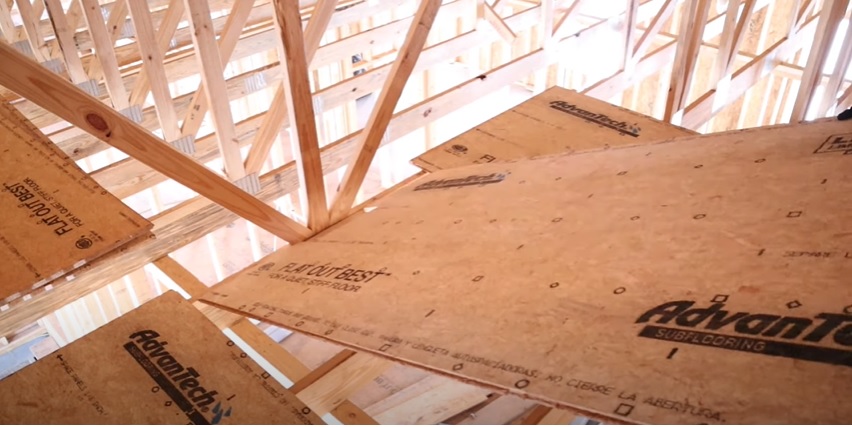
For example, as you’ll see in the image from my live demonstration below, I had to measure out and make a cutout in one of the boards to fit around a truss joint. I also installed a scrap piece of 2×4 onto the truss joint to provide the board with the cutout some extra support.
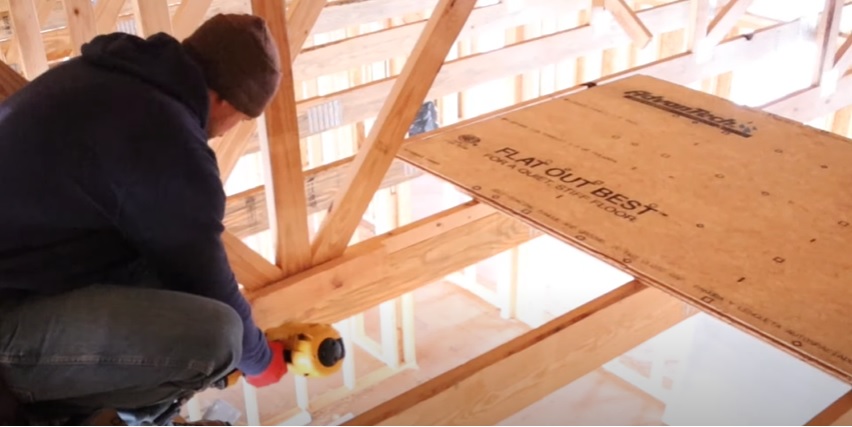

Later in the same video, I had to trim down the whole length of an edge of an OSB board to make it fit properly in the space where I needed it to sit. I did this by measuring the width I needed and making marks on either end of the board. Then I chalked a line in between the marks to use as a guide for my circular saw cut.
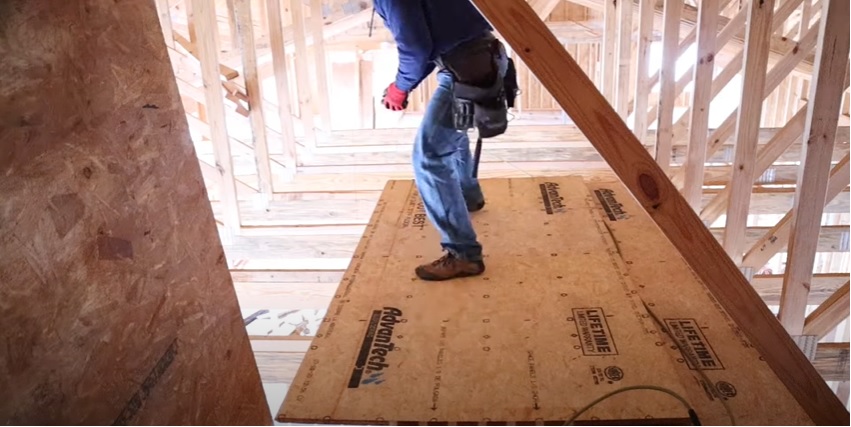
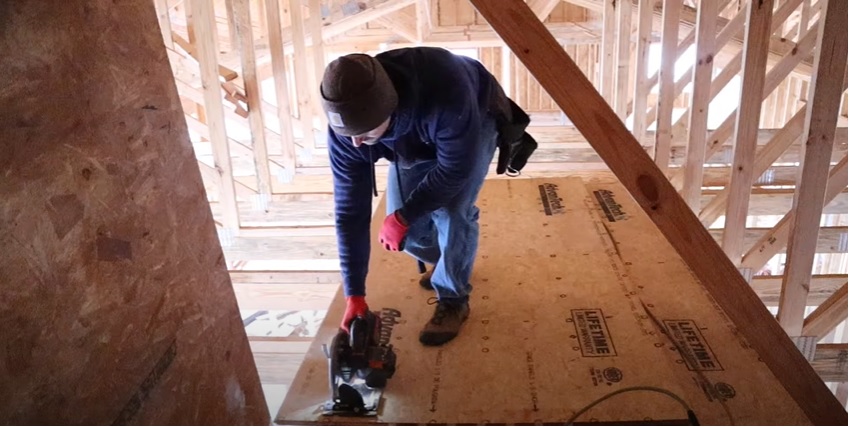
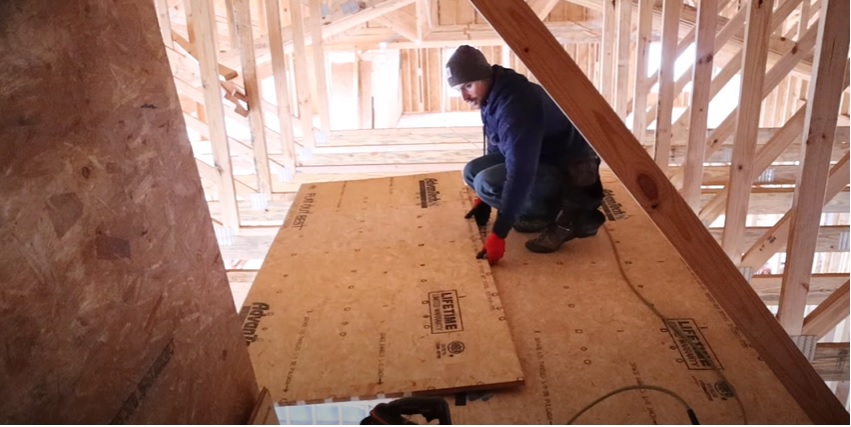
The beauty of using a wireless circular saw is you can take it up into the attic with you. That’s exactly what I did, so I was able to make cuts as needed without having to climb up and down from the attic. You can imagine how tiring that would be!
Installing attic flooring is sort of like assembling a puzzle. You just have to cut your OSB boards to fit where you want your attic flooring to be and repeat that process until the entire attic floor is covered.
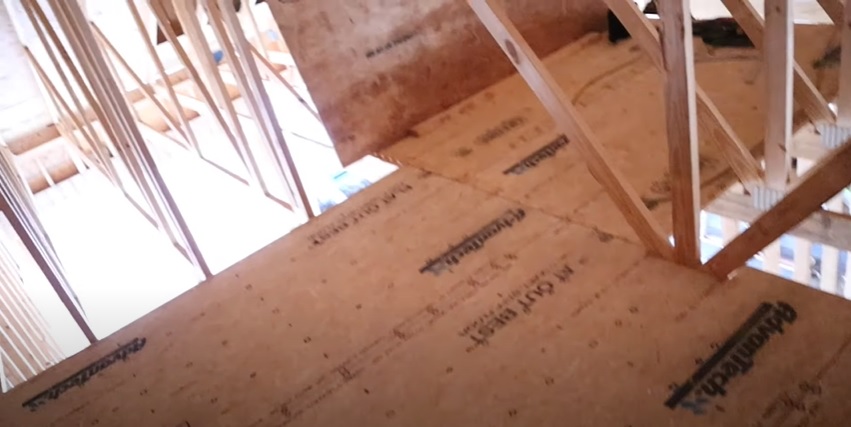
Once you’ve secured all your OSB boards in place with sheathing nails, the attic flooring installation is complete!
Did you like this tutorial? If so, you can find more like it on the blog and on the Excellent Laborer YouTube channel.
