Being able to build an exterior deck to your desired specifications is one of the best parts of constructing a DIY home. Before you take on such a project, however, there are three things you need to know about: how to prepare your site, grade, and dig footings.
And you’re in luck because I’m going to talk about all of those things in this article about how to start a deck build.
When you build a deck, as with any other DIY house project, ALWAYS CHECK YOUR LOCAL BUILDING CODES.
DISCLAIMER – This article does contain affiliate links. I earn a small commission that helps support this website at no extra cost to you, if one of the links is used to make a purchase.
Step 1: Preparing Your Deck Site
The first thing you need to do is prepare your deck site. You’ll do this by removing any large debris (i.e., trash, big rocks, and stray tools or nails) from the area where you want your deck to be.
If you’re building a deck underneath a porch, then you should also brace the roof above you.
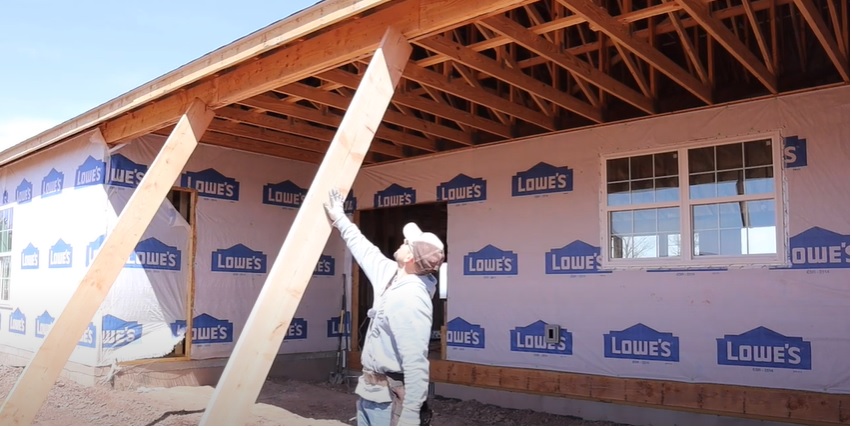
In my live demonstration, I positioned two 2×10 boards at an angle to support the weight of the roof while I worked underneath it. This is a necessary step since I haven’t yet installed the permanent footings and concrete piers or wooden posts that will serve as the foundational structure of the deck.
Once your roof is supported and the site of the future deck is cleared, you can move on to grading.
Step 2: Grading
When it comes to grading, you want the surface of the ground beneath the deck to slope slightly down and away from the foundation. This will help prevent water from seeping up under the foundation and ruining it or getting into the house.
To grade your deck site, look at the ground from a distance and determine the high and low points.
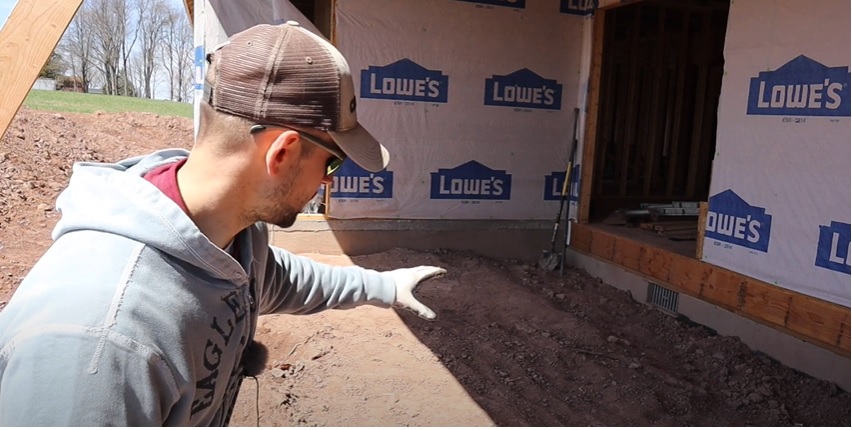
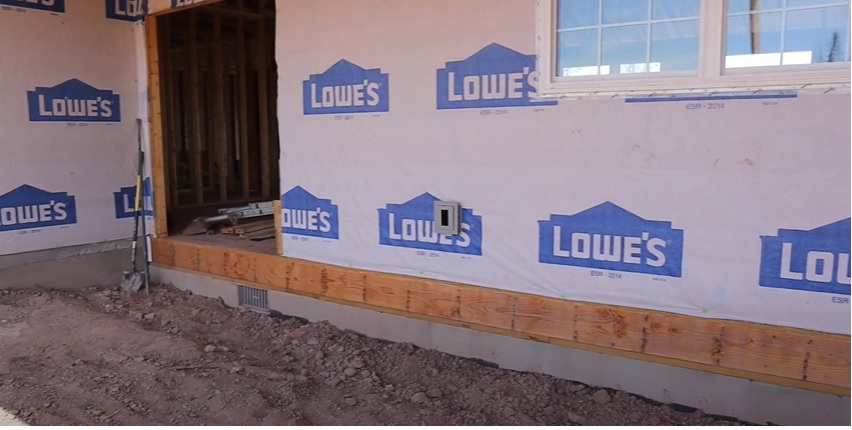

Next, dig the earth out of the high points and use it to fill in the low spots until the soil is level.

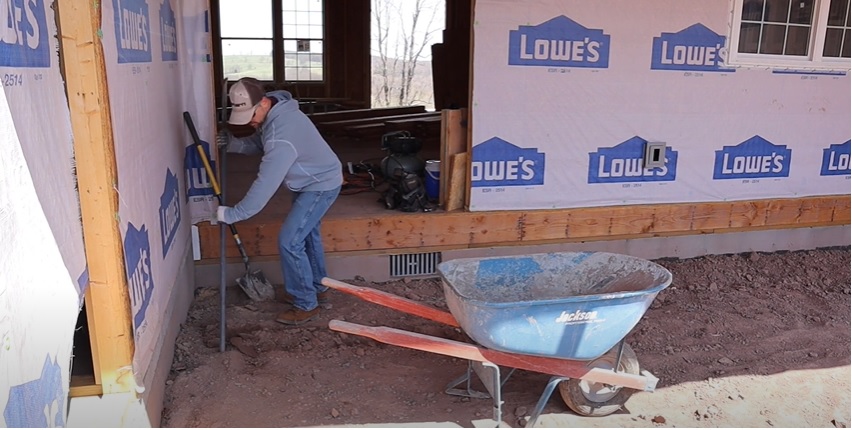
Push the dirt away from the house in a slight decline – about one inch further down every five feet – so that it slopes gently away from the foundation.
As you can see in the pictures of my demonstration, I used a shovel to dig out the dirt and a wheelbarrow to move it from one end of the deck site to the other. I also used a long pole from time to time to help me break up hard clumps of soil as I found them.
You may be wondering why I chose to wield a shovel instead of riding a Bobcat. But truthfully, even though this method requires a lot more elbow grease, it only took me about an hour to move all the dirt around for this deck. In the time it would’ve taken me to find a Bobcat to rent or borrow from someone else, I could have completed this project.
Plus (and most importantly), it was cheaper to use a good old-fashioned shovel and wheelbarrow than it was to rent a Bobcat. Cheaper is always good news for a DIY home builder!
After your deck site is graded, you can proceed to the final step of starting your deck build, which is digging the holes for the footings.
Step 3: Digging Out the Footings
Finally, you’re ready to dig out the holes for the footings.
For those who don’t know, footings are concrete feet or pads that sit below the grade line and function as the foundation of your deck. They ensure that your deck doesn’t tear away and go flying off in a strong wind or sink into the earth when it gets muddy.
For a deck that is 24’ across, I dug holes for two footings, each one being 8’ apart. If your deck is longer, you may require more footings.

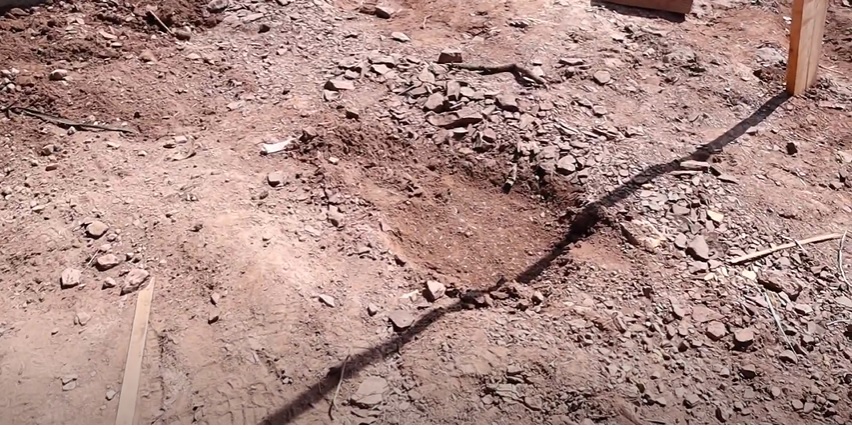
Before you start digging, check your local building codes to find out how deep and wide your holes need to be.
My local building codes require the deck footing holes for piers (which is the style of footings I typically use) to be 24” deep below the frost line and 24” in circumference. The frost line is the depth at which the ground freezes in a particular geographic region.
You can use a shovel to dig your holes for your footings. Then, you can install the footings and have an inspector come out and make sure they meet the local codes and can support the weight of a deck.
That’s basically all you need to do to start your deck build! In another article, I’ll explain the steps to building a deck in its entirety.
What did you think of this DIY home building tutorial? If you liked it, remember that you can always find more like it on the Excellent Laborer website and YouTube channel. You can also discover all the brands of construction tools I prefer to use in the Excellent Laborer Amazon store.
