Welcome to the Excellent Laborer’s starter guide to how to install soffit and fascia on your DIY house!
If you’re newly arrived at the soffit or fascia installation stage of constructing your home, this article will provide step-by-step instructions to get you started – including how to measure, cut, and install F channel, soffit, and fascia.
Before we get started, I want to remind you, as always, to CHECK YOUR LOCAL BUILDING CODES prior to taking on a construction project of this scale.
Tools and Supplies Needed To Install Soffit and Fascia
DISCLAIMER – This article does contain affiliate links. I earn a small commission that helps support this website at no extra cost to you, if one of the links is used to make a purchase.
These are the most important tools and supplies you’ll need to begin your installation. If you’re missing some (or all) of them, check out the Excellent Laborer Amazon store to find the brands I prefer for all my DIY projects.
- Hammer
- 1 ¼” galvanized aluminum roofing nails
- Aluminum trim nails that match the color of your fascia
- Tin snips
- Tape measure
- Framing square
- Speed Square
- Pencil
- Chalk box
- Soffit
- Fascia
Step-By-Step Instructions for Installing Soffit and Fascia
Now that you have everything you need, get ready to learn the basics of installing soffit and fascia, with detailed steps and helpful screenshots.
1. How To Install F-Channel
F channel is the channel that soffit slides into – so called because, when you look at it from the end, it’s shaped like the letter F. It must be installed before the soffit, so let’s go over how to do that!
Step 1: Using a framing square and a pencil, make a mark on the side of the house where you plan to install your first F channel.
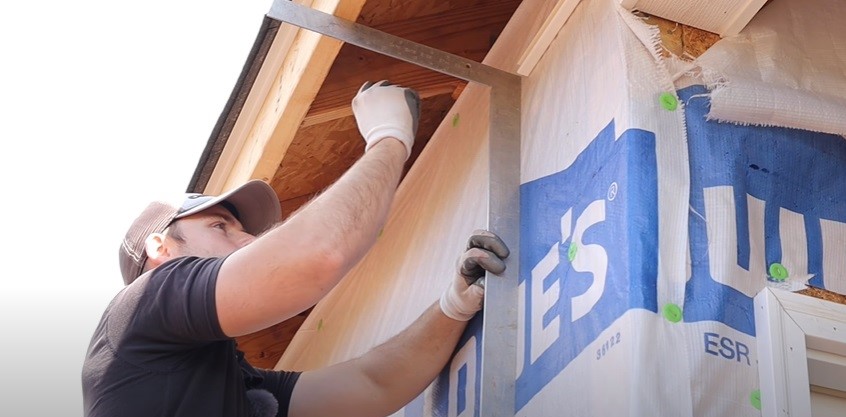
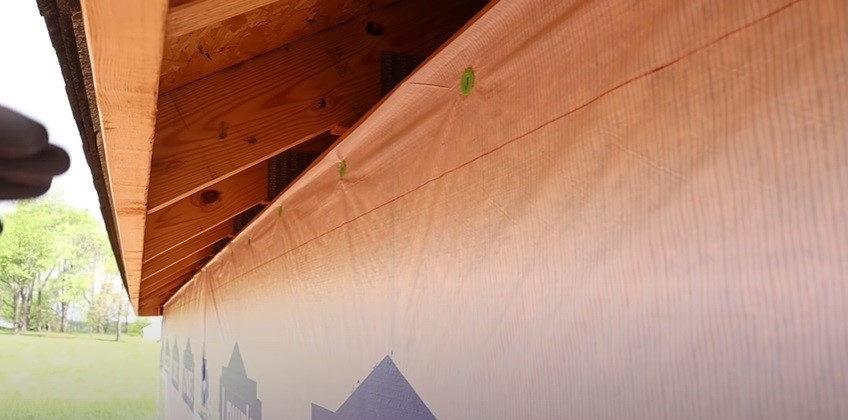
To find the right place to mark, slide your framing square up (with the right angle against the house) until the top of it butts against the sub-fascia board. Then, make a pencil mark in line with the top of the framing square where it meets the side of the house.

Step 2: Use your chalk box to make a straight line across the side of the house, with the pencil mark you made in step 1 as a starting point.
Step 3: Place the F channel on the side of the house, so that the top ridge aligns with the chalk line. Tack it into place using your 1 ¼” galvanized aluminum roofing nails on every stud.

Pro Tip #1: If you’re installing an F channel on a finished exposed edge (like the edge of the roof over a porch), turn it upright, so that the nailing flange won’t be exposed on the bottom. If you’re installing the F channel on an unfinished exterior wall, flip it over to put the flange on the bottom.

2. How To Measure For Soffit
To measure for soffit, place the end of your tape measure inside the F channel and extend it to the outer edge of the sub-fascia board. Then subtract ¼” from that measurement, and you have the correct width for your soffit.

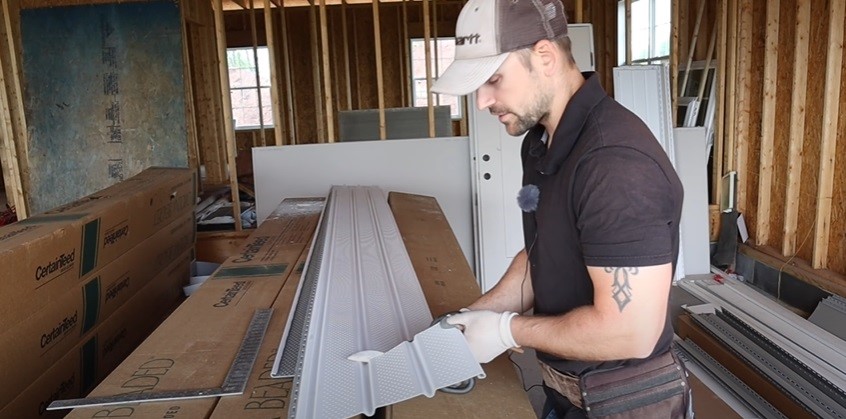
3. How To Cut Soffit
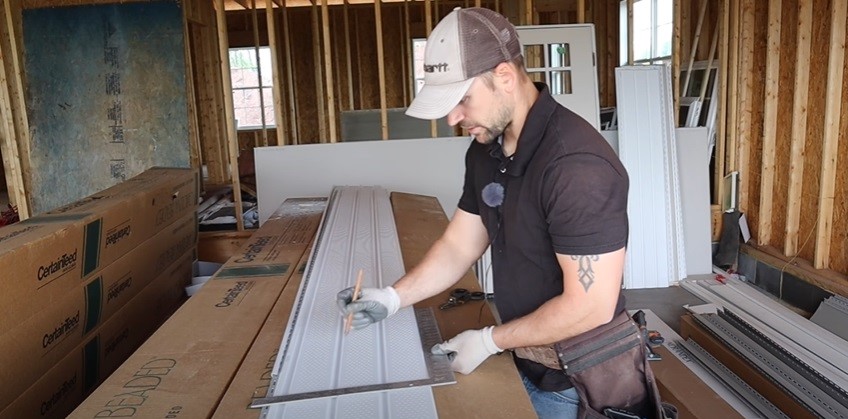
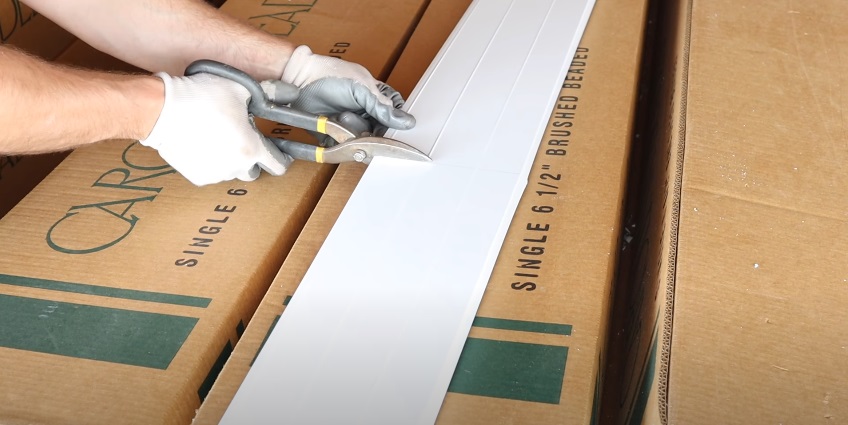
The most common method of cutting soffit is with tin snips, so that’s the one I’ll be instructing you in below.
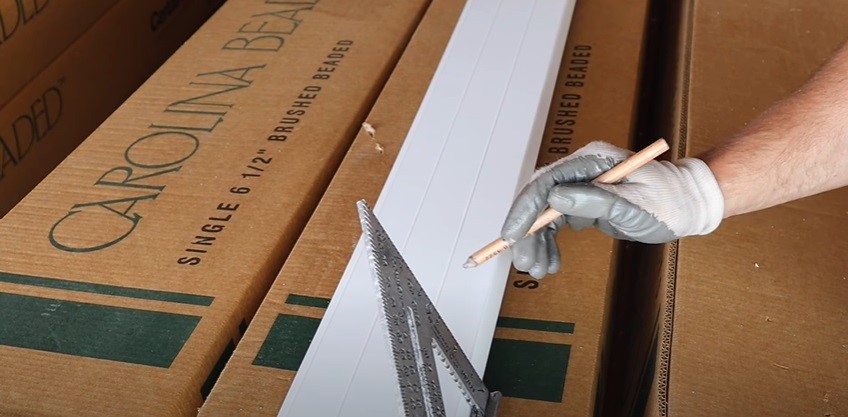
First, use your pencil to mark out the width you measured in step 2 from the end of the soffit. Then, line your framing square edge up with the mark and draw a straight line up and down across the soffit. Lastly, cut along the line using your tin snips. Repeat this process for however many soffit pieces you need.
Pro Tip #2: The colder it gets, the more brittle soffit becomes. Just be aware of that if you happen to be cutting soffit in cold weather – and be careful not to crack or break it!
Pro Tip #3: Want to cut soffit faster? Read my article about how to construct a soffit cutting jig, so you can cut multiple pieces of soffit at a time using a circular saw.
4. How To Install Soffit
Installing soffit is easy! For your first piece, simply slide one side into place at the end of the F channel. Then, after making sure it’s squarely aligned, secure it by hammering a nail through the end of the nailing flange into the sub-fascia on the opposite side of the soffit piece.

Every piece after that will interlock with the one before it, and you should also secure it with a nail.
Once you reach the end of the side of the house that you’re working in, secure the last piece of soffit in by cutting off the nailing flange and hammering roofing nails directly through the soffit into the sub-fascia. This will create a much cleaner-looking end for your soffit.

5. How To Install Fascia
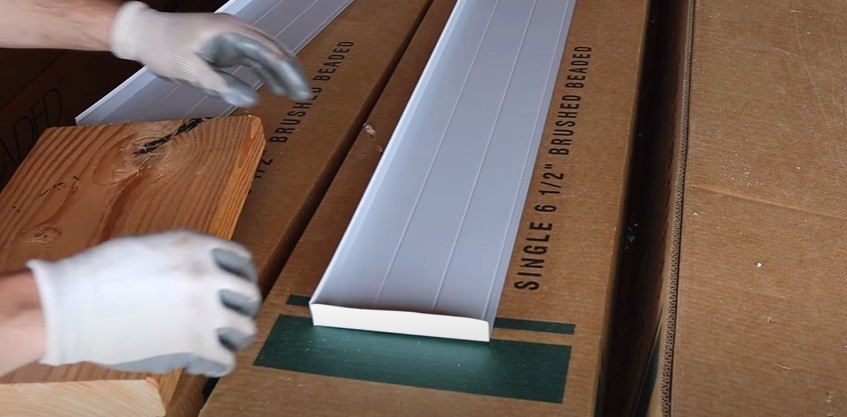
With the soffit installed, we can turn our attention to the fascia. For reference, I tend to use 6” ribbed aluminum fascia. It’s thin but sturdy and durable, which is exactly what you want in fascia.
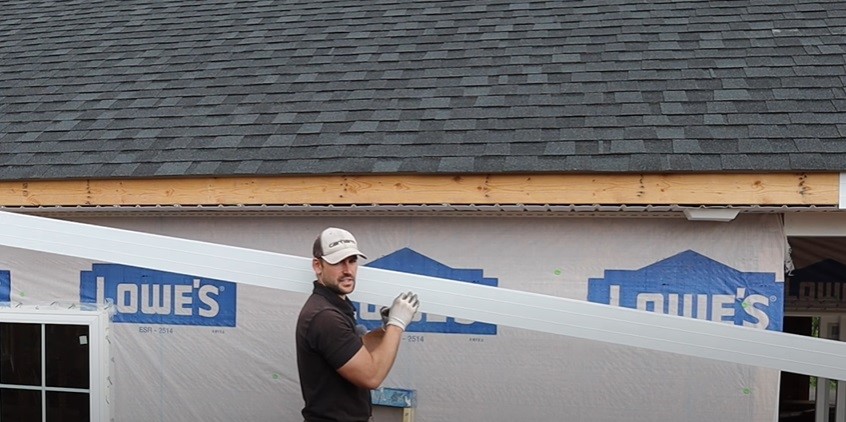
Here are my steps to installing fascia on your house.
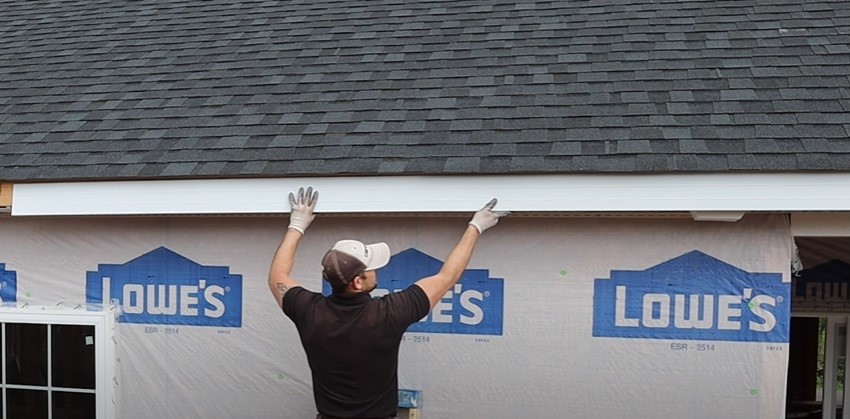
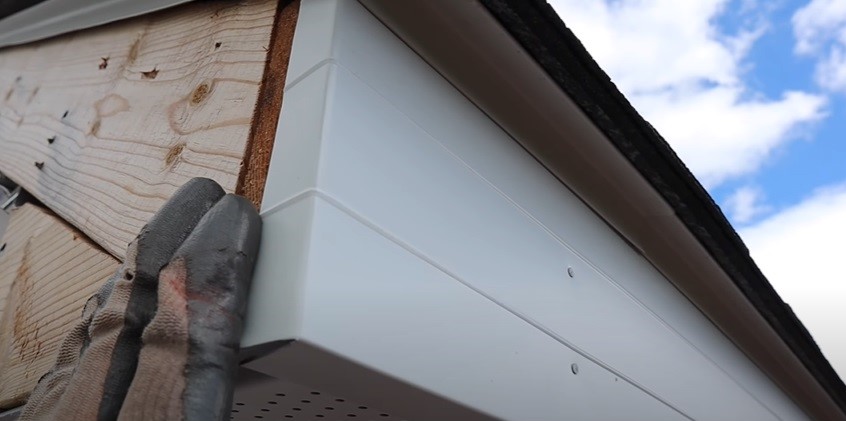
Step 1: Slide a piece of fascia up under the drip edge of your roof. Make sure it’s even, and then tack it down into the sub-fascia using two trim nails. Continue placing two nails every three feet along the length of the fascia.
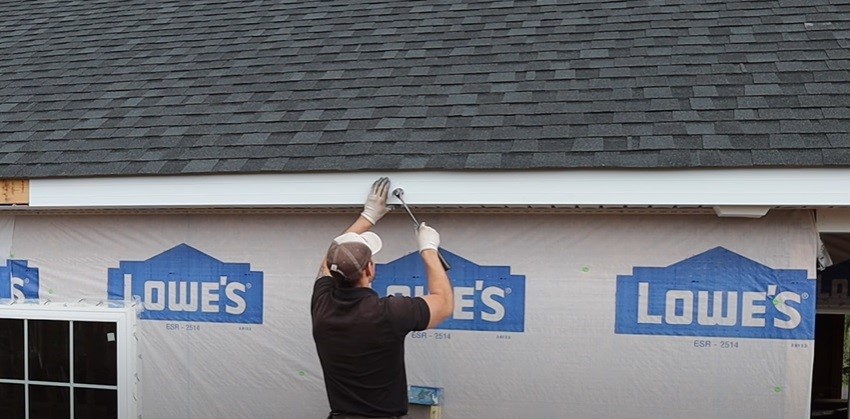
Step 2: When you install the next piece of fascia, make sure it overlaps the previous one by no more than an inch. Then, always hammer in two trim nails at the joint where two fascia pieces meet.
Step 3: Continue installing fascia until you reach the birdbox at the end of the house.
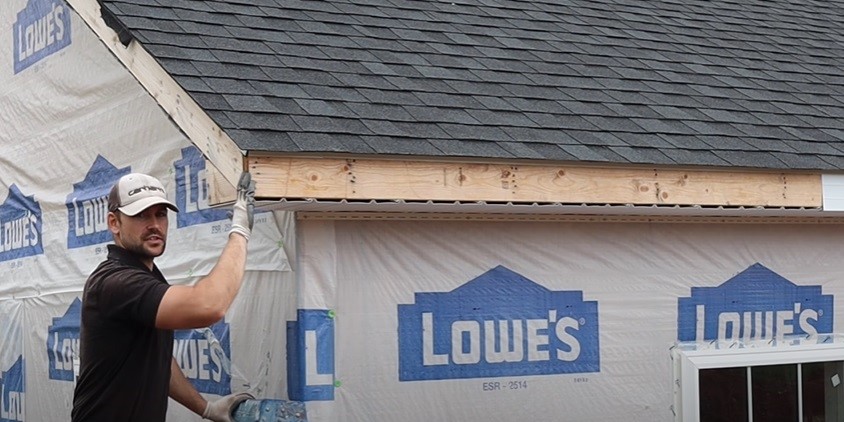
6. How To Cut the Fascia Where It Meets a Birdbox
In a scenario where the last piece of fascia overlaps a birdbox, I like to leave an extra inch on it to wrap around the edge of the birdbox. This makes the corner look more finished, like it was professionally installed.
To do that, follow these steps.
Step 1: Measure how much fascia you need to overlap the previous piece and also reach the end of the birdbox. Add an inch to that measurement.
Step 2: Use your measuring tape to mark your fascia where you want to cut it. Then, make a second mark an inch inside the first one.
Step 3: Use a box cutter to score the line where you intend to make your cut, then use tin snips to make the final cut.
Step 4: Lightly score a line from the second mark you made across the width of the fascia. Use your Speed Square to help you keep the line straight.
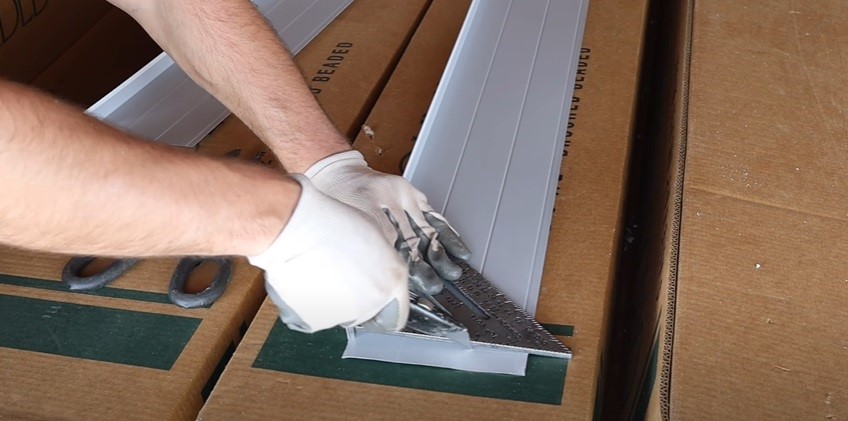
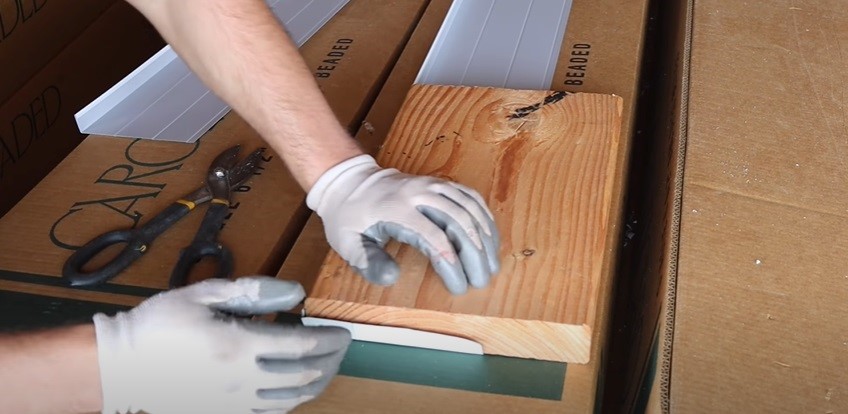
Step 5: Bend the fascia along the line you scored upward, so that it forms a right angle. Use the edge of a 2×10 block of wood as your guide (the rest of the block will help hold the fascia down, so it doesn’t wiggle too much while you’re manipulating it).
Step 6: Secure the fascia into place with trim nails as usual, with the end of it wrapped around the edge of the birdbox. By the end, the edge of the birdbox should be neatly covered with fascia.
I hope that this starter guide answered all of your basic questions about installing soffit and fascia. For more DIY homebuilding tips, be sure to check out the rest of the blog as well as the Excellent Laborer YouTube channel. I’m always adding new videos, so don’t forget to hit that subscribe button to stay up to date!