
This article is part three of my series on how to build a deck. In this installment, I’m covering how to install the joist hangers and floor joists that will hold up the decking.
By this point in your DIY deck build, you should have already installed a ledger board and a beam. If you haven’t, click here to learn how to do that.
ALWAYS CHECK YOUR LOCAL BUILDING CODES anytime you want to start a new DIY home building project.
Tools and Supplies Needed to Install Floor Joists and Joist Hangers
DISCLAIMER – This article does contain affiliate links. I earn a small commission that helps support this website at no extra cost to you, if one of the links is used to make a purchase.
Below are the tools and supplies you’ll need to install the joist hangers and floor joists on your deck. If you’re interested in which brands I like to use, you’ll find them in the Excellent Laborer Amazon store.
- 2×10 wooden boards
- Joist hangers
- Nailer
- Hammer
- 3” nails
- Framing square
- Speed square
- Circular saw
- Pencil
Step-by-Step Guide To Installing Floor Joists and Joist Hangers on Your DIY Deck
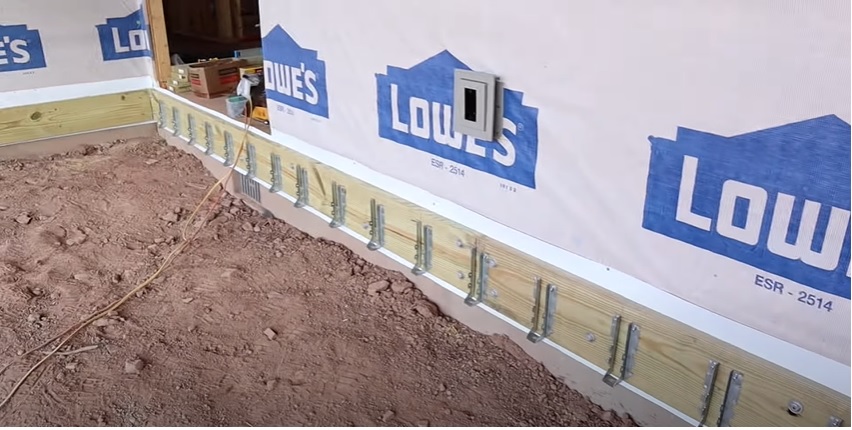
Step 1: Mark 1’ on center layouts on your ledger board and the inside face of your beam.
To do this, hold your tape measure up against the side of the house next to the ledger board or the beam. Then, use your pencil to make a mark every 12”.

Next, use your framing square to trace a straight line down the ledger board or beam at each 1’ mark on your framing square.
Continue marking a line at every foot on your ledger board or beam until the layout spans the entire length.
Step 2: Install the joist hangers at every 1’ mark on your ledger board and beam layouts.
If you’re doing this project by yourself, the easiest way to install the joist hanger at the right position is to take a scrap end of a 2×10, line up its left side with a 1’ layout mark, slide a joist hanger onto it and hold one corner of it tight up against the mark.
Then, remove the scrap 2×10 end and secure the tight corner of the joist hanger in place with your nailer.
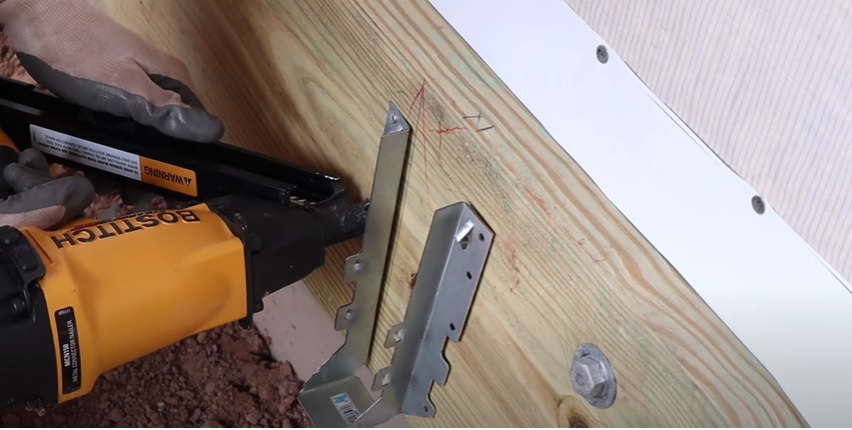
Finish securing that side of the joist hanger. Then, slip your scrap 2×10 end back in the hanger and pull the other side of the hanger tight against it. Anchor that other side with your nailer.

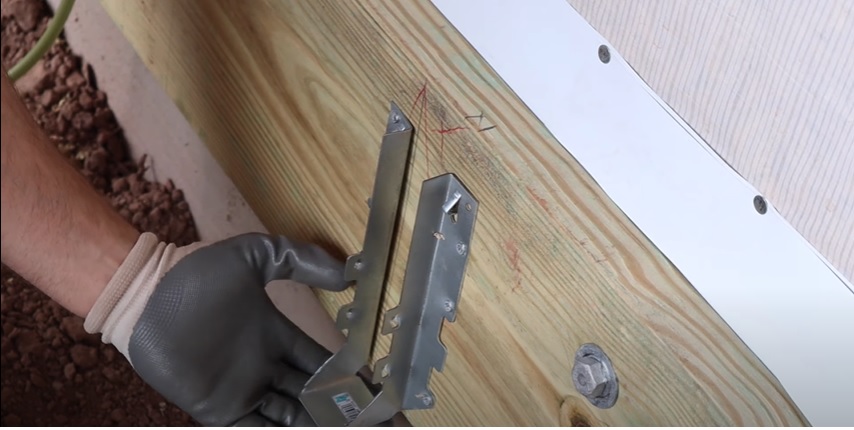
Repeat this process for every joist hanger on your deck.
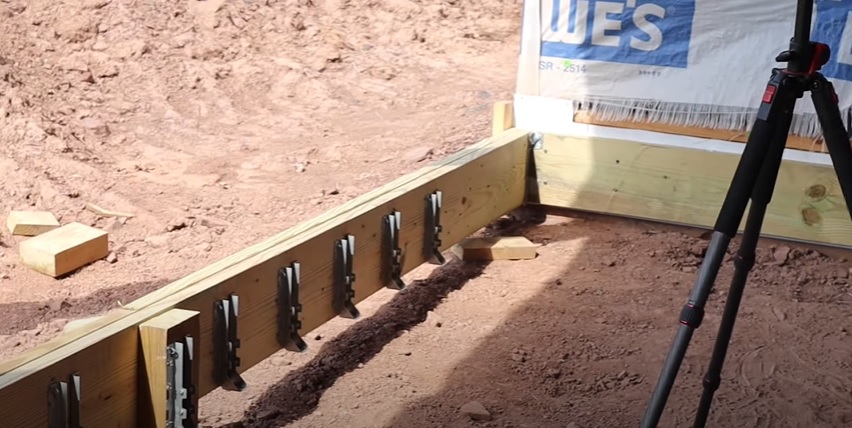
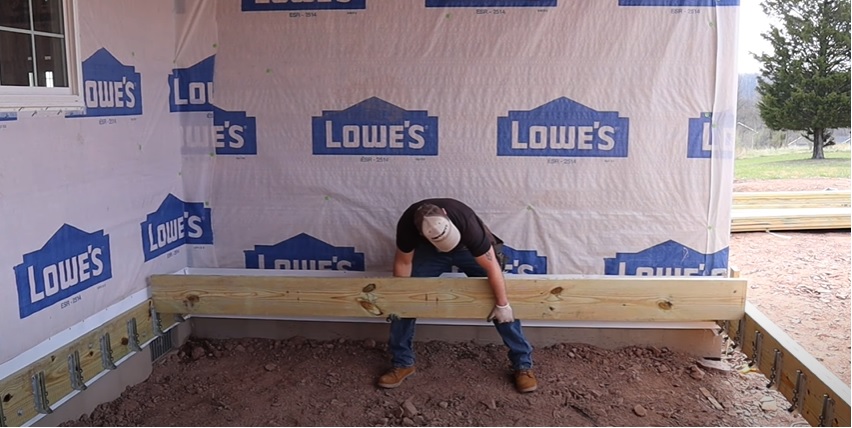
Step 3: Measure from one joist hanger on the ledger board to the joist hanger opposite it on the beam. This is the length you need to cut your 2×10 boards to.
Most of the joists will be the same length. But if you have posts, then the joists spanning the gap between the ledger board and the posts may be shorter than the rest. For that reason, measure the distance between each joist hanger carefully to make sure you make the correct cuts.
Step 4: Mark out where you need to cut each 2×10 using a speed square and a pencil.
Step 5: Cut your 2x10s to size using a circular saw.
Step 6: Slide each joist into its joist hangers. You may need to use your hammer to force each end all the way into place.
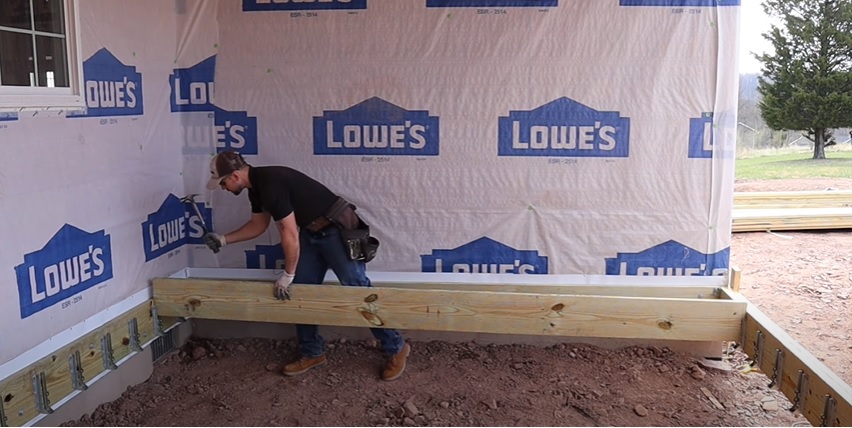
Step 7: Hammer 3” nails through the holes on the joist hanger and into the joists. The holes should be positioned on either side of each joist and should direct the nail into the 2×10 at an angle.
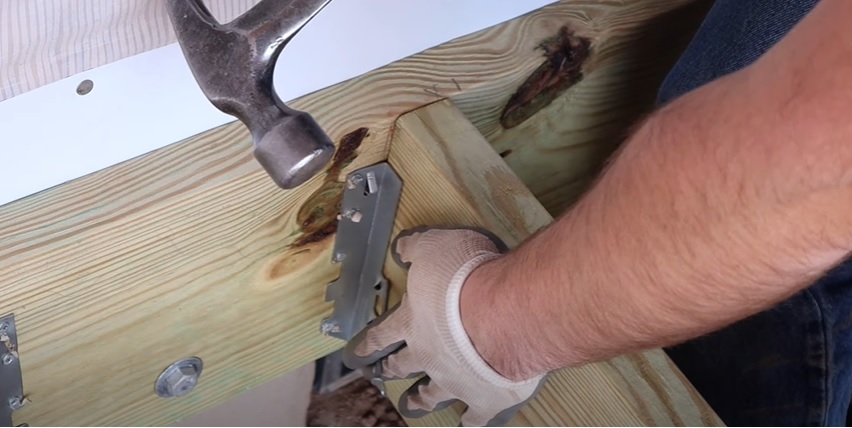
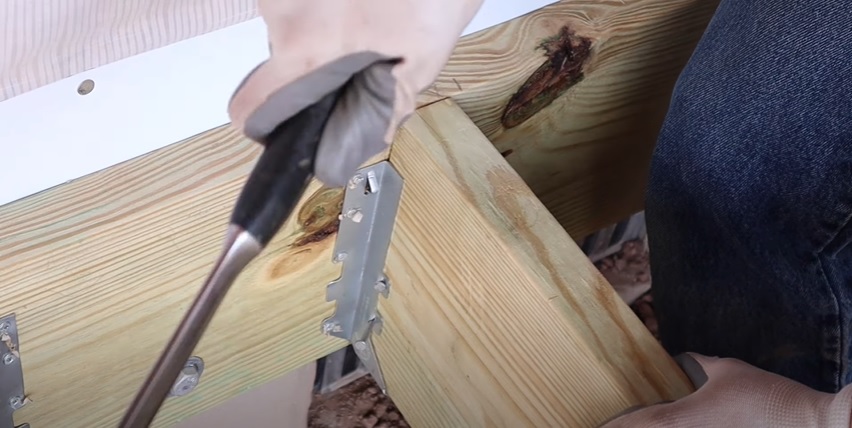

Make sure your nails are a minimum of 3” long, so that they will reach all the way back to the ledger board or beam.
Step 8 (if you’re installing Trex): If you’re installing Trex decking, secure a 2×4 with nails to each joist that the Trex will break on.

This step will provide extra support for the Trex, which is flimsier than regular wood decking.
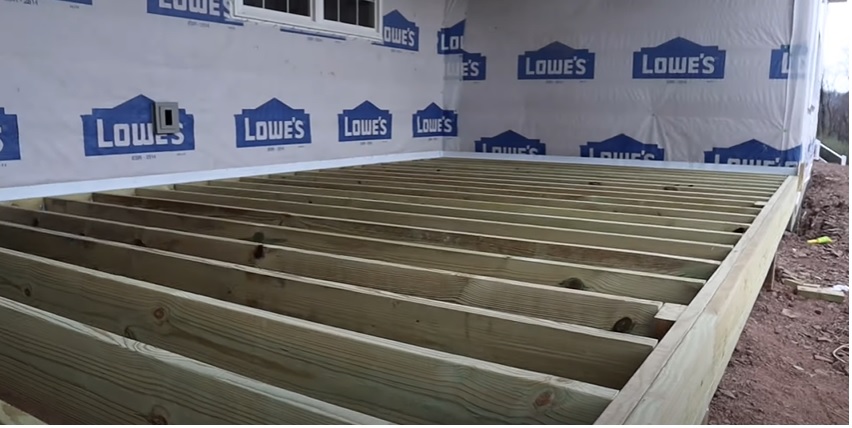
When you’re finished installing the joists, they should look nice and flat across the top.
That’s it for this phase of building your own deck. Return to the blog soon for the next part, and check out the Excellent Laborer YouTube channel for more excellent tutorials like this one.