Cutting sections of soffit into hundreds of individual squares by hand for a DIY home build used to be a long and tedious process. Now, using a circular saw and the custom jig I made out of scrap 2×4’s and plywood, I’m able to cut soffit fast and easily.
I want you to be able to do the same! That’s why in this article, I’ll show you how my soffit cutting jig works, and how you can build your own for your DIY home build projects.
As always, CHECK YOUR LOCAL BUILDING CODES before starting any DIY home building project.
Table of Contents
ToggleIntroducing My Soffit Cutting Jig
Many home builders, especially DIYers, make jigs to help them speed up the soffit cutting process. This is my version of it.

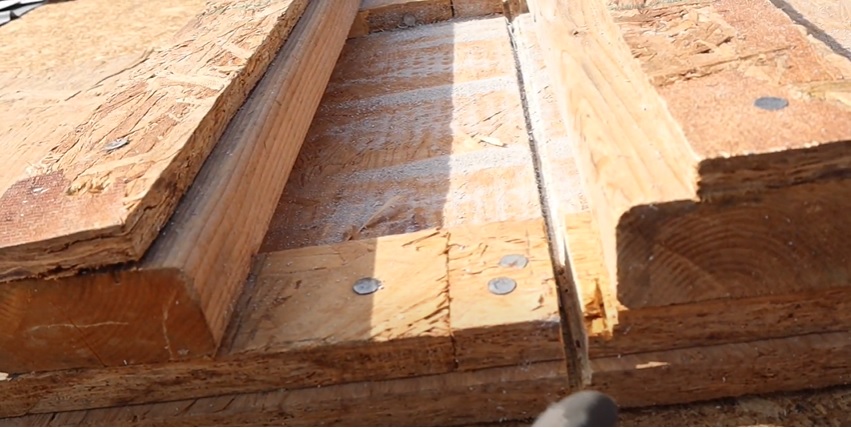
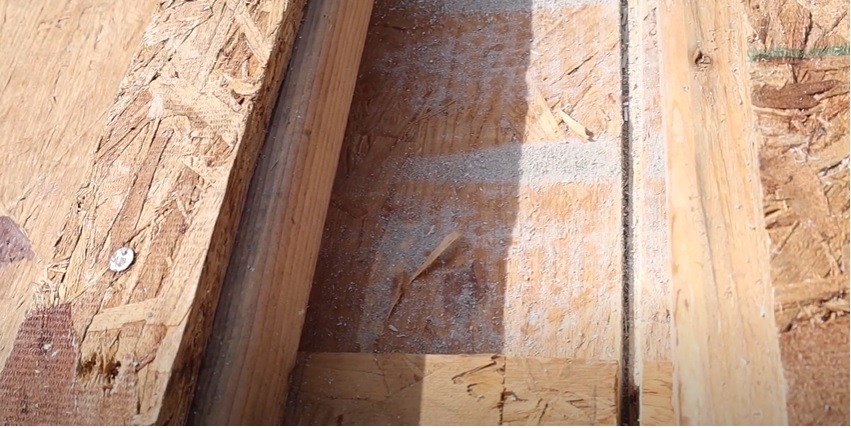
As you can see, it’s made mostly out of scrap pieces of wood, specifically 2×4’s and plywood sheathing. On one end, I attached some wood across the jig with a slot underneath it for the soffit sections to slide into. On the other end, I constructed a track with slots. The track allows me to slide my circular saw across the soffit and make a clean cut, while the sides of the slots keep the soffit in place.
How To Cut Soffit Using the Soffit Cutting Jig
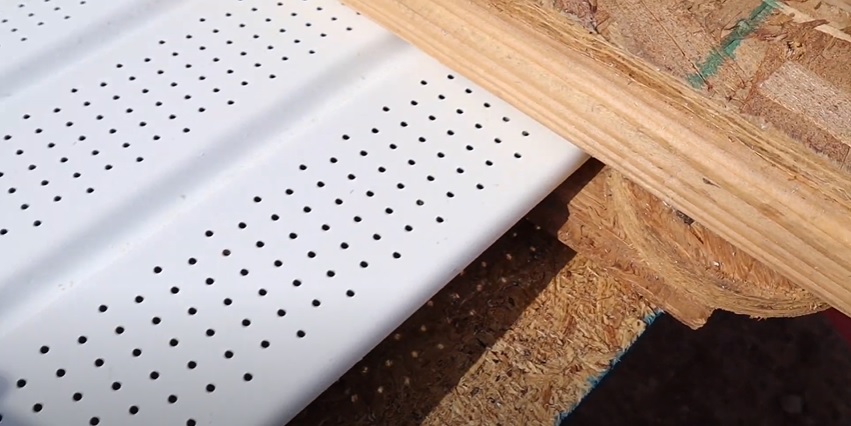
Soffit typically comes out of the box in 12’ long sections, with two sections laced together. This is perfect if you have a jig like mine and a circular saw because it means you can cut two squares of soffit at a time.

To cut soffit using the jig, slide one end of a section of soffit into the jig.

Pull the other end out and use your pencil or a marker to make a mark at the point you want to cut it. Then, slide it back in and line your mark up with the track for the circular saw.

Turn the blade of your circular saw backwards to avoid cracking the soffit, and then make your cut. You’ll see you have two squared pieces of soffit.


At this point, you have two choices. You can keep making marks with your pencil at every interval you want to cut, or you can attach a screw at the end of your jig to stop the soffit at the correct position. Then all you have to do is remove the pieces as you cut them out and keep sliding more soffit through the track.
Tools and Supplies Needed To Build a Soffit Cutting Jig
DISCLAIMER – This article does contain affiliate links. I earn a small commission that helps support this website at no extra cost to you, if one of the links is used to make a purchase.
To build your own soffit cutting jig that looks and works like mine, you’ll need the following tools and supplies (you can find out which brands I use on the Excellent Laborer Amazon store).
- ¾” plywood sheathing
- 2×4 scrap pieces
- Nailer
- Circular saw
- Measuring tape
- Pencil or marker
How To Build a Soffit Cutting Jig the Excellent Laborer Way
Step 1: Get a sheet of ¾” plywood sheathing to use as your jig’s base. It should be at least 4’ long and 20” wide.

Step 2: Make all your slots for the jig.
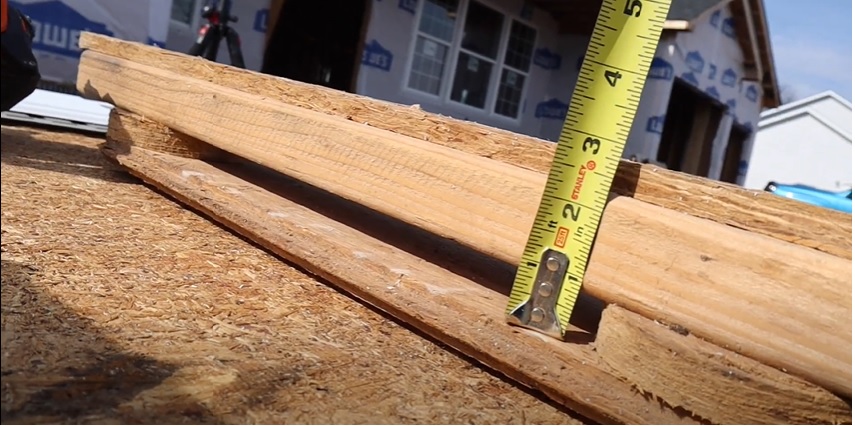
Each slot should be 13 ¼” wide (which is the width of a section of soffit), with a tiny bit of extra room; not too much, though, because that tight fit will help keep the soffit in place, so you can make a square cut. It should also be about ¾” deep, which is roughly the depth of two soffit sections laced together.

To achieve the ¾” depth for the slot, attach small pieces of plywood on either side of the top of your base with your nailer. Leave a heavy 13 ¼” gap between them in the middle of the base to accommodate the soffit.

For the slot at the end of the jig, I used pieces of plywood that had been cut out of subflooring for toilets. This meant the pieces were round in shape, which helps the soffit not to catch on their edges as I pass it through that first slot.


Step 3: Attach 2×4 pieces of wood across the top of the slot pieces, widthwise, across the base. These will act as tops for the slots.
Step 4: Cut two more pieces of plywood and attach those to the tops of the 2×4’s to make a guide for your circular saw. You can measure your preferred circular saw to see how wide the guide needs to be.


Step 5: Cut a track for the circular saw blade into the jig.
To do this, set your circular saw blade at a depth that will cut through the soffit and not slice your jig into. Then, run the saw along the bottom of the jig in the gap between slots.

As you can tell, it’s not hard to make your own soffit cutting jig. It’s worth the little time and labor it requires since it’s going to save you so much more time and labor cutting soffit for all your DIY house projects.
Did you enjoy this tutorial? I have even more DIY home building content at the Excellent Laborer YouTube channel.
