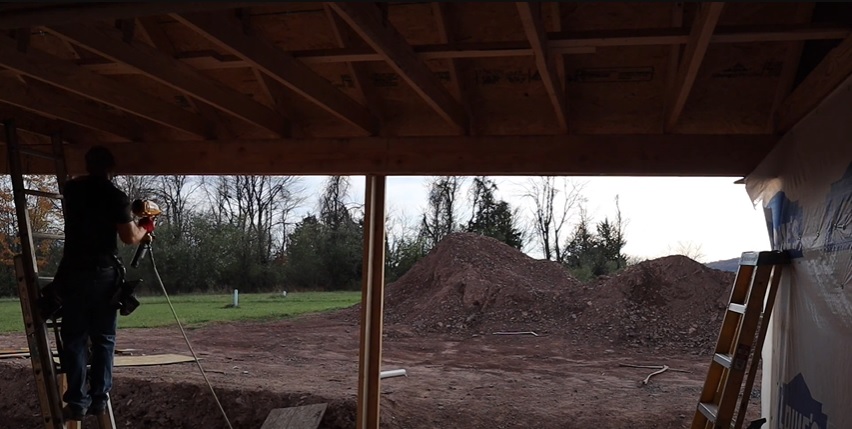
A porch is a great addition to any DIY house. Not only does it provide a wide overhang for your doorway and protect it from the elements, but it also gives you a shaded space to create an outdoor sitting area or potted garden.
Before you can lay down the surface, however, you need to frame it out to support the roof trusses. And that process starts with the porch beam.
Keep reading to learn what a porch beam is, the tools and supplies you’ll need to frame it out, and my step-by-step installation guide to help you do it yourself.
(As always, CHECK YOUR LOCAL BUILDING CODES before beginning any DIY home build project.)
What Is A Porch Beam?
A porch beam is similar to a header that lays across a doorway, except it’s much thicker and stronger.
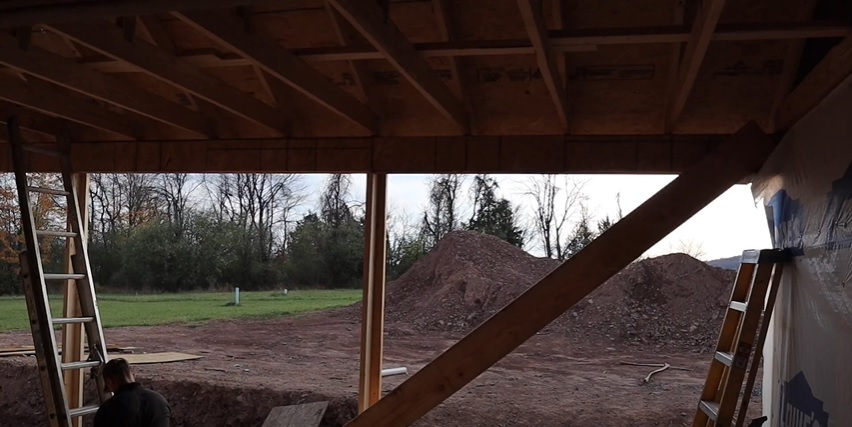
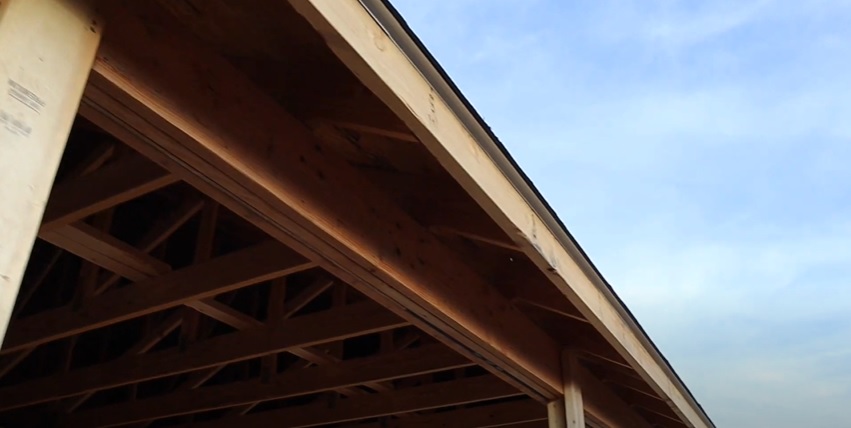
When framed out, it appears as a multi-layered horizontal wood structure. It’s affixed underneath the outer edge of the porch roof trusses, where it functions as a support for the trusses and transfers the weight of the roof down to the ground through vertical posts.
The posts are also made out of wood, but they’re typically covered in PVC or another material to match the design scheme of the home. (I’ll teach you how to add those in another tutorial. For this one, you’ll install temporary 2 by 4 “posts” to help support the beam as you build it.)
Tools And Supplies Needed To Frame Out A Porch Beam
DISCLAIMER – This article does contain affiliate links. I earn a small commission that helps support this website at no extra cost to you, if one of the links is used to make a purchase.
Below are some tools and supplies you’ll need for this DIY project. You can find all the tools in The Excellent Laborer Amazon store.
- Nailer
- Ladder
- String line
- 2 by 4 pieces of wood
- 2 by 10 pieces of wood
- Plywood
Step By Step Guide To Framing Out A Porch Beam
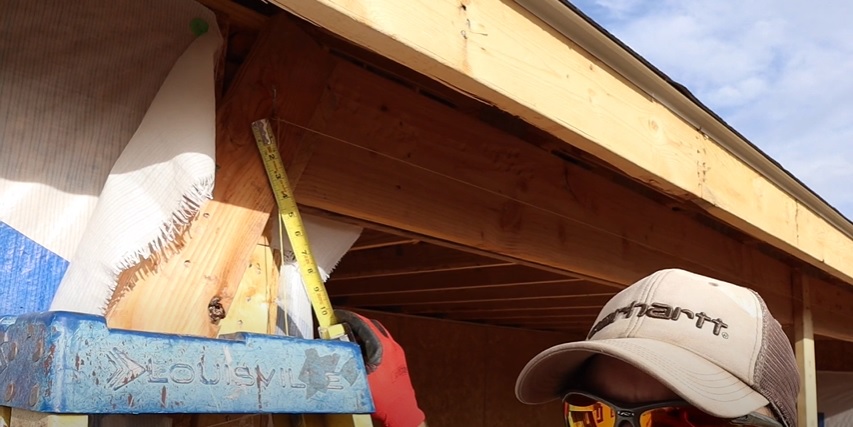
Before You Start: Find these three measurements.
- The width of the wood planks you used for the beam (AKA the header).
- The span you want between each post.
- The size of your posts with the trim on.
Personally, when I build a porch beam, I like to use 2 by 10s. You can get away with smaller ones, but I like a strong, wide beam.
With a 2 by 10 beam, it’s safe to place a post every 8’ along its length. Wherever you have a post is also where the planks of the beam should break.
Finally, determine how large your posts will be by measuring the size of the post cover (AKA the trim). Once you have that measurement, you need to make your beam at least that thick, if not slightly (say, half an inch) thicker.
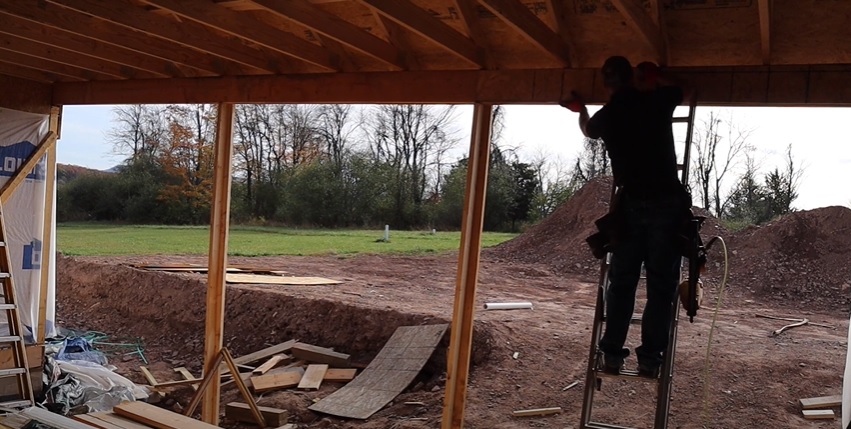
Step 1: Install 2 by 4s or 2 by 6s every 8’ to hold the beam in place while you frame it out.
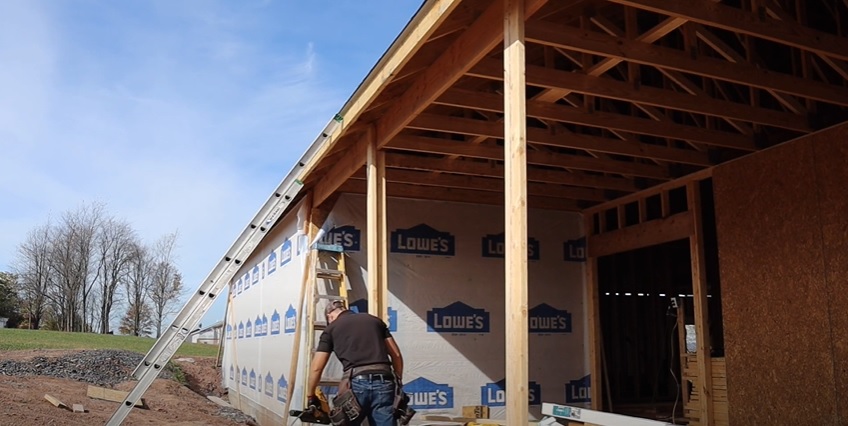
One set of 2 by 4s should be secured to the underside of the truss and lay flush and vertical against the outside of the header. This keeps the header from bowing outward.
A second set of 2 by 4s should be secured to the underside of the header at one end and stabilized in the ground at the other. These will provide a stable surface for the beam to rest on.

To determine the lengths of the 2 by 4s, measure from the truss down to the ground at the spot where each temporary post will be secured. Then measure from the bottom of the first header piece down to the ground.
Once the temporary posts are cut, tack them into place with a couple of nails (you don’t need to use a lot of nails since you’ll be removing these posts later).
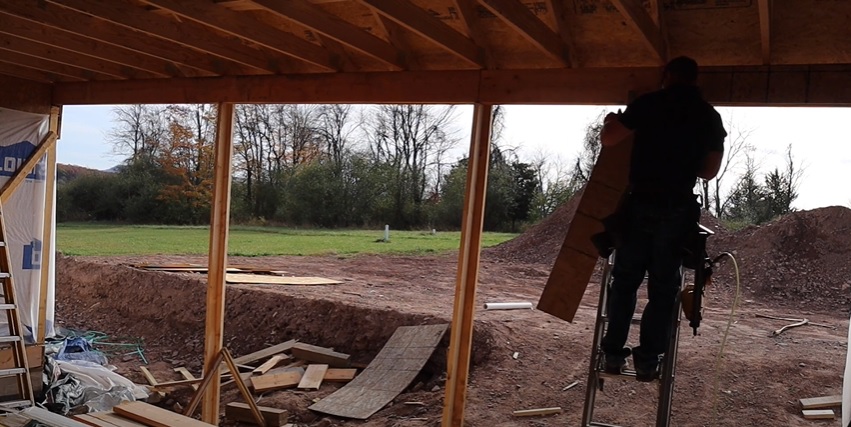
Step 2: Measure from one of the temporary posts you just installed for the beam to rest on to the edge of the header on one side. Cut a 2 by 10 to that length. (The planks should break on top of the temporary posts.)

Step 3: Tack the 2 by 10 in place with your nailer.


Step 4: Repeat steps 2 and 3 until you’ve successfully installed a layer of 2 by 10 planks across the inside face of the header from one end of the porch to the other.
Step 5: Cut plywood sheets into pieces that are slightly smaller than the wood planks you used to build out the beam.

For example, when I use 2 by 10s, which are technically 9 ¼” wide, for my porch beam, I like to cut my plywood into pieces that are about 8 ¾” wide. There’s no need for them to be exactly the same size as the 2 by 10s, since we’re just adding them to increase the thickness of the beam.
Step 6: Tack the plywood pieces into place onto the inside face of the beam, on the same side which you just installed the 2 by 10s.
You only need to place about one nail on either end of each piece of plywood. This is because we’re going to cover up the plywood with yet another layer of wood, and there will be plenty of nails there to secure the entire structure in place.
Step 7: Hook your string line taut from one end of the porch to the other on the outside face of the header. Use it as a guide to keep your header straight as you nail it up into the truss above it.
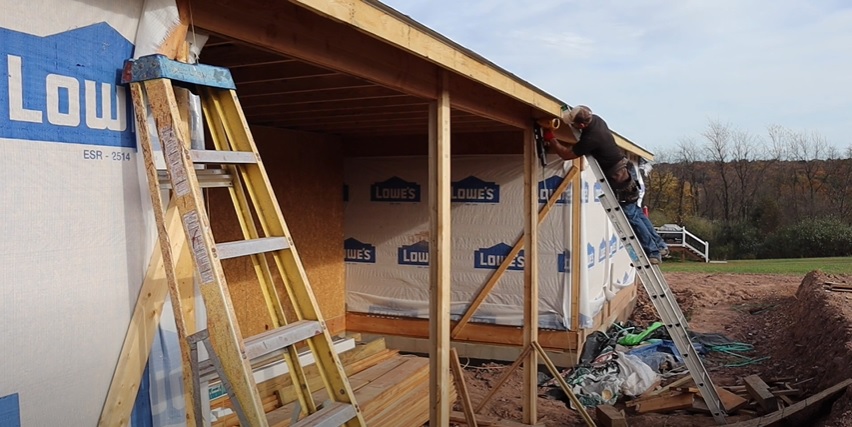
Shoot your nails in a “W” pattern to help distribute the weight from the roof evenly throughout the header.
Step 8: Repeat steps 2 and 3 again to pad out the inside face of the beam (this will be the last layer for your porch beam frame). Shoot your nails in the same “W” pattern you used in step 7.
That’s it! Now you have a nice, clean, framed out porch beam!
Here is the full video below you can watch to see more details.
For more excellent DIY guides to get you through your house and porch build, check out The Excellent Laborer YouTube channel.