One of the most important steps in building a DIY house is installing electrical conduit from your build to the transformer. Without it, you won’t have power!
You may think that this process sounds complicated, but the truth is that it’s not difficult to do – providing you have the proper tools and materials. Keep reading to learn what those are, as well as to follow my step-by-step electrical service conduit installation guide.
As always, when it comes to all things DIY house building, ALWAYS CHECK YOUR LOCAL BUILDING CODES before starting a new project. (This is especially important when you’re dealing with electricity!)
Tools And Supplies Needed To Install Electrical Service Conduit
DISCLAIMER – This article does contain affiliate links. I earn a small commission that helps support this website at no extra cost to you, if one of the links is used to make a purchase.
Below is a list of everything you’ll need to run your electrical conduit properly.
- Sawzall
- PVC glue
- Conduit (CHECK YOUR BUILDING CODES to see which schedule of conduit is appropriate for your service line. In my demonstration, I use Schedule 40 pipes.)
If you don’t have any of these supplies and aren’t sure where to get them, I’ve listed the ones I like to use in the Excellent Laborer Amazon store.
Step By Step Guide To Installing Electrical Service Conduit To Your DIY House
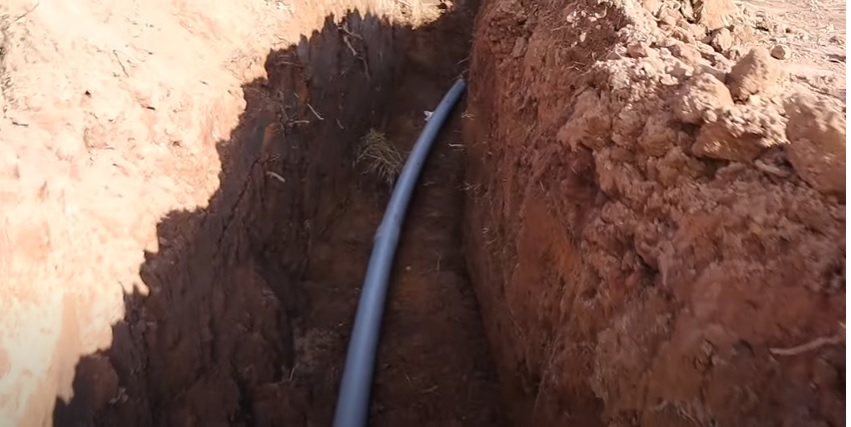
Step 1: Dig a trench in the ground from the side of the house where your meter will be toward the transformer. Your line should stop at the stub of the conduit leading out from the transformer.
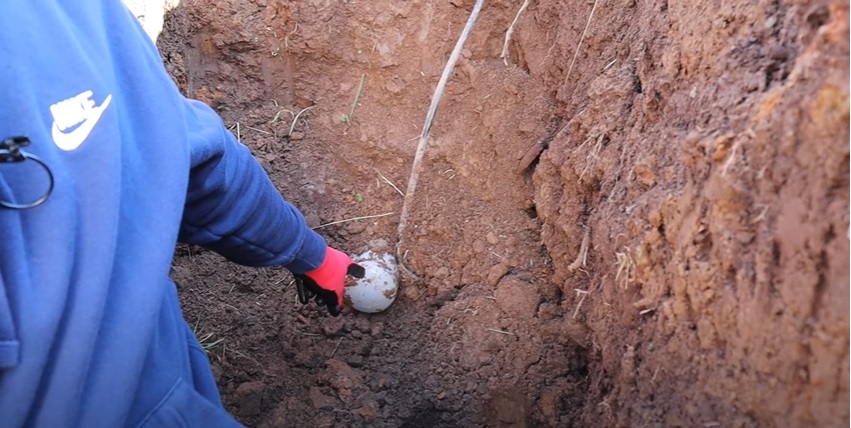
Step 2: Pop the cap off the stub and pull the string line out. The voltage cable should be connected to the other end of the string. If it is, thread the cable through the conduit as you lay into the trench, all the way to the other end of the trench. If it isn’t, continue to lay the conduit anyway and let the electrical company know about the cable afterward. They can use a special tool to pull it through the other end.
Note: In my demonstration, you’ll notice that the string I pulled out of the stub was eaten up by mice and no longer attached to the inside of the transformer. So, throughout the rest of this guide, I will not refer to the cable any longer. Fortunately, it’s not crucial to this guide, anyway, since my main goal is to help you install the conduit.
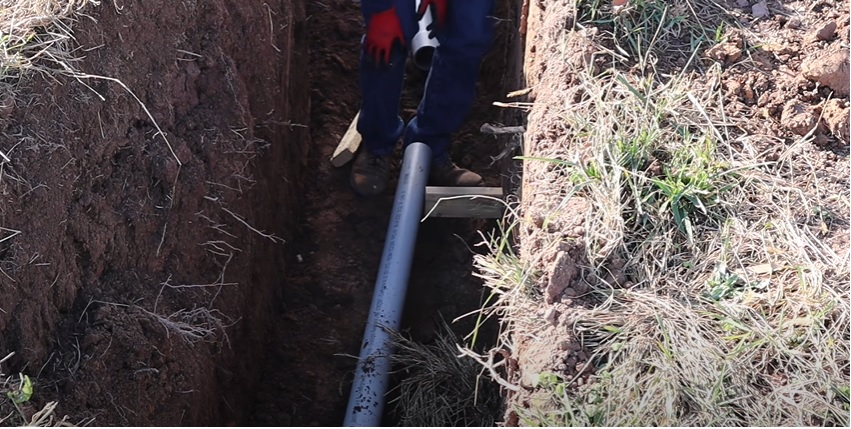
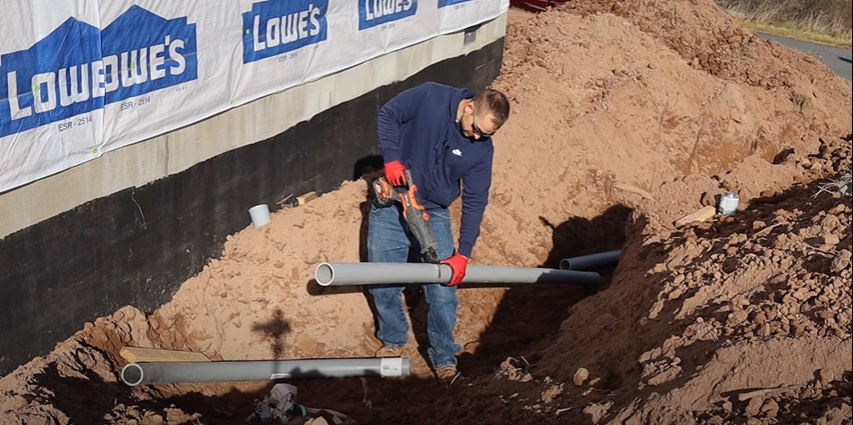
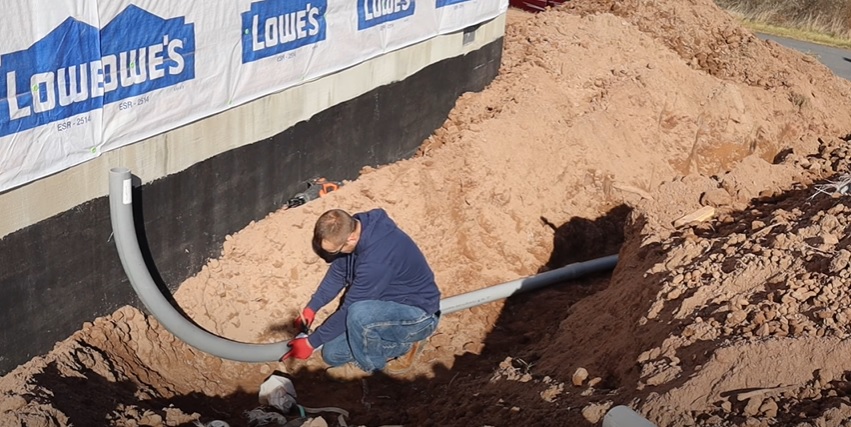
Step 3: Generously apply PVC glue to the inside of one end of a length of conduit, as well as the stub.
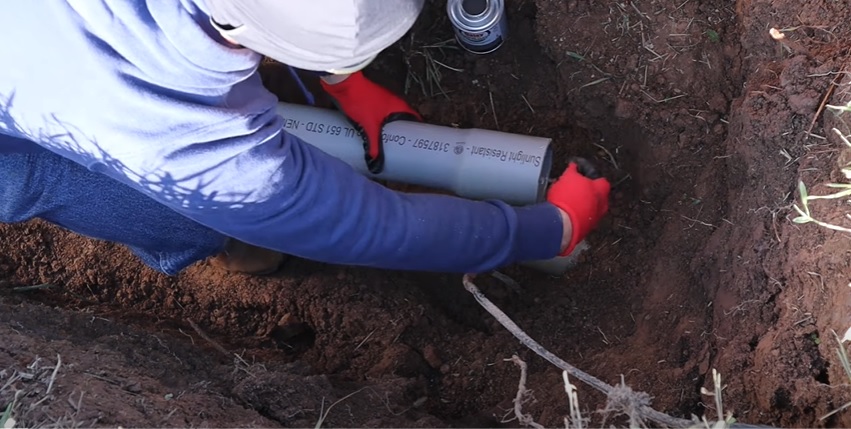
Step 4: Slide your conduit onto the stub and twist it into place to get a good seal with the glue. Hold it until the glue has had a chance to set, then release it.
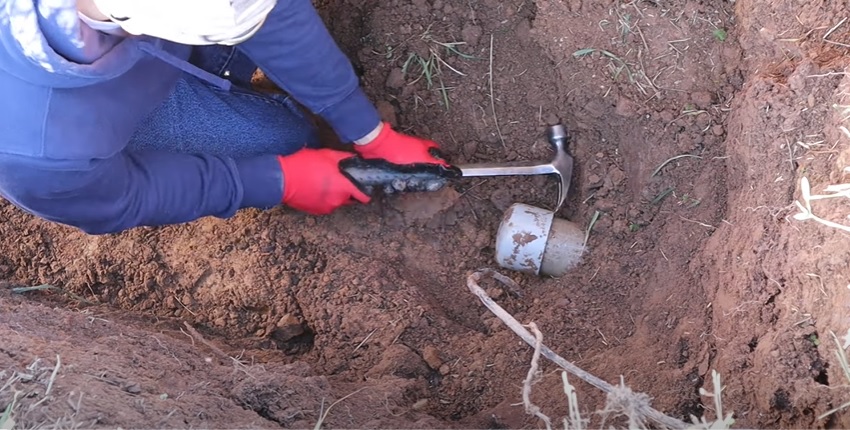
If you need more leverage to push the conduit onto the stub, place a block of wood over the other end of your length of conduit and pound on it with a hammer until the conduit slides into place.
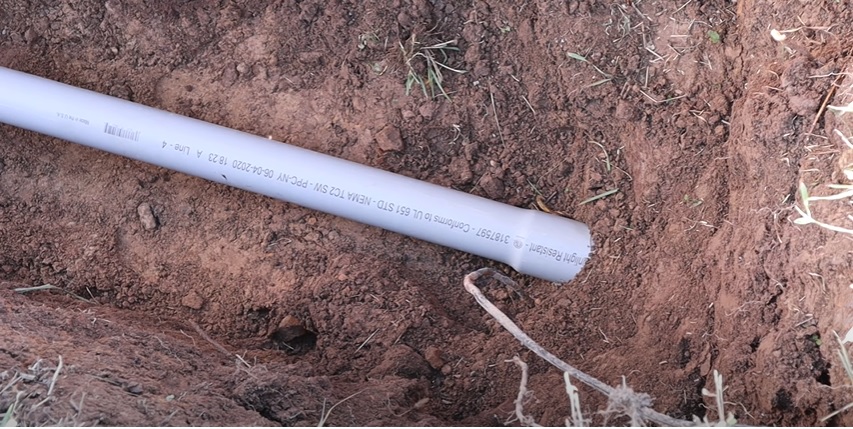
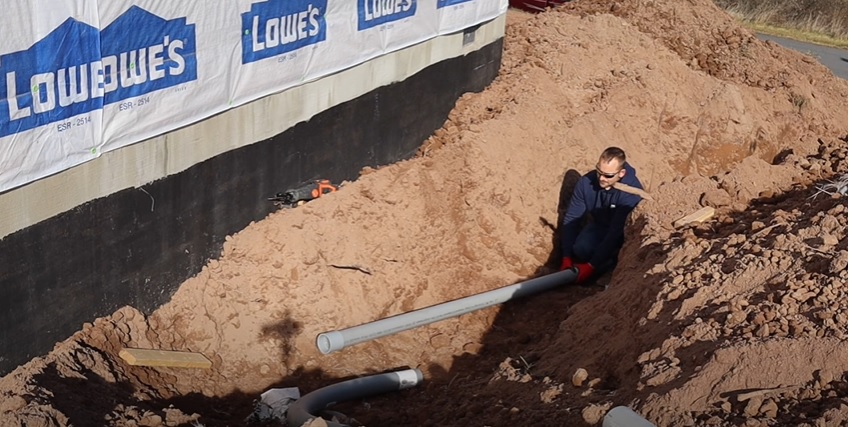
Step 5: Repeat steps 3 and 4 for the rest of your conduit leading up to the house. Stop before laying the last piece, as you may need to cut that one to fit the rest of the way to the meter.
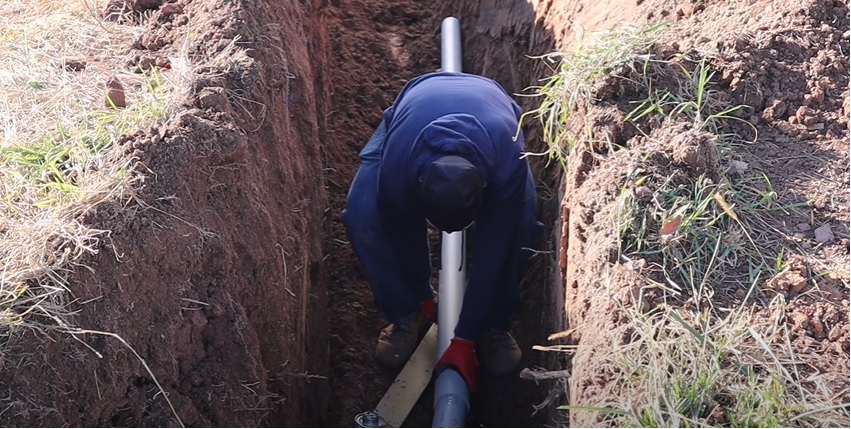
To help keep the conduit steady as you’re gluing them together, use blocks of wood as makeshift supports on either side of the trench.
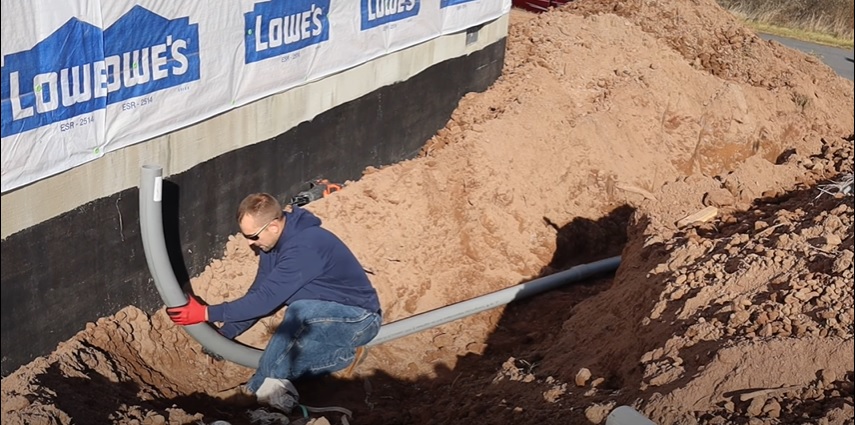
Step 7: At the end of the trench by your DIY house, you should have an elbow-shaped length of conduit propped up at the point where it will hook up with the meter above ground.
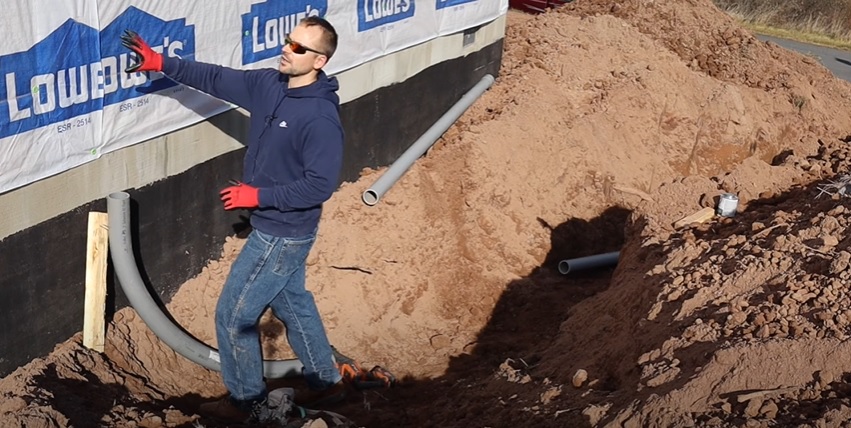
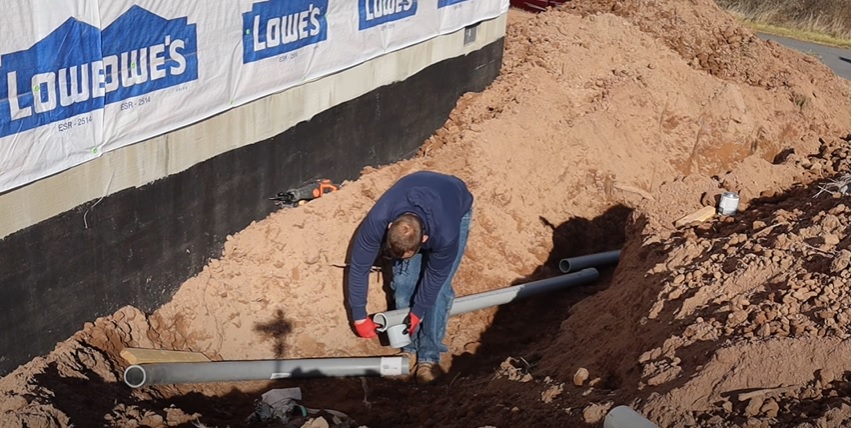
Measure from the end of that elbow-shaped piece to the end of the last piece of conduit you laid in the trench, so that you can cut the final piece of conduit to the appropriate size.
To do this, take a piece of conduit and lay it down in the trench between the other two pieces. Make sure that it is laid in such a way that each end overlaps the bell of the other conduit pieces by three or four inches (or however wide the bell is). Make a mark with your pencil on the conduit, so that you know where to cut off the excess.
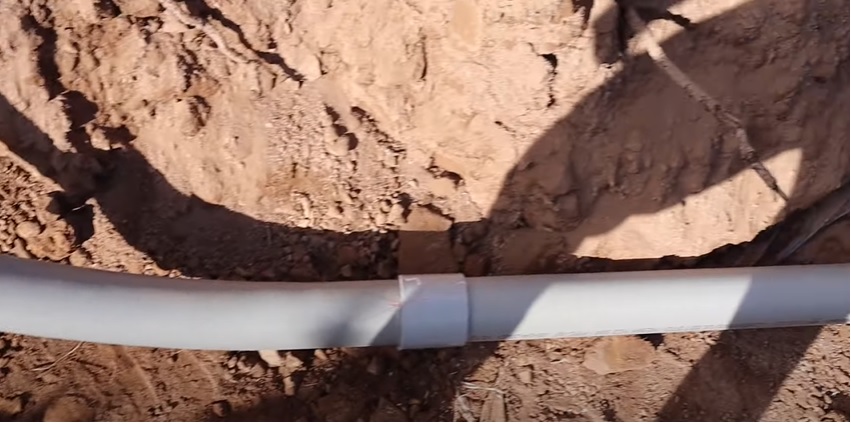
Step 8: Cut off the excess conduit with your Sawzall.
Step 9: Glue the conduit you just cut in place at either end using the PVC glue.
For the end that connects to the elbow-shaped piece of conduit, you will need to glue a collar on first.
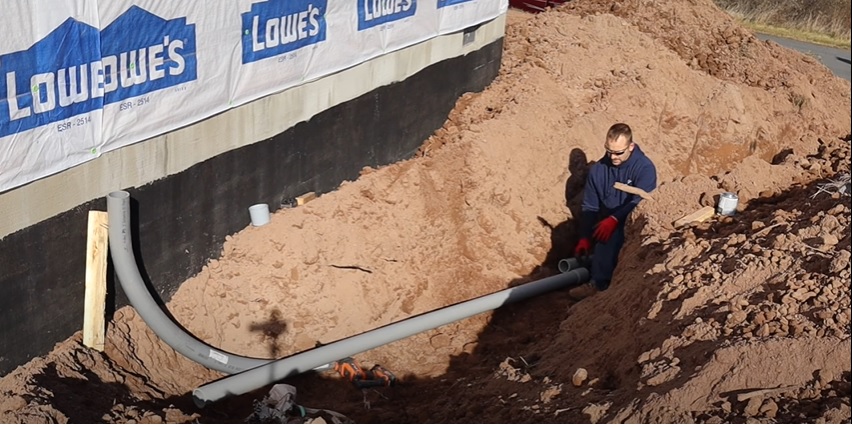
Next, set up the elbow-shaped piece and mark where it will need to be glued, so that it’s in the right position to be hooked up to the meter. Once you’ve determined exactly where the elbow-shaped piece needs to sit, glue the conduit to it.
Now you have a nice, neat line from the transformer to the house along which power will run.
It may seem like a lot of dirty work (no pun intended), but trust me: you’ll thank yourself for the great work you did later. Laying conduit properly will save you a lot of headaches when it comes to having a meter installed.
Learn how to tackle other DIY house building projects with excellence on the Excellent Laborer YouTube channel!