If you’re like me and installed pre-manufactured trusses in your DIY home, then you received an information packet from the manufacturer telling you how each truss needs to be braced.
Following these instructions is critical to ensuring your house stays up to code. That’s why I’m dedicating this article to explaining how to install truss braces, so that when the time comes for you to do it, you’re not left in the dark.
Before you take on a project like this (or any DIY home building endeavour), ALWAYS CHECK YOUR LOCAL BUILDING CODES. Be sure you also have a copy of the truss manufacturer’s bracing instructions.
What Are Truss Braces?
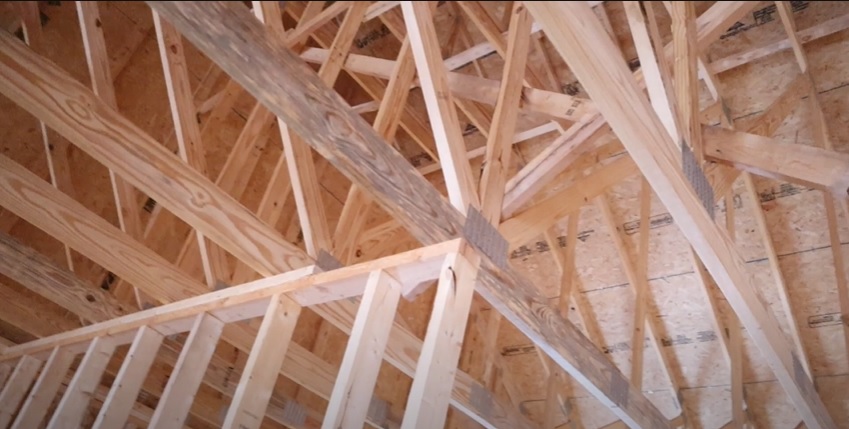
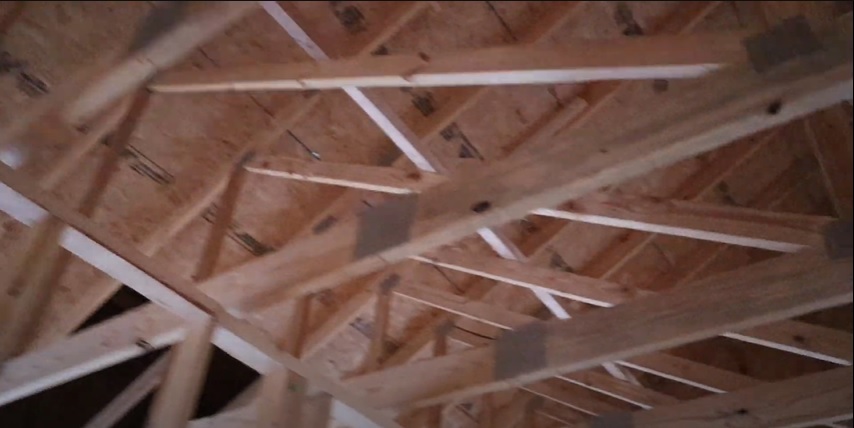
Truss braces add an extra layer of support for the trusses in case the roof is ever subjected to snow, ice, or strong wind. It helps prevent the trusses from collapsing in on themselves. In addition, braces help the trusses stay in place and hold them together in their proper alignment.
There are two main styles of truss bracing: lateral and diagonal. Lateral braces run horizontally across the posts on a truss. Diagonal braces are installed, as the name suggests, in a diagonal or “W” configuration along the truss. You will likely need to use both styles during your DIY installation.
Not all trusses or local building codes require braces, which is why it’s important you check all the requirements for your trusses before you begin installing any type of bracing.
Tools And Supplies Needed To Install Truss Braces
DISCLAIMER – This article does contain affiliate links. I earn a small commission that helps support this website at no extra cost to you, if one of the links is used to make a purchase.
You don’t need a lot of fancy tools or supplies to install truss braces. Below is a list of the ones I typically use (and many of which you can find in the Excellent Laborer Amazon store).
- Nailer
- 3” nails
- Skill saw
- 2 by 4 wood pieces (I typically use 16 footers)
- Pencil
- Tape measure
- Framing square
Step By Step Guide To Installing Truss Braces
Step 1: Check the manufacturer’s information packet to see where the trusses need to be installed.

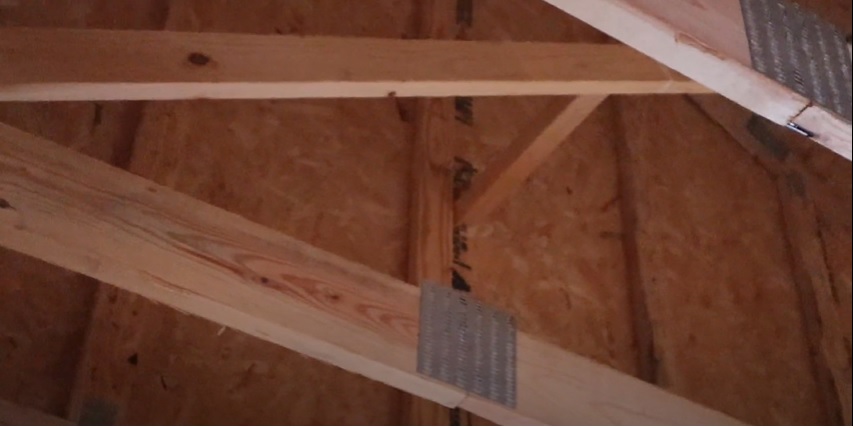
Using the details I received from the manufacturer of my trusses, you can see that almost every part labeled “W” with a number next to it (i.e., W2, W3, W4, and so on) has a little square in the middle of it. That indicates the tail end of a brace where it has been nailed onto one of the webs of the truss.
By finding all those boxes, you should be able to estimate where you need to place each brace.
Step 2: Space out all your trusses 2’ on center (or whatever measurement your local building codes require) and secure them in place with runners. You can even install wall frameworks and plates to the trusses at this time, if you want, to help stay aligned.
It’s important to secure your trusses 2’ on center before you start bracing them. This is because it’s much harder to readjust the trusses once the braces are exerting extra pressure on them and keeping them in a certain position.
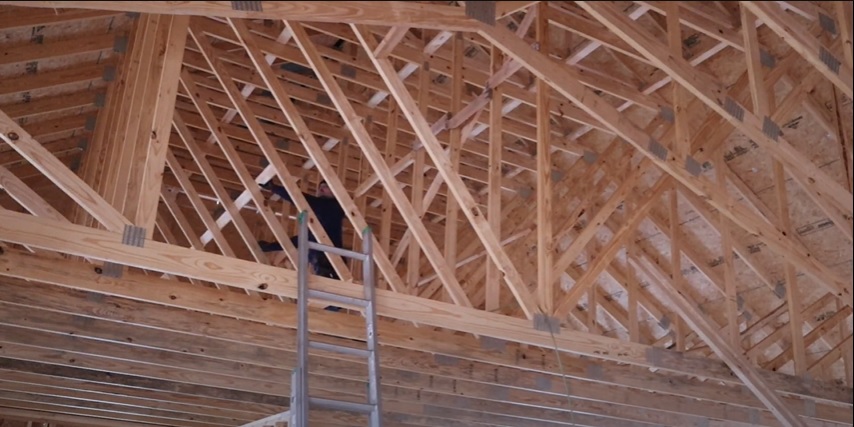
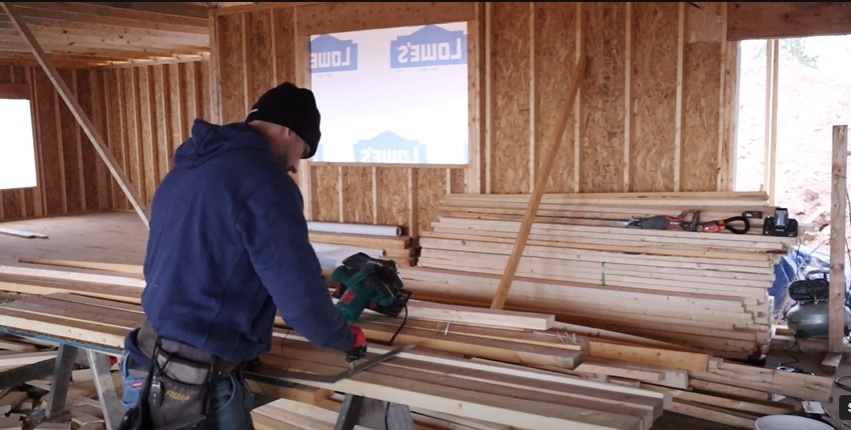
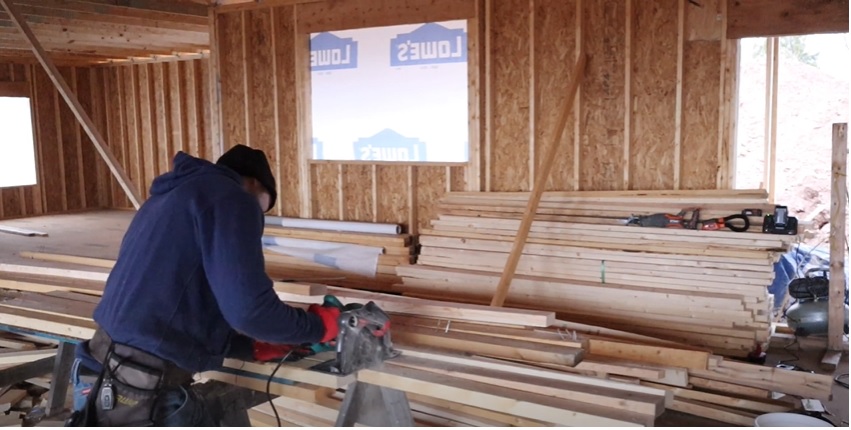
Step 3: Lay your 16’ 2 by 4s up against the bottom of the trusses where you want to install them. This is the easiest way to get them up there if you’re working alone or even with just one other person.

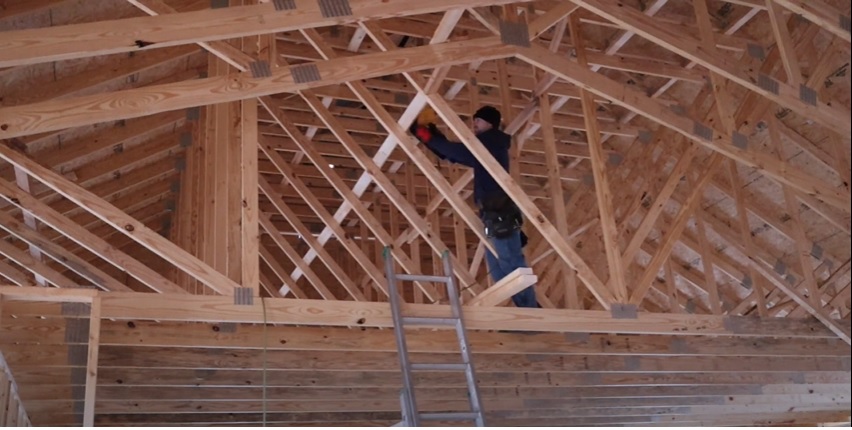
Step 4: Starting on one end of the house with the gable truss and making your way to the other end, use your nailer and 3” nails to secure each lateral brace into place on each truss.
I like to use two nails per truss. You can also use a leveler if you want to make sure the braces are completely straight. But eyeballing them is also okay. These braces don’t need to be perfect. In fact, I often use 2 by 4s that are left over from other DIY projects because they were a little too twisted or bowed for use.
Step 4: If necessary, cut some 2 by 4s to finish off the lateral braces all the way to the end of the trusses.
Pro Tip: If you need to cut multiple 2 by 4s to the same length, there’s a fast way to get it done.
First, use a tape measure to measure from the end of one 2 by 4 to the measurement you need to cut it. Mark it with a pencil. Then, line three other 2 by 4s up with the first one and use your framing square to trace that first line across all four of them. Finally, use your skill saw to cut all four 2 by 4s to size at the same time.

Normally, DIY home building projects require more precise cutting. But since this is bracing, we have a little more leeway.
Step 5: Install the diagonal braces. Follow the same basic steps as when you install lateral braces, except secure these 2 by 4s diagonally in a wide “W” shape. As always, refer to the manufacturer’s information packet for instructions on placement.
And that’s it! Not too complicated, but this process is definitely labor intensive. I personally recommend having a friend or family member (or more than one) who’s experienced in DIY house projects to help you. You’re going to be handling long 2 by 4s, climbing up and down a ladder, and crawling around in the trusses quite a bit. For safety’s sake, don’t try to do it all alone.
For more excellent tutorials, visit the Excellent Laborer YouTube channel!