In this article, I’ll explain how to trim out a garage door opening using PVC trim board and PVC brickmold. By the end, you’ll know which tools and supplies you’ll need, as well as the step-by-step process for cutting and installing the above materials.
The more you learn now, the easier you’ll find putting up an attractive trim around your garage door that lasts for many years to come. So, let’s get cracking!
As always, PLEASE CHECK YOUR LOCAL BUILDING CODES before you begin any type of DIY homebuilding or home improvement project like the one we’re about to discuss.
Tools and Supplies Needed To Trim a Garage Door Opening
DISCLAIMER – This article does contain affiliate links. I earn a small commission that helps support this website at no extra cost to you, if one of the links is used to make a purchase.
Here are the materials that you’ll need to complete this project on your own. If you’re missing any of the tools, you can buy the ones I use at the Excellent Laborer Amazon store.
- Framing nailer (or, if you don’t have one, just get you some 2” galvanized finish nails and a hammer)
- Miter saw
- Tape measure
- Speed Square
- PVC trim board
- PVC brickmold
Before You Buy PVC Trim Board – READ THIS!
Before we dive into the installation, let’s talk about something you should do BEFORE you buy your PVC trim board. And that is to measure the thickness of your garage door opening.

After you measure it with your measuring tape, add at least 1 ½” to the number you got. That way, you can choose trim board with a width that will cover the side of the opening, plus it will accommodate the wood and drywall you’re going to install to pad out the inside wall of the garage.

Step-By-Step Guide To Trimming a Garage Door Opening
Without further ado, here are the instructions for adding the PVC trim board and brickmold to the opening on your garage.
Step 1: Measure the distance from one side of the opening across to the other side.


Step 2: Use a miter saw to neatly cut a trim board to the size of the measurement you took in step 1.

Step 3: Install the trim board at the top of the garage door opening using your nailer (or, if you don’t have a nailer, use a hammer and 2” galvanized finish nails). Place two or three nails every 16” along the length of the board.

Pro Tip: Whenever I’m installing a trim board across an opening like this by myself, I always tack up a piece of scrap board above the top of the opening. That way, when I put up the trim board, I can butt it up against the scrap piece, and that tells me that the board is sitting flush. That’s also the area in which I secure my first two nails.

Step 4: Hold up a piece of trim board to the bottom of the side of the garage door opening where it meets the concrete floor. Keep it straight and then lay down a flat, straight piece of scrap material at the bottom.


Next, use the scrap piece as a guide to scribe a pencil line on the trim board.

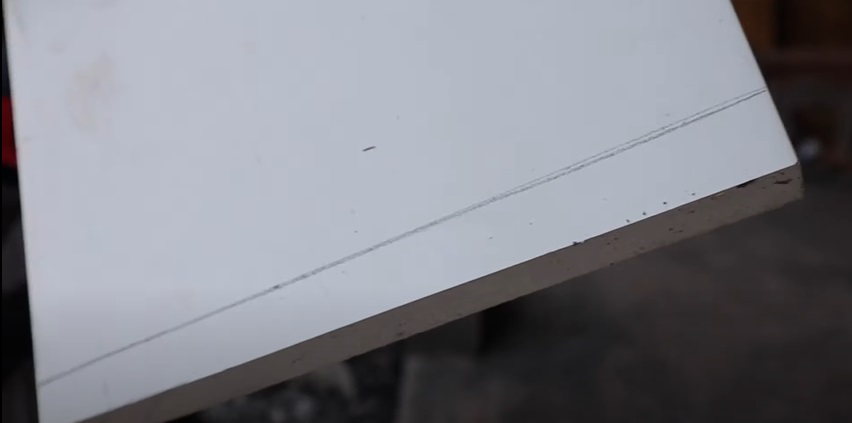
The purpose of this step is to show you where you need to cut the trim board at the bottom, so that it sits straight on the concrete. The concrete at the entrance to your garage should always slope downward slightly at the edge to direct rainwater away from the interior. That means your trim board needs to slope slightly, as well, in order for it to be flush.
Step 5: Measure the distance between the “high” end of the bottom of the side of the garage to the top. This step will reveal the proper length of your trim board from the angled end to the straight end.


Step 6: Cut your trim board to size with your miter saw. Adjust the saw carefully, so that it will cut along the slight angle you scribed in step 4 at one end.
Step 7: Install your trim board by making sure it’s flush against both side of the opening, and then securing it into place with two nails every 16”.


Step 8: Repeat steps 4-7 for the other side of the garage door opening.
Step 9: Now it’s time to install brickmold.
To start this process, you need to mark out the reveal which you’ll line your brickmold against. The result will be that part of the trim board is still visible.
To do that, place your Speed Square in one of the upper corners of the garage door opening. Use it as a guide to make a pencil mark on the trim board at ¼” from the inside.

Then, flip the Speed Square around and use it to make a similar mark on the top trim board close to the corner.
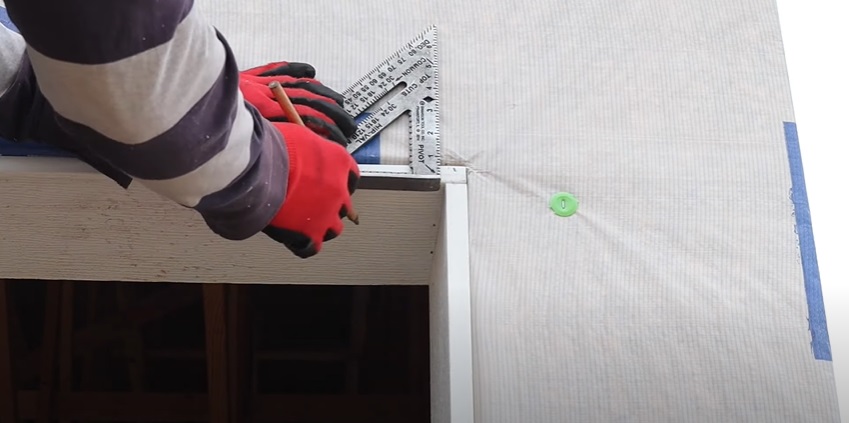
Step 10: Measure the distance from the bottom of the garage door opening to the first ¼” mark you made on the side of the trim.
Step 11: Cut a piece of brickmold to the length you measured in step 10. Orient your miter saw at a 45-degree angle, making sure that the cut is made so that the angle will face inward toward the opening.

Step 12: Line up your piece of brickmold against the first mark you made and make sure your reveal is where you want it to be. Then, tack a single nail at the top to hold it in place.
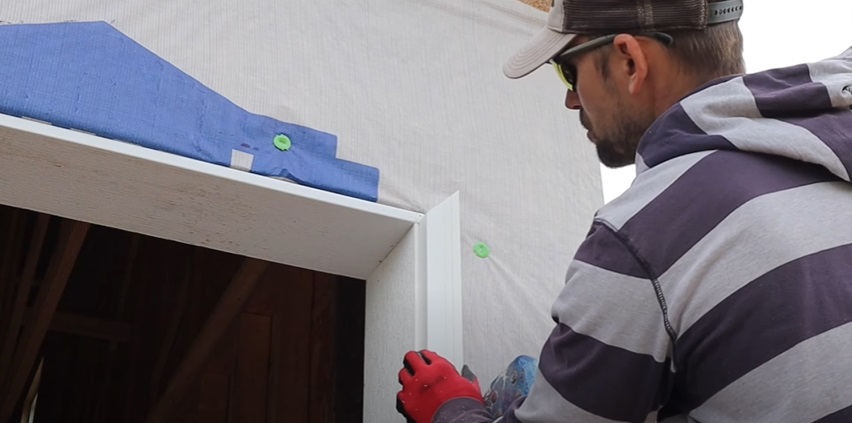
Step 13: Secure the rest of the trim board with two nails every 16”. Remember to keep an eye on the reveal and adjust the board to accommodate it as you go.
Step 14: Repeat steps 9-13 for the brickmold piece on the other side of the opening.
Step 15: Measure the distance between the top corners of the pieces of brickmold you installed on the sides of the opening.
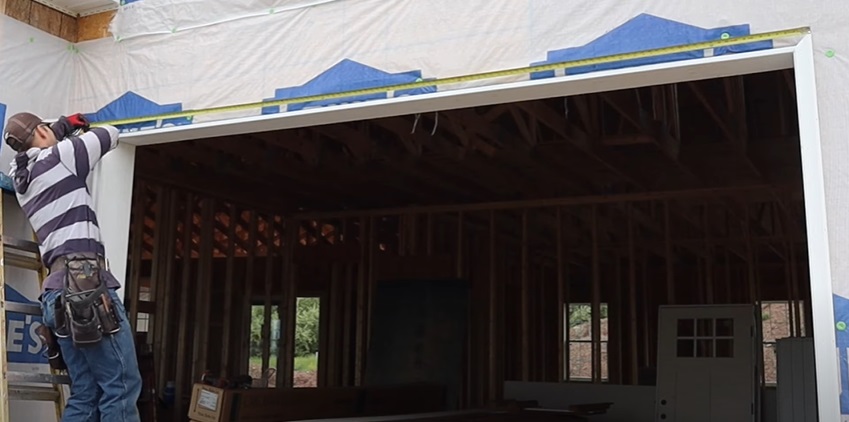
Step 16: Use your miter saw to cut a 45-degree angle out of one end of a piece of brickmold.

Next, measure out the distance you took in step 15 and make another 45-degree cut at that point. Make sure that the distance matches between the two high ends of the brickmold.

Step 17: Put the brickmold up over the top of the garage door opening and make sure it fits. If it does, secure it into place with two nails every 16”.

As you come to each corner, drive a couple of nails through the top brickmold into the piece of side brickmold to secure them together.

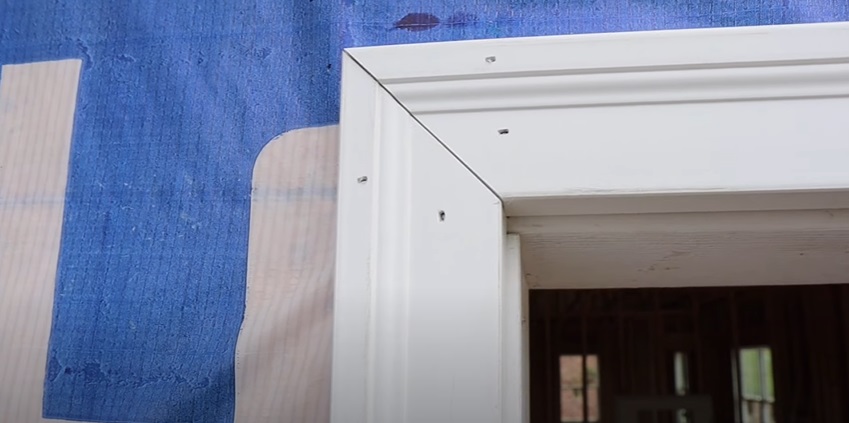
Now, take a gander at that neatly trimmed opening!


If you’re interested in learning more cool DIY homebuilding techniques, read the other articles here on the blog or watch live demonstrations on the Excellent Laborer YouTube channel.
