Soffit and fascia are the finishing touches that complete the roof overhang on your DIY house. Both are easy to install – provided you know what you’re doing! By the end of this step-by-step guide, you’ll know exactly how to quickly and properly install soffit and fascia.
As always, CHECK YOUR LOCAL BUILDING CODES before tackling any new DIY house project.
What Are Soffit and Fascia?
Soffit is a material that builders attach underneath a roof overhang to prevent moisture, debris, and animals from getting up into the rafters and damaging them. Fascia is the material that attaches to the sub-fascia, which is the board on the edge of the roof that faces outward. It covers up the wood and gives the roof aesthetic appeal.
The soffit I use (and that many DIY home builders use) is made out of vinyl. It’s also vented to allow air to circulate up into the overhang. The fascia, on the other hand, is made out of aluminum. Both vinyl and aluminum are perfect materials for this type of project because they’re durable, but also pliable and easy to shape to your needs.
Tools and Supplies Needed To Install Soffit and Fascia
DISCLAIMER – This article does contain affiliate links. I earn a small commission that helps support this website at no extra cost to you, if one of the links is used to make a purchase.
Below are the tools and supplies you’ll need to install soffit and fascia on your house. (If you want to know which brands I use, go to the Excellent Laborer Amazon store.)
- Vinyl soffit
- Aluminum fascia
- F channels
- Hammer
- Aluminum roofing nails
- Aluminum trim nails
- Tin snips
- Utility knife
- Chalk line
- Speed square
- Framing square
Step by Step Guide To Installing Soffit and Fascia
Step 1: Install F channel under your roof overhang.

F channel (so called because it’s shaped like the letter F) is a material that the soffit slides into and sits in. It helps seal out moisture and secure the soffit to the side of the house.
To figure out where to position the F channel, pick up your framing square and butt it up against the side of the house where it meets a corner of your roof. Move the square up until the top of it touches the bottom of the sub-fascia.
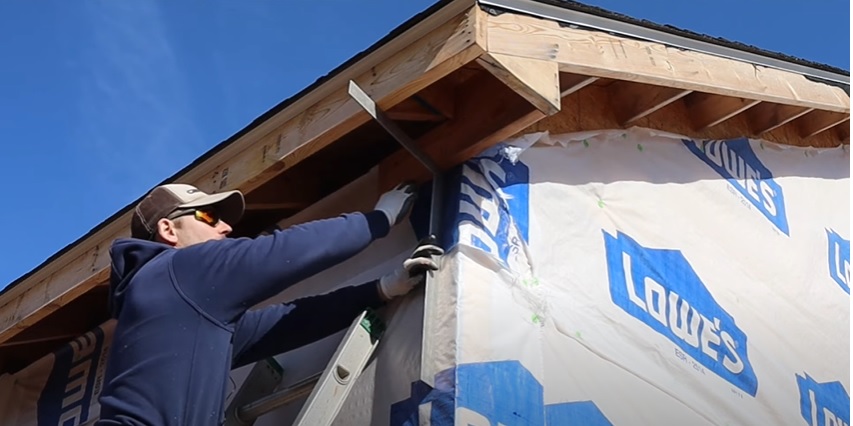
Make a mark on the side of the house at that point, and then move over about 10’ and make a similar mark.

Chalk a straight line in between those two points.

Line up the top of the F channel with the chalk line. Secure it into place every 18” using aluminum roofing nails and a hammer. Try to drive the nails into the studs in the wall.
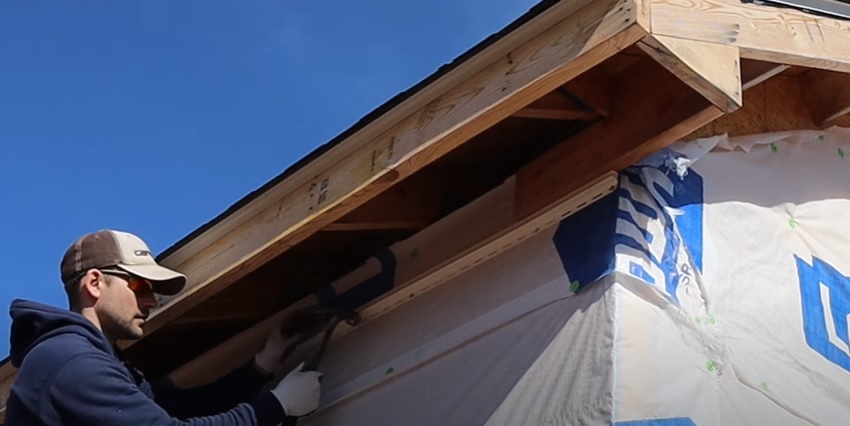
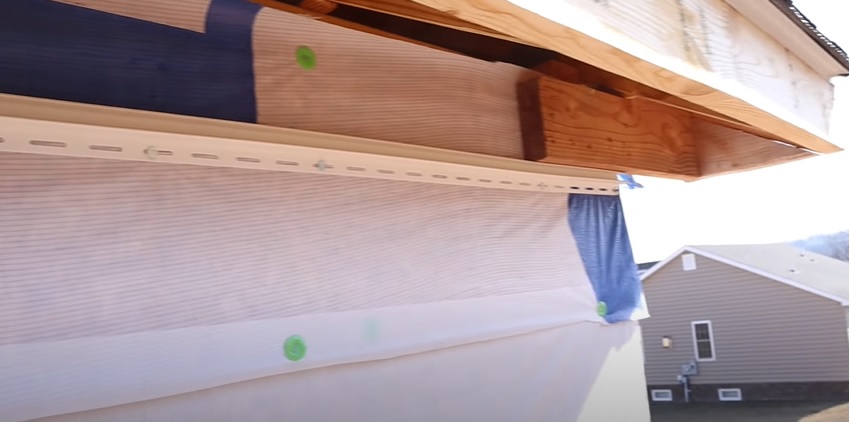
Pro Tip: When you’re installing an F channel on a gable, use your speed square to find the angle on the end of the F channel that matches the pitch of your roof. Then cut the angle out using tin snips. This way, the end of the F channel will butt up seamlessly against the bird box at the corner of the gable.
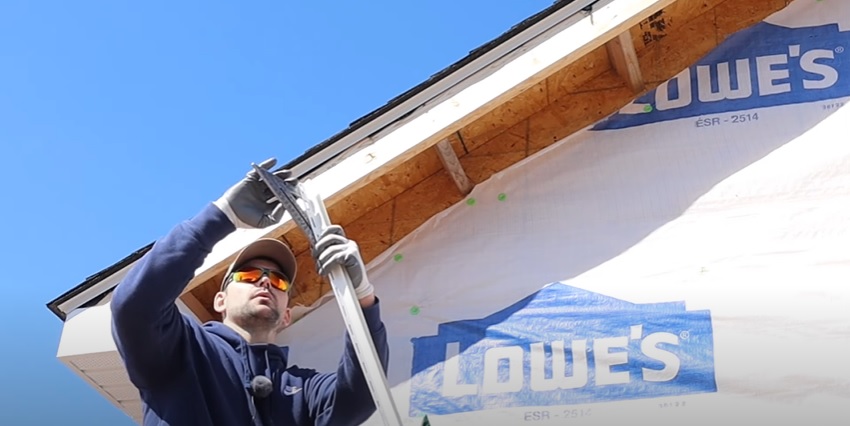
Step 2: Measure out from the F channel (or the back of the bird box, if you’re starting at a roof corner that has one) to the front of the sub-fascia board. Subtract ¼“ from that measurement, and you now have the appropriate width for your soffit.
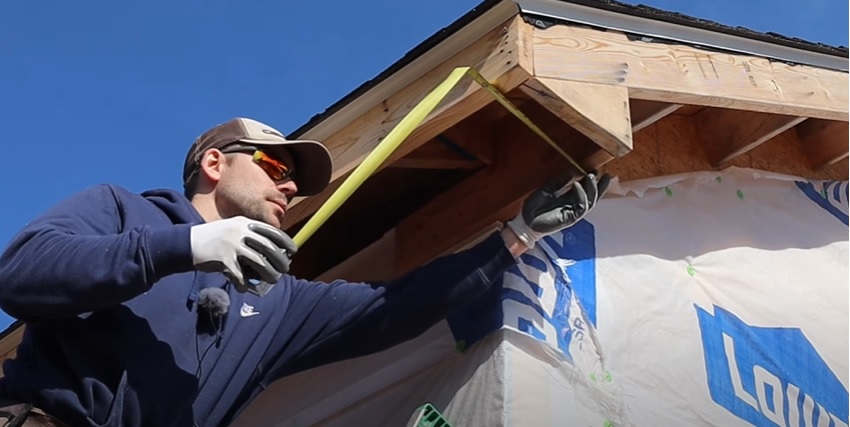
During my live demonstration, the measurement I got during this step was 12”. I subtracted ¼“ to allow room for expansion when the weather changes, so my final soffit width was 11 ¾”.
Step 3: Cut your soffit to size.
Soffit comes in long, wide strips. To attach it to the roof overhang, you’ll need to cut it into pieces.
Most DIY builders use snips for this part, but I decided to make a custom jig that I could use to keep two strips of soffit secure while I cut them into squares with a cordless circular saw. You can see what that jig looks like below. I also encourage you to check out my live demonstration at the end of the article, as I go into more detail on what the jig looks like and how to use it.
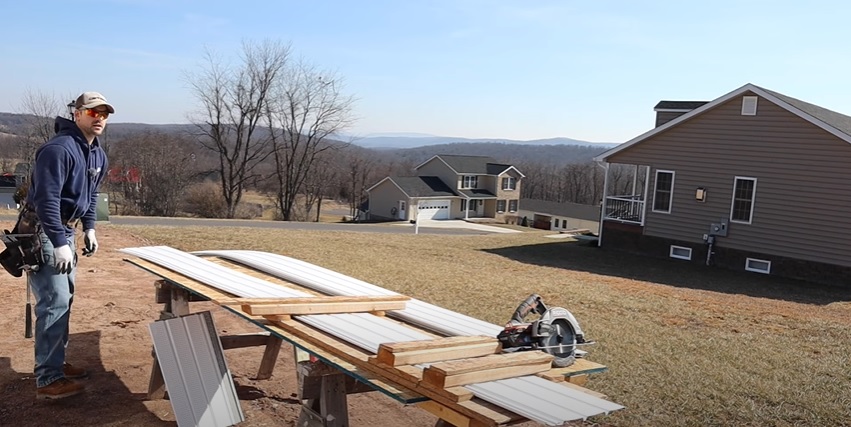
If you’d prefer to use snips, simply mark your measurement on the soffit and use a framing square to guide you as you make a straight cut with your snips.
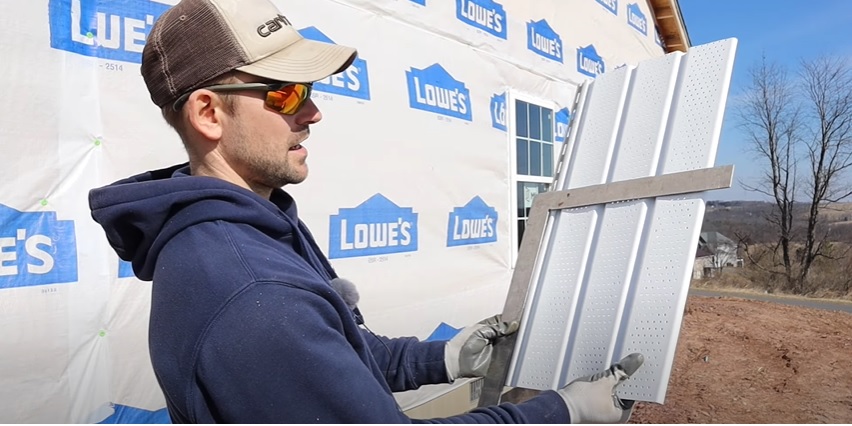
Step 4: Secure your soffit squares into place on the roof overhang using aluminum trim nails.
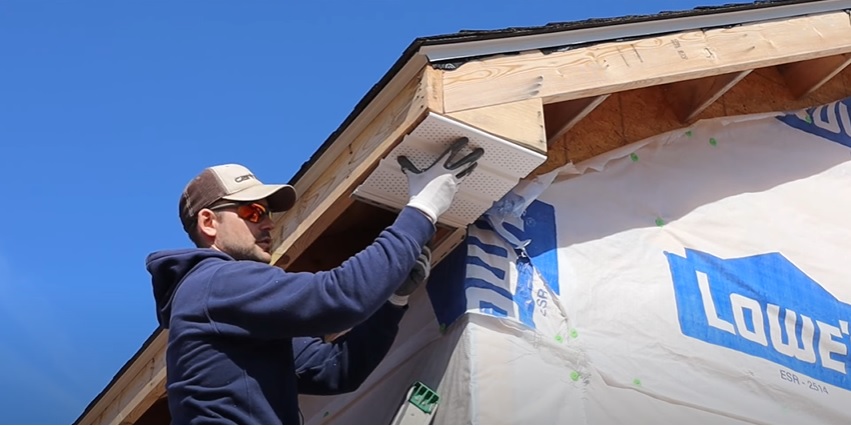
To do this, slide one edge of your soffit into the F channel you installed in step 1. Then, make sure the soffit is square with the sub-fascia before nailing it into place. The soffit should be tight against the overhang, not loose.
Step 5: Repeat step 4 until the entire overhang of your roof is covered with soffit.
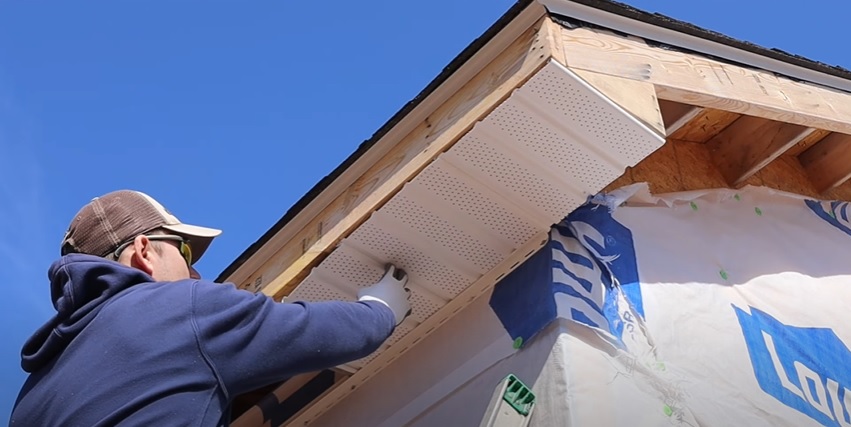
Step 6: Wrap the bird box at the corner of your roof in aluminum fascia.
To wrap the bird box, measure the width of the back and front pieces of the box. Mark those two measurements with a pencil or a marker on the lip of a piece of fascia.
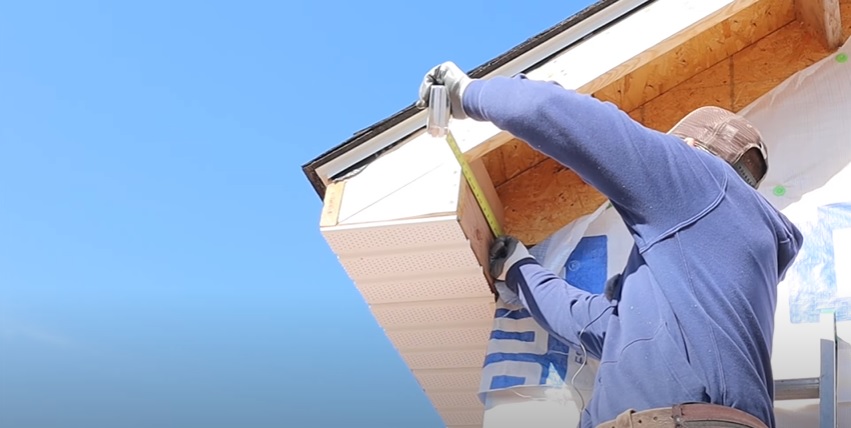
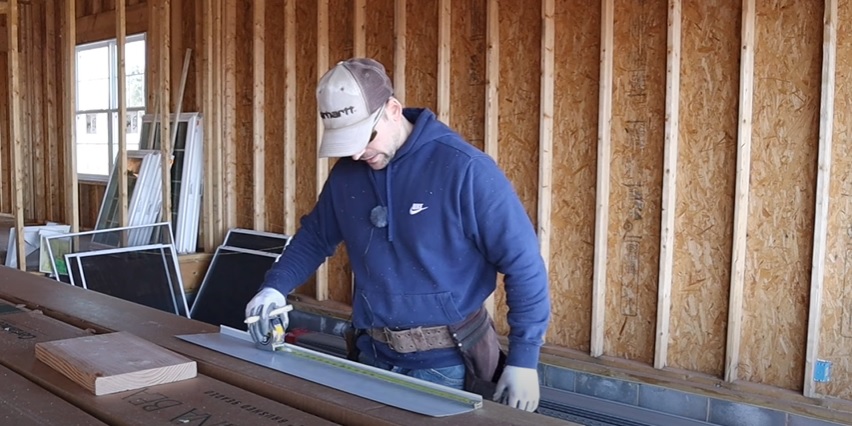
Next, cut a 45-degree notch out of the lip at each mark using your tin snips.
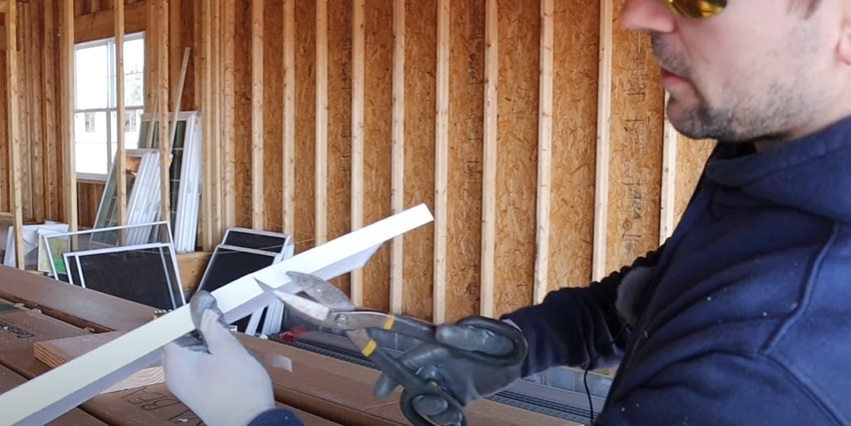
Then, take your utility knife and lightly score across the fascia in line with the cuts (I use a squared off block of wood to help me get my scoring straight and hold the fascia steady).
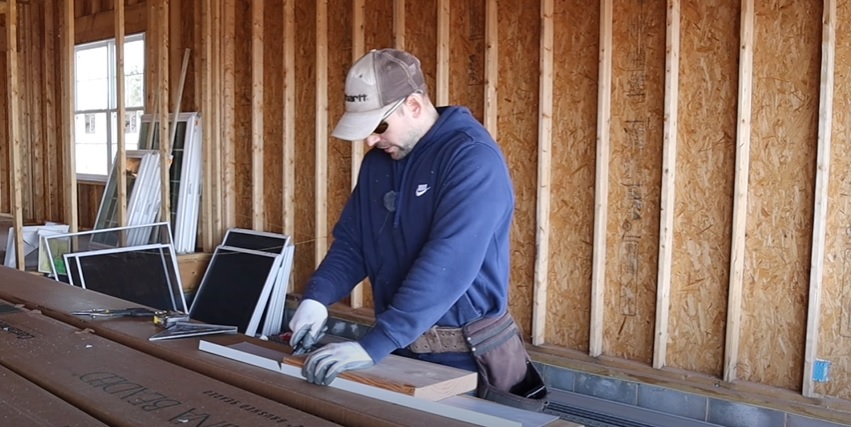
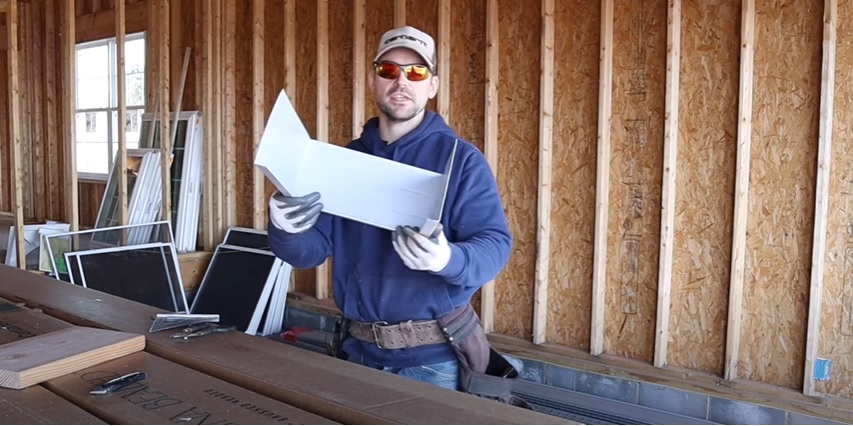
You should now be able to bend the fascia into the shape you need to wrap it around the bird box without breaking it.

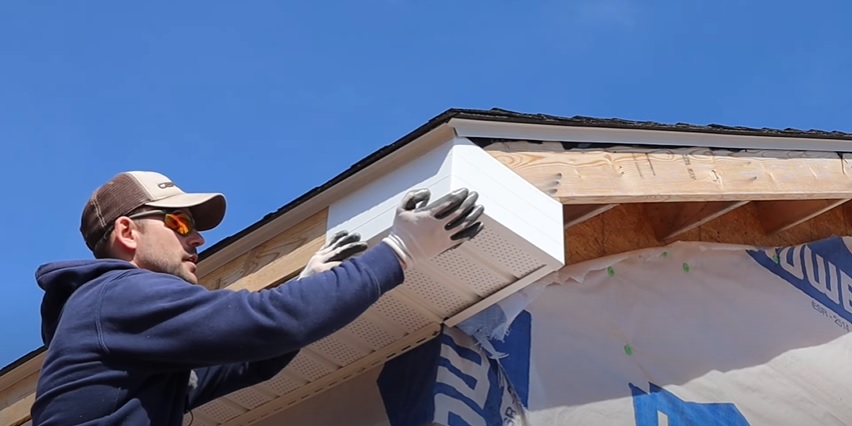
Slide the fascia wrapping into place around the bird box. Make sure the top of it fits under the drip edge on the roof.
Next, secure the fascia into place with roofing nails close to the drip edge and up through the soffit, every 18-24”. When you nail it up through the soffit, take care to only place the nails in line with the grooves in the soffit material. This will ensure a tight hold without damaging the soffit or ruining the aesthetic appearance of the fascia.
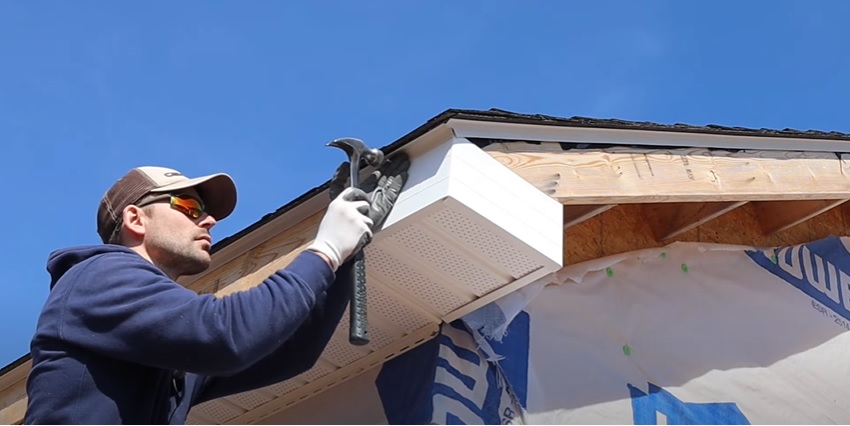

On the fascia that you plan to attach a gutter to, you can drive the nail directly into the face of the aluminum; the gutter will cover up the nail. On the side of your bird box that doesn’t have a gutter and that intersects with the corner of the house, drive a nail in the back corner where it will be covered up by a J-channel.
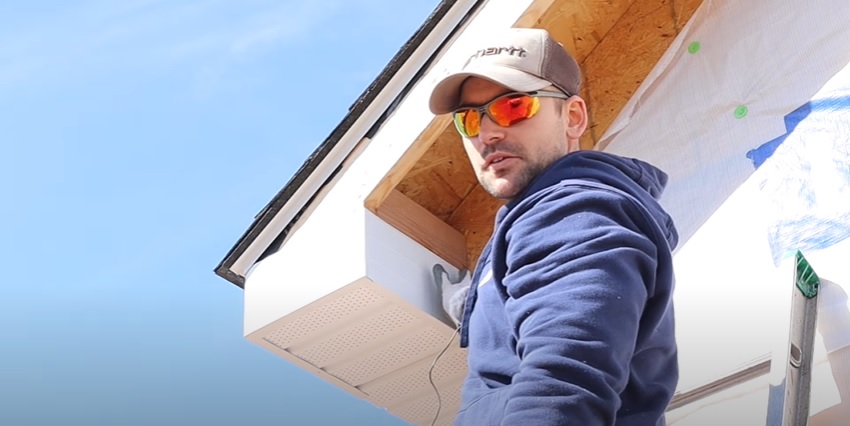
Step 7: Continue installing strips of aluminum fascia along the side of the house by securing each strip into place with trim nails.
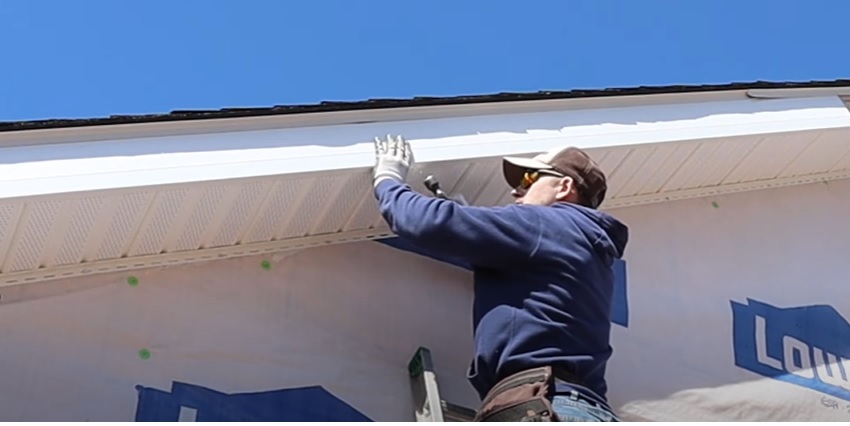
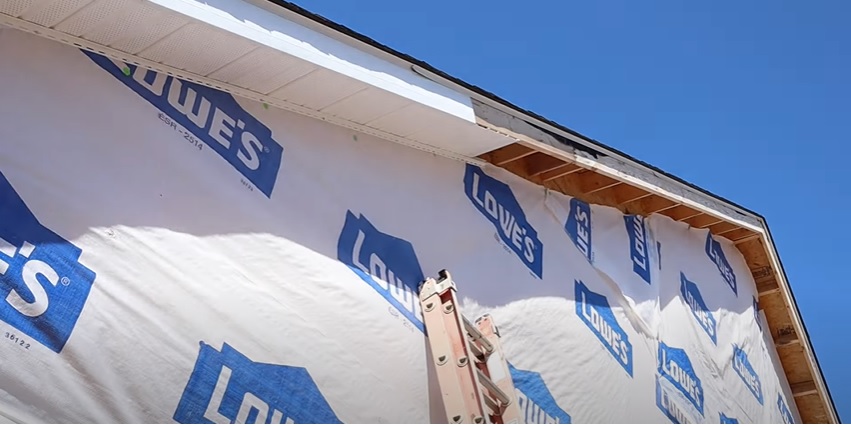
Once you’re done, you’ll have a smooth, seamless roof edge.
What did you think of this tutorial? If you liked it, I have plenty more where it came from. Head on over to the Excellent Laborer YouTube channel to see all my live DIY homebuilding demonstrations.
