DISCLAIMER – This article does contain affiliate links. I earn a small commission that helps support this website at no extra cost to you, if one of the links is used to make a purchase.
I’m back for another review! This time, I’m giving you my thoughts on the Metabo HPT 10” Miter Saw that I purchased from Amazon (you can find a listing for it and other tools I regularly use in the Excellent Laborer Amazon store). We’re going to go over the unboxing, assembly, and features, as well as my experience using this tool.

By the end, you’ll know for sure if this miter saw is worthy of an excellent DIY laborer like yourself!
Unboxing
Let’s start with one of the most fun parts of a review: the unboxing.
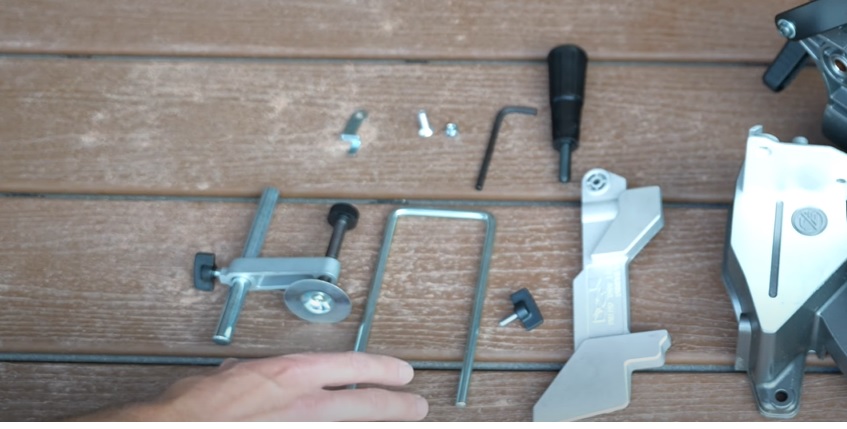
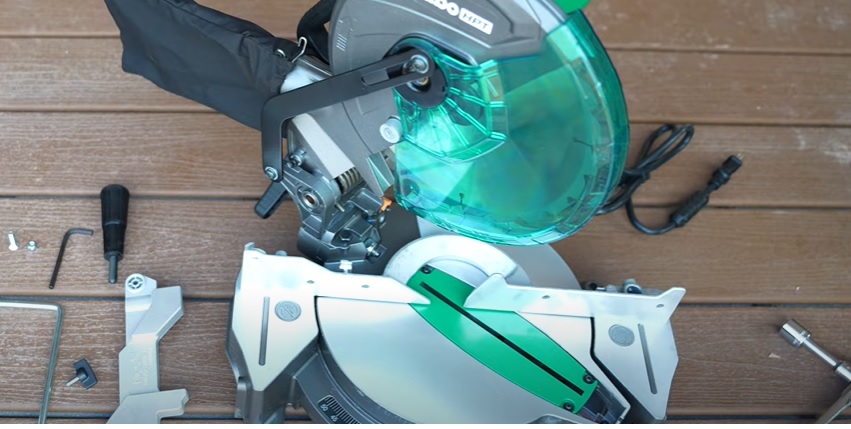
Upon opening the box that the miter saw comes in, you’ll see all the components neatly divided by paste board. There’s the saw itself, a bag of hardware and accessories, an Allen wrench, and the power cord.

Everything inside the box was easy to remove, and the box itself was sturdy enough to reuse later.
Now, let’s move on to the assembly.
Assembly
To outfit the miter saw with all its accessories, you’re going to need the Allen wrench that it comes with as well as an 11/16” socket and a 10mm socket.
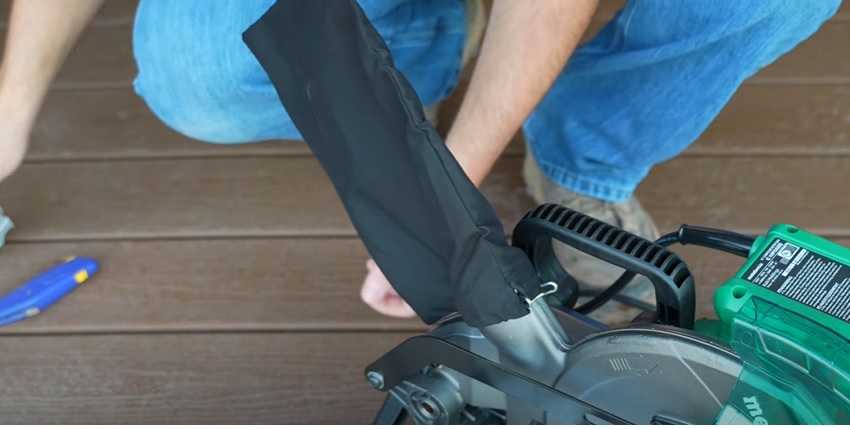
The first thing I installed when I assembled this tool was the dust bag.
To do so, I set the bevel angle of the saw at 0 degrees. Then I clamped the dust bag over the dust port at the back of the saw.
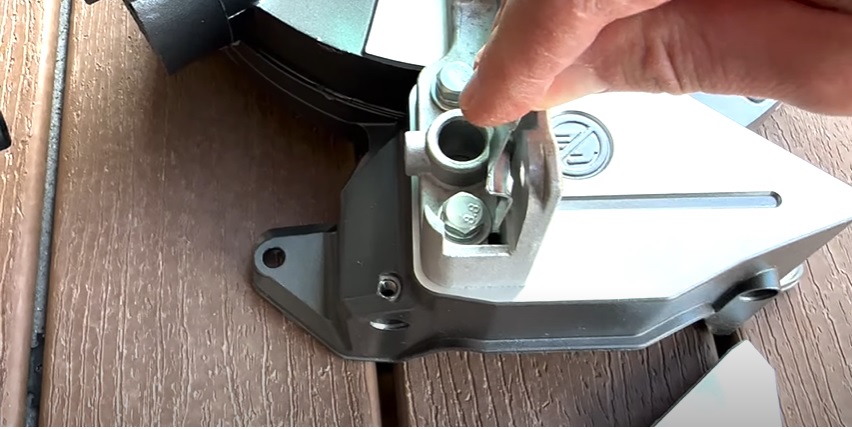
Next, I installed the handle. First, though, I had to remove the bolt on the front of the saw stand that filled the hole for shipping purposes (that’s where the 11/16” socket came in handy).

That done, I loosened the locking pin at the back of the saw by pushing it back, so that I could lift the saw head upright. This step allowed me to screw the handle into the hole from which I removed the bolt by hand.

Once the handle is installed, you can press your thumb down on it and move it from side to side to change the cutting angle of your saw blade.
The next order of business was installing the subfence. To do that, I first had to slide a small metal plate in the appropriate slot.
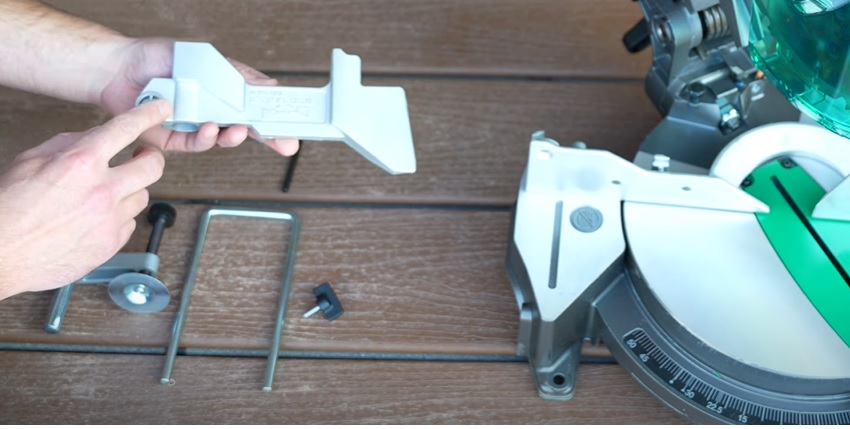
After that, I slid the subfence in between the metal plate and the fence, and then secured them with a screw and a small nut. For that part, I used the 10mm socket and a Phillips screwdriver.


Once the screw is tightened, you should be able to flip the subfence back and forth without it coming loose.
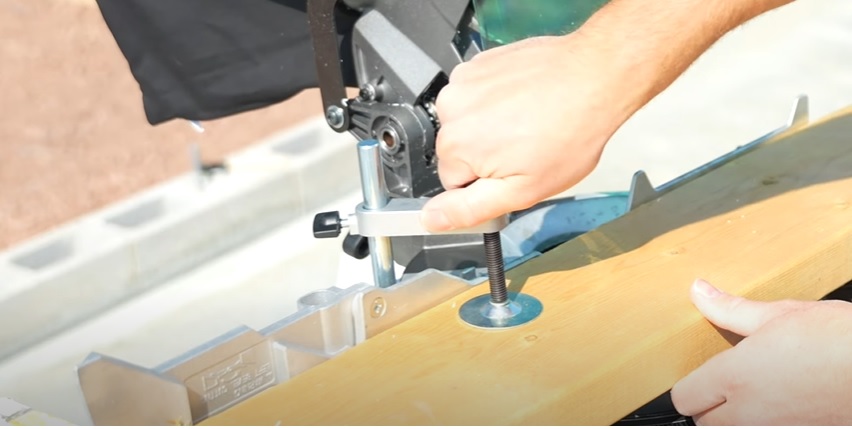
Then I moved on to the vice, AKA the clamp that holds your material in place while you make your cut. I slid the vice into a hole in the subfence and secured it in place with a wingnut.

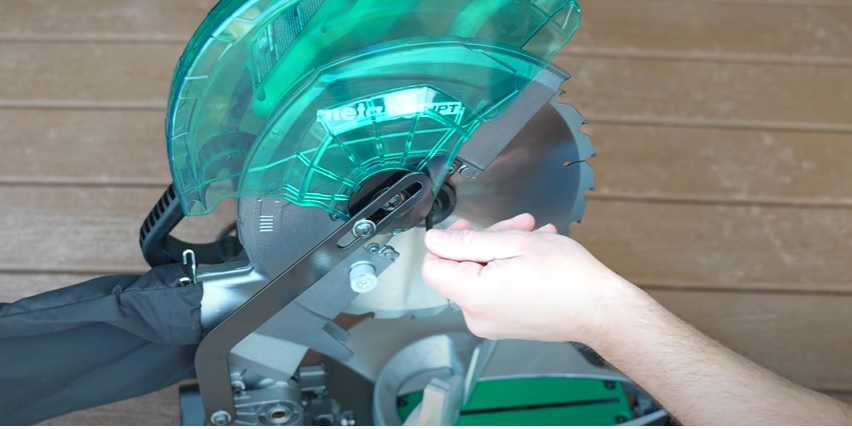
That’s it for the accessories! Now, if you ever want to remove the blade and replace it with a new or different one, it’s easy to do so. Just press the locking mechanism on the back to make sure the saw head is locked in an upright position.

Next, take your Allen wrench and loosen the nut in the center of the blade. Once it’s loose, the blade should pull off easily.

Features
In this section, I’ll cover the important features that this miter saw comes with.
- The Metabo HPT 10” Miter Saw runs off a 15 AMP motor. Its no-load speed is 5000 RPMs. It also comes with an electric brake, which means that as soon as you’re done making your cut, the blade stops spinning super-fast. That’s a great safety feature!

- At 24.2 pounds with a handle, this saw is lightweight and easy to lug around the worksite. I like taking it to my DIY house builds with me to cut wood 2x4s and 2x6s for framing.

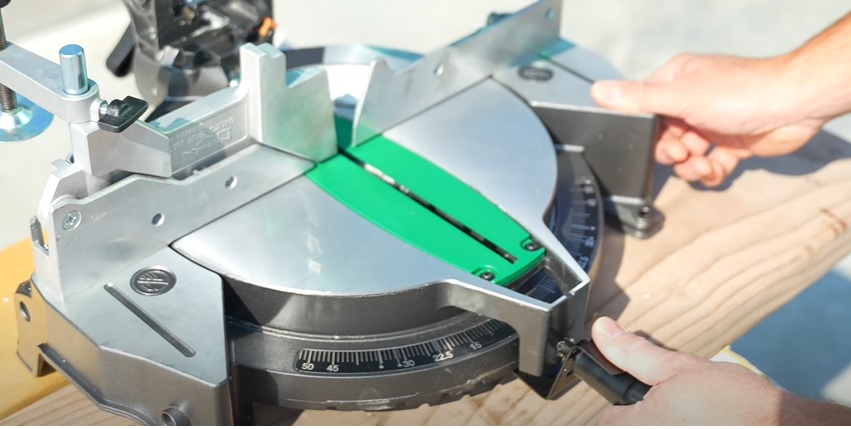
- The miter gauge for this saw goes up to 52 degrees on either side. To move it, you loosen the handle and press down on a lever with your thumb. It also comes with positive stops at 0, 15, 22.5, 31.6, and 45 degrees, so that if you stop on it, it will automatically lock into place. To get the gauge moving again after a positive stop, just press down on the lever. When you get to the angle you want to cut, tighten the handle to lock it in place.
- This saw also gives you the option to add a bevel to your cut. To do so, you’ll need to remove the vice on the side and flip the subfence out. Then, loosen the clamp at the back of the saw and tilt the saw head to the left, using the bevel gauge underneath the saw as your guide. Once you position it at your desired angle, tighten the clamp again to hold it in place.


- The vice on the side is adjustable, so you can adapt it to the thickness of the material you’re cutting. Keep in mind that in order for it to work, you may need to take it out, flip the sub-fence back out of the way, and then put the vice back in again.

- Another great feature of this miter saw is that it’s small enough to sit on a 2×10, which makes it easy to use on the job. It also comes with holes in the four corners of the stand, so that you can temporarily screw it into a wood base to keep it secure while you use it.

Review
Now that you know about all the Metabo HPT 10” Miter Saw’s important features, you’re probably wondering: what does the Excellent Laborer think about this tool?
I think that this is a great saw. It’s perfect for cutting wood for framing, which is mainly what I use it for, and it’s easy to transport and carry back and forth from whatever site I’m working on. It also cuts smoothly, and both the bevel and the miter gauge work perfectly.

I do want to comment on the vice. I personally don’t have a use for that attachment, so I prefer to leave it off completely. But it’s nice that it’s there, in case I ever do need it.
I also want to address the fact that this saw can only handle certain thicknesses of materials. For example, you can’t use it to cut a 6×6 post or a 2×10 piece of wood safely. It just won’t go through. I have had success with 4×4 posts, though, as well as 2x4s, 2x6s, and 3” PVC Schedule 40 pipes.

Overall, I highly recommend you get this tool for your own DIY use!
Don’t forget to check out my review of the Ridgid 10” Table Saw, as well as plenty of DIY homebuilding tutorials here on the blog and on the Excellent Laborer YouTube channel!